I placed an order for the Marmoleum planks that I intended to cut into my Penrose rhombus tiles. It is always a bit nerve racking, making calculations, optimizing the tile sizes, trying to minimize waste, and reaching a conclusion about how much raw material will be needed. What if I am off in my estimate for the sawblade kerf?
I learned late in the ordering process that the planks were not 1-foot by 3-foot; the sales rep contacted the factory at my request and reported back that they were 300 mm by 900 mm. Further, the ordering process called for the number of square feet, but the planks were packaged in bundles, and only full bundles were shipped, so the required square foot area was rounded up to the next bundle size.
For most flooring projects, this is probably just fine, but I needed to know just how many planks would be delivered so that I could ensure that I would be able to make all of the tiles in my design. In the end I learned that the bundles contained seven planks, 20 square feet of flooring, or should I say 1.89 square meters?
With the knowledge of the exact linoleum area of each plank, I could now partition them into rhombuses (rhombi?). I determined that I could get three fat or four skinny rhombuses from each plank. I counted the rhombuses in my pattern and ordered the exact number of planks required: 21 for the skinny rhombus, and 42 for the fat ones. These are nice multiples of seven; I was pleased. I placed the order, the moment of financial commitment to this project.
Later, I realized that I could have done better. If I had slightly tilted the skinny rhombus cookie cutter on the plank, they could have been a bit larger. The fat rhombuses would have been correspondingly larger, and I would have needed fewer planks and the waste would have been smaller. I contemplated revising my plan, but after discovering that the cutting complexity would be high (introducing opportunities for mistakes), and the gain was rather small– a few percent– coupled with the guidance of my partner who reminded me about false economies, I opted to stay with my original plan. I am glad that I did.
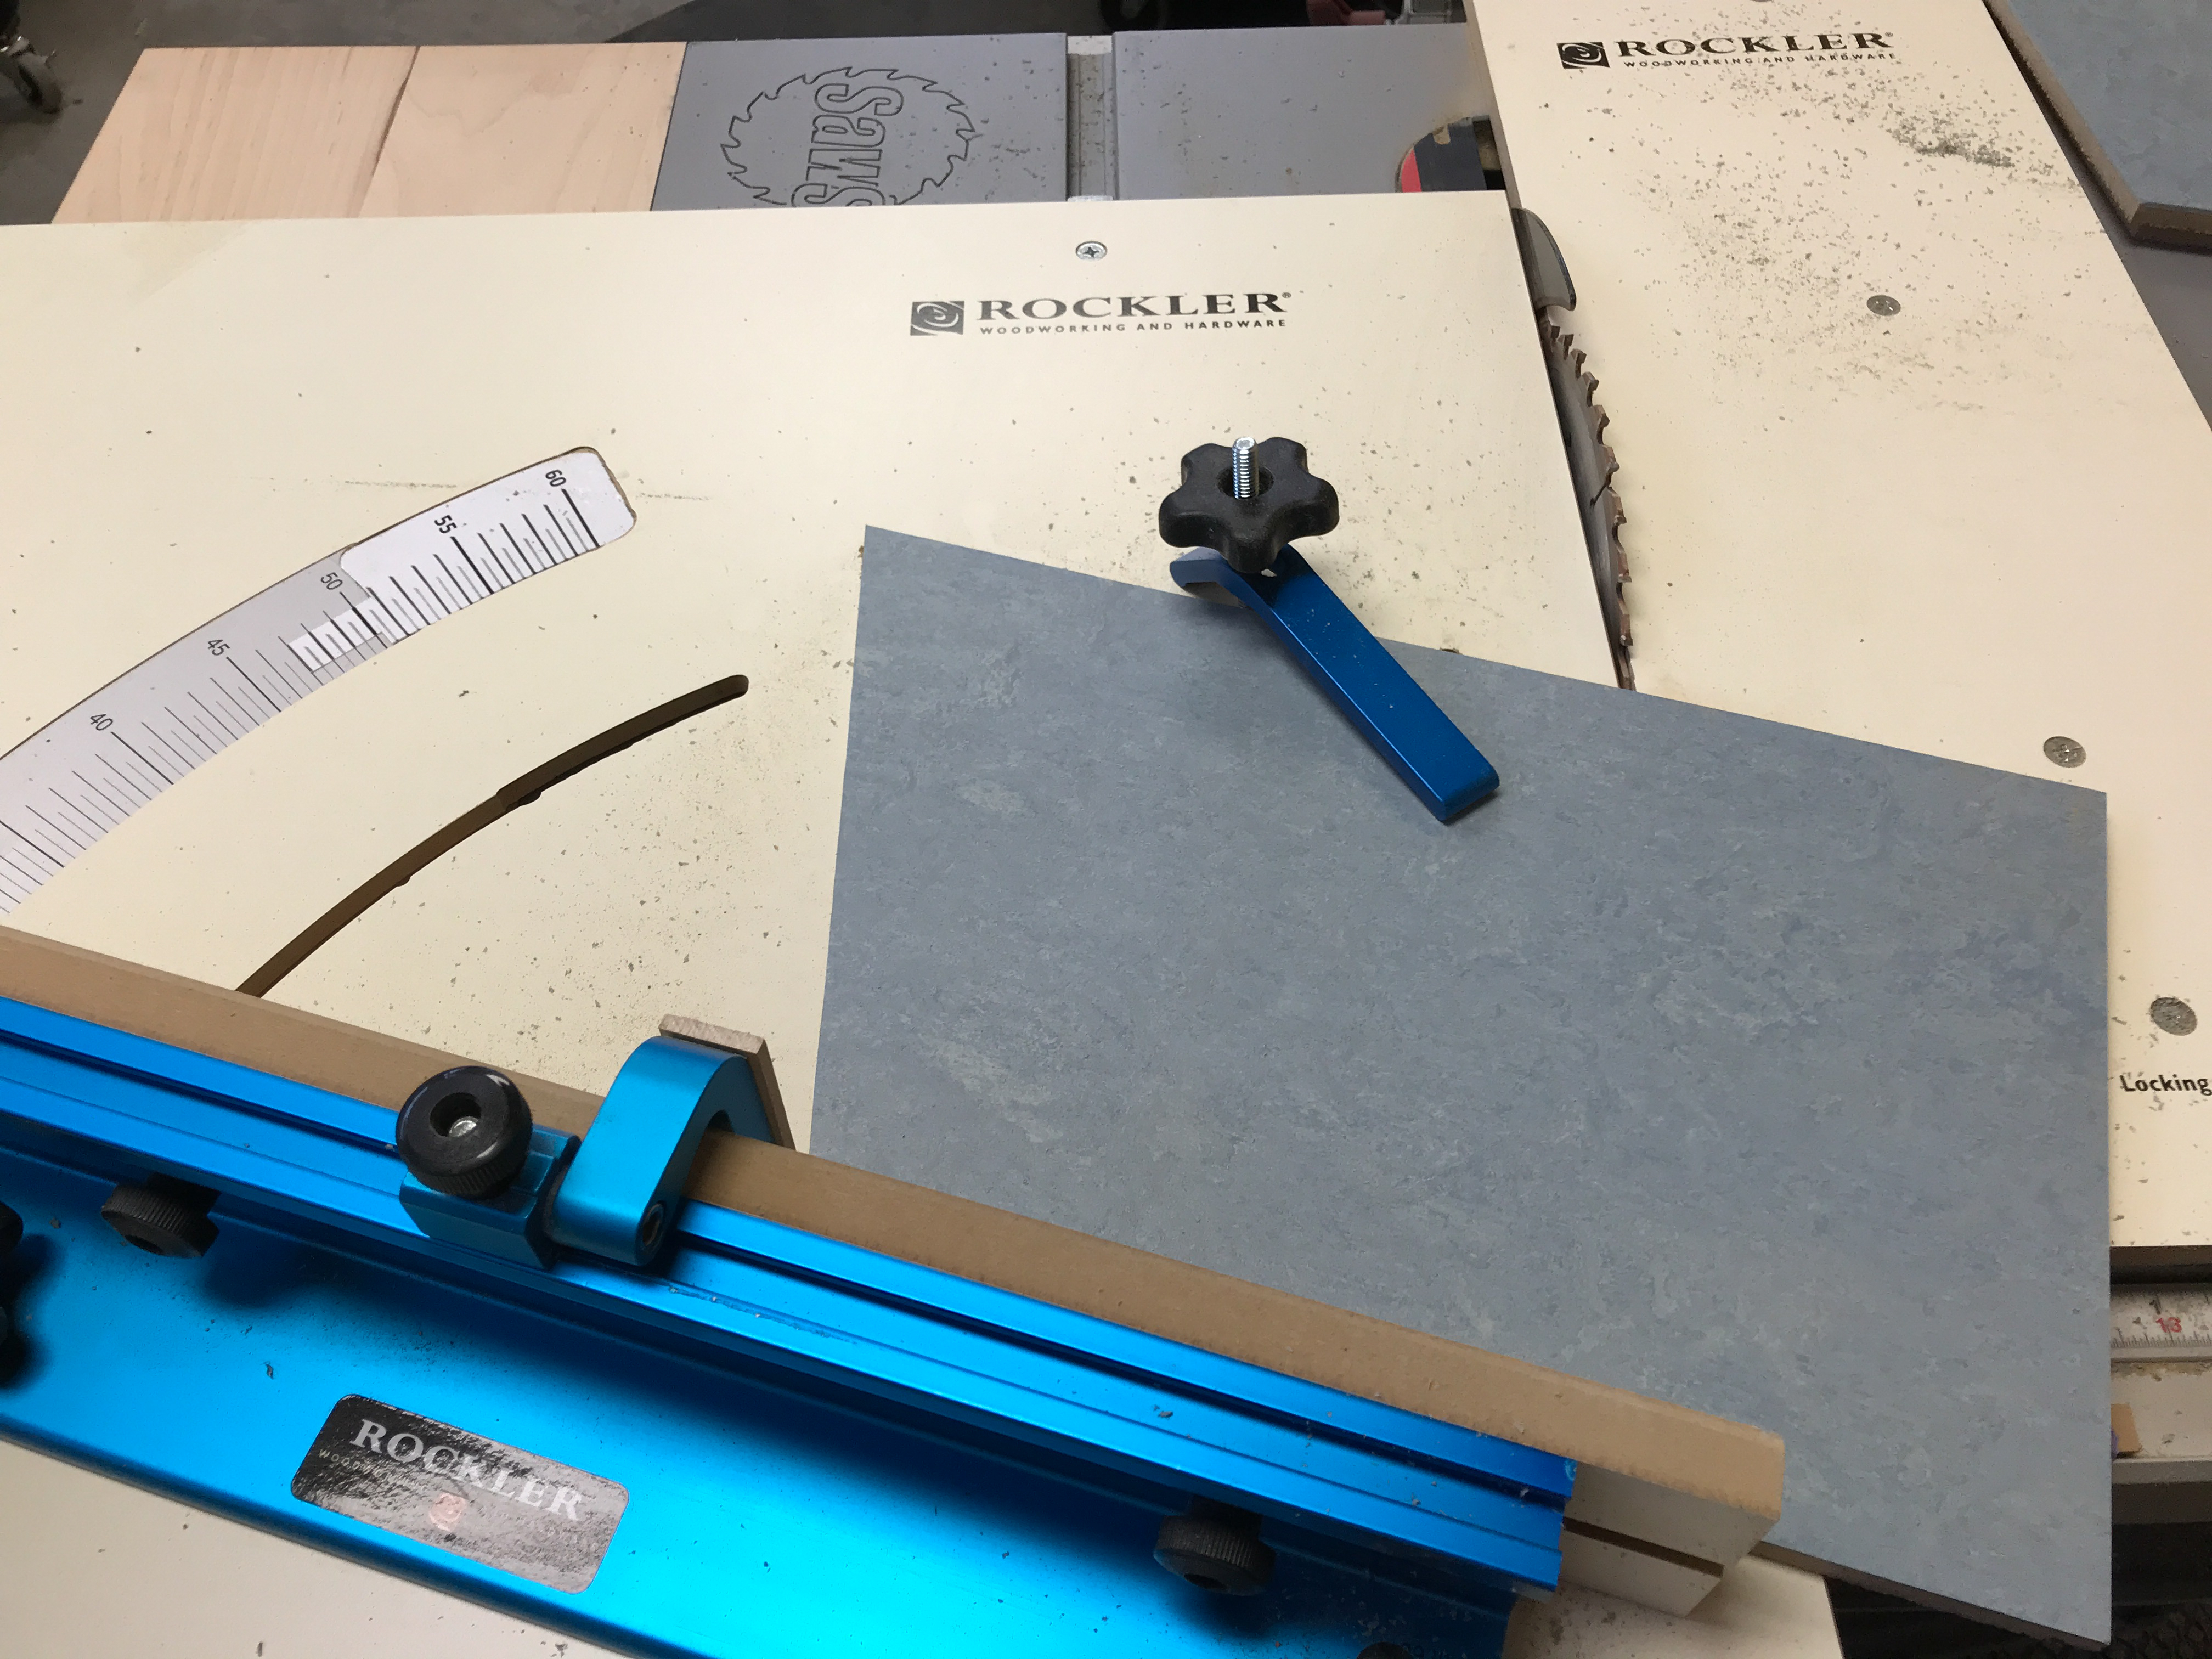
The tile-making involved many cuts on my table saw. It was important to set up each cut with a particular jig and fixture, and then cut all of the raw material that needed that setup, all at the same time, before changing the saw for the next cut. This would guarantee that all of the pieces would be congruent, with the same dimensions and angles. It was important to make them the same, but it was even more important to make them correct. A hundred identical tiles, all of which are the wrong shape, was my greatest fear. So I embraced the expression “measure twice, cut once” and fell into a paranoid checking of dimensions and angles.
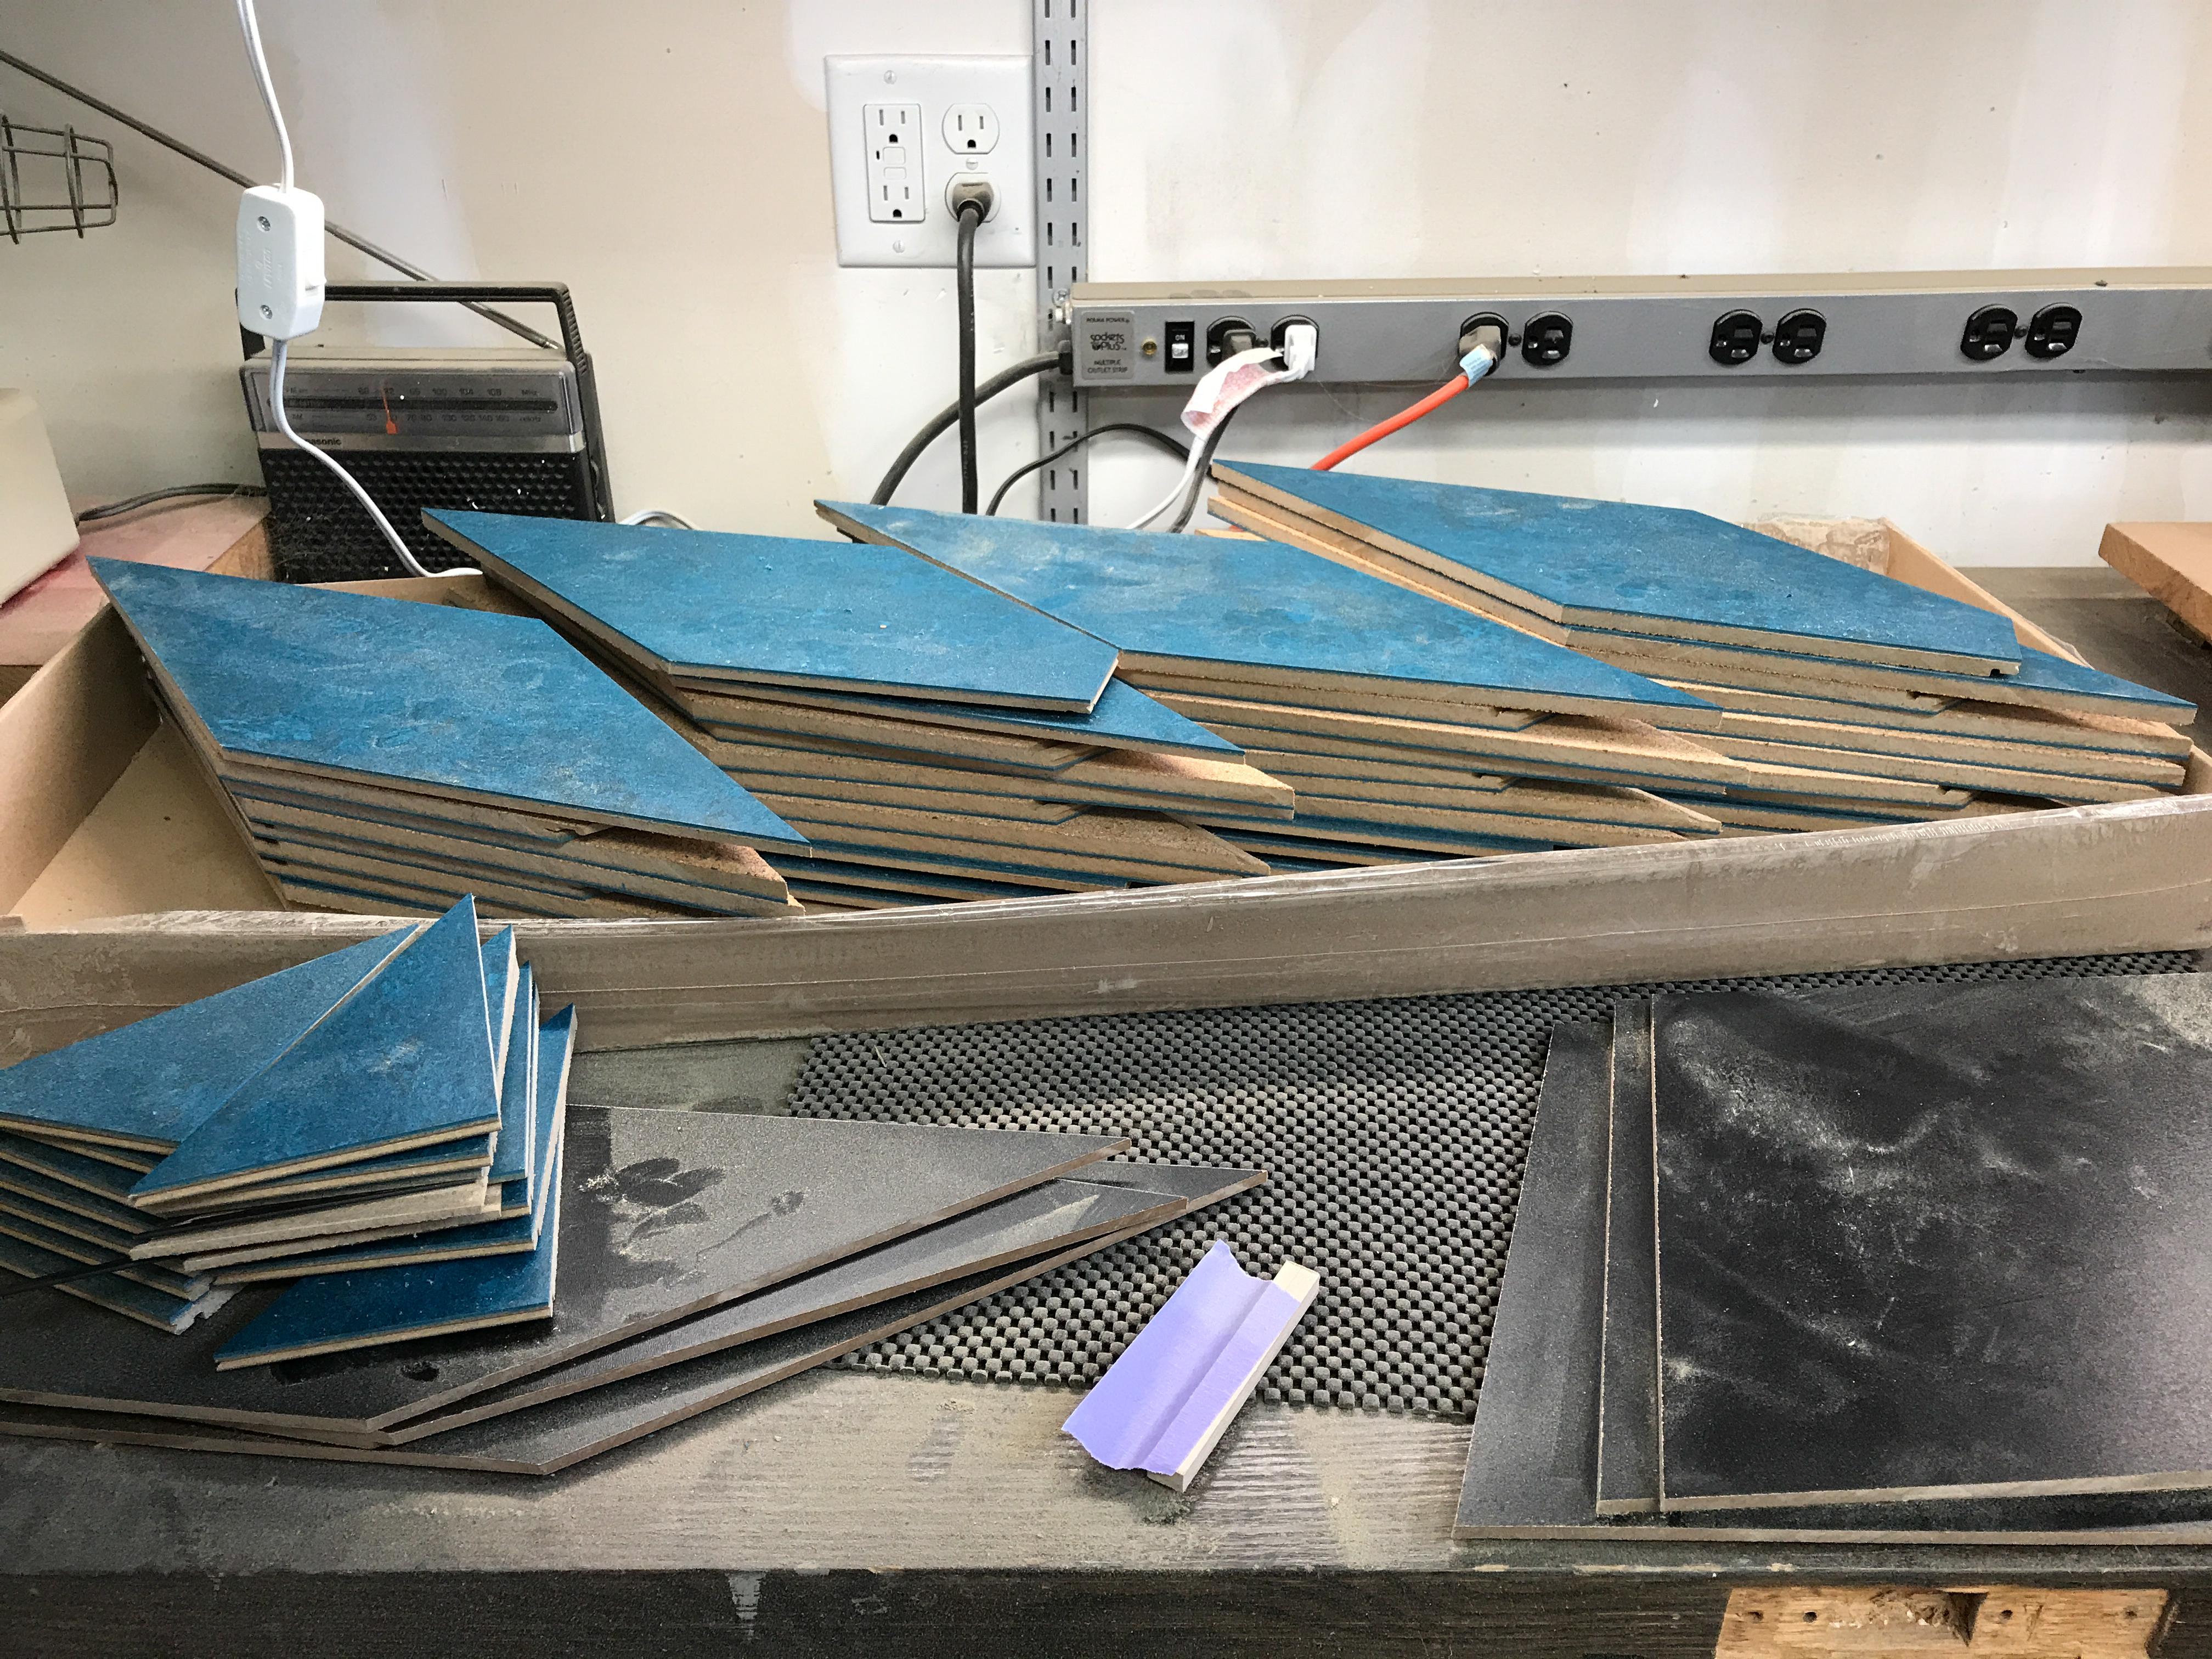
I ended up creating 84 skinny rhombus tiles and 126 fat ones. It took 462 passes through the table saw to make them. I worried about the psychological lulling of attention with repetitive tasks. I have encountered experienced woodworkers, with missing finger tips, who recounted the event that severed them. Invariably it was a lapse of attention, usually because of a trivial or repetitive cut that caused them to misjudge or ignore the spatial positions of their hands relative to the saw.
Aware of these stories, while shopping for a table saw, I learned about a model that detects human contact with the blade and fires an explosive brake to instantly stop it, analogous to an airbag in a car. They are expensive, but for an inexperienced woodworker like me, it seemed like a good investment. I am quite pleased with my SawStop table saw. It is a precision tool that I hope to never trigger.
I spent most of a week cutting tiles from the Marmoleum planks. I took it in stages, and today I cut the last of them. My fingers are intact and I am eager to start placing the tiles. I am also pleased that they seem to be dimensionally correct. My precision is not to the thousandth of an inch. I might be able to claim ½ millimeter, which would be 1/50th inch. We will see how that translates to tile placement with pentagonal symmetry!
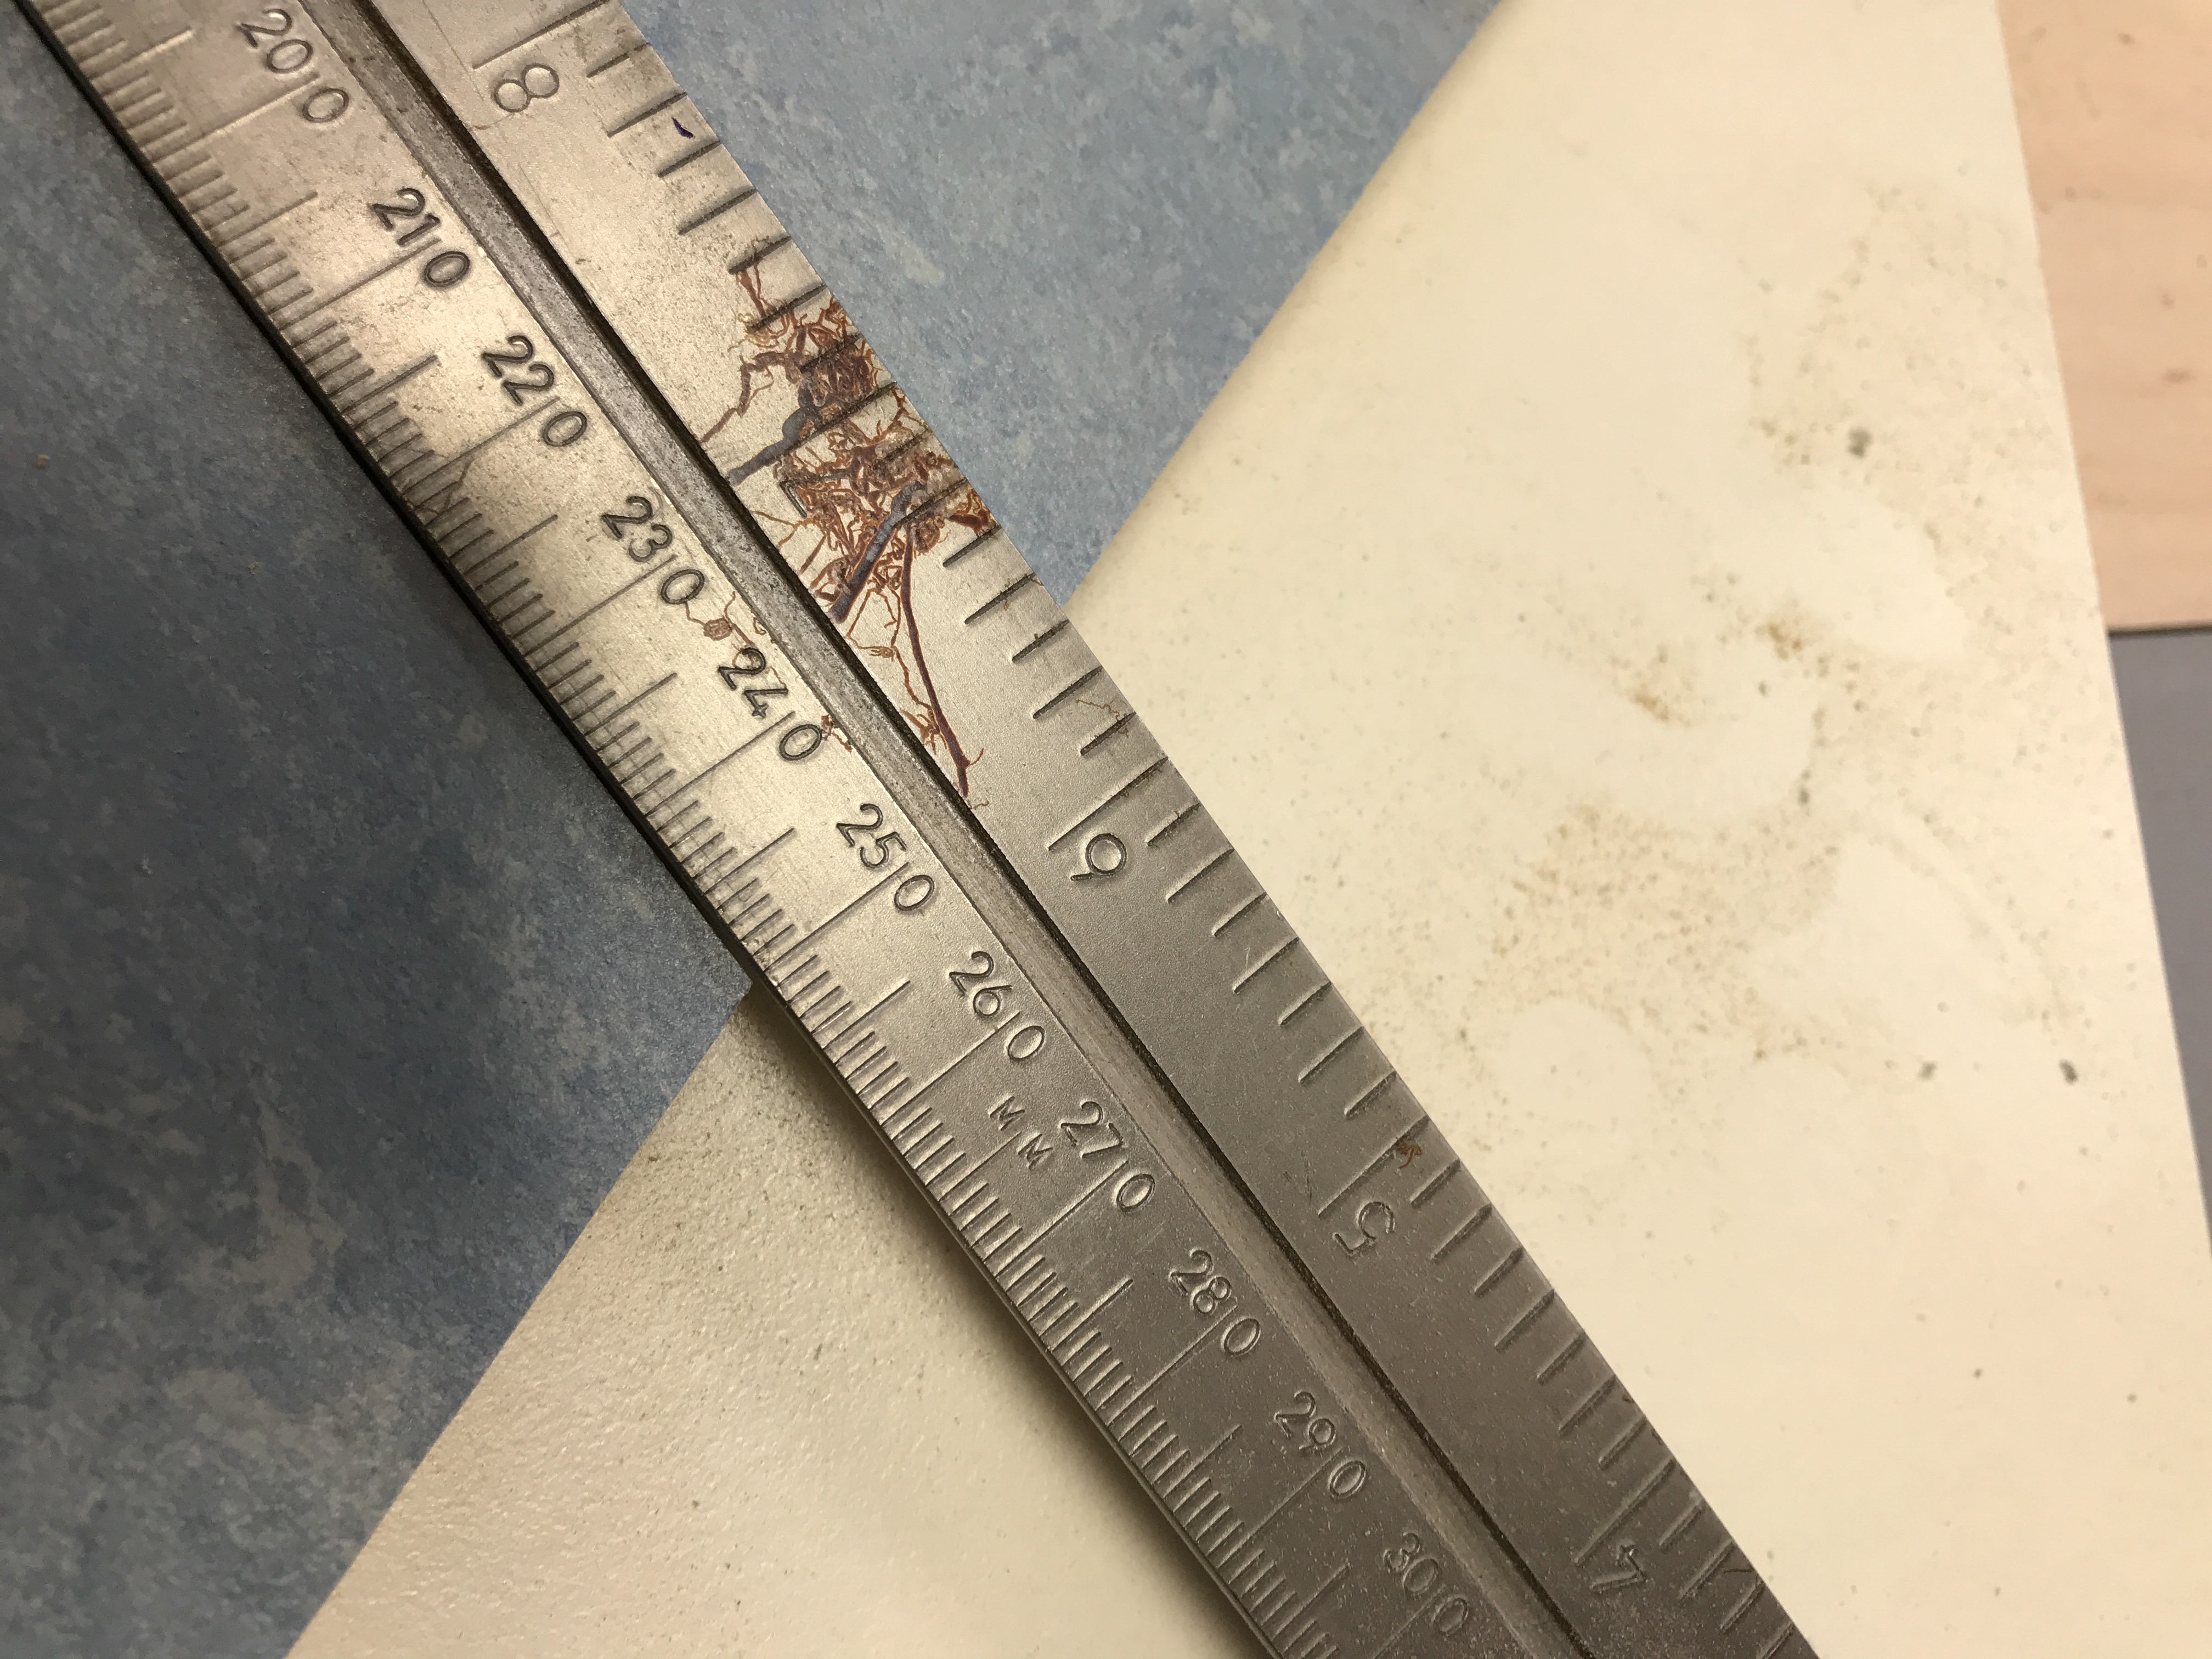
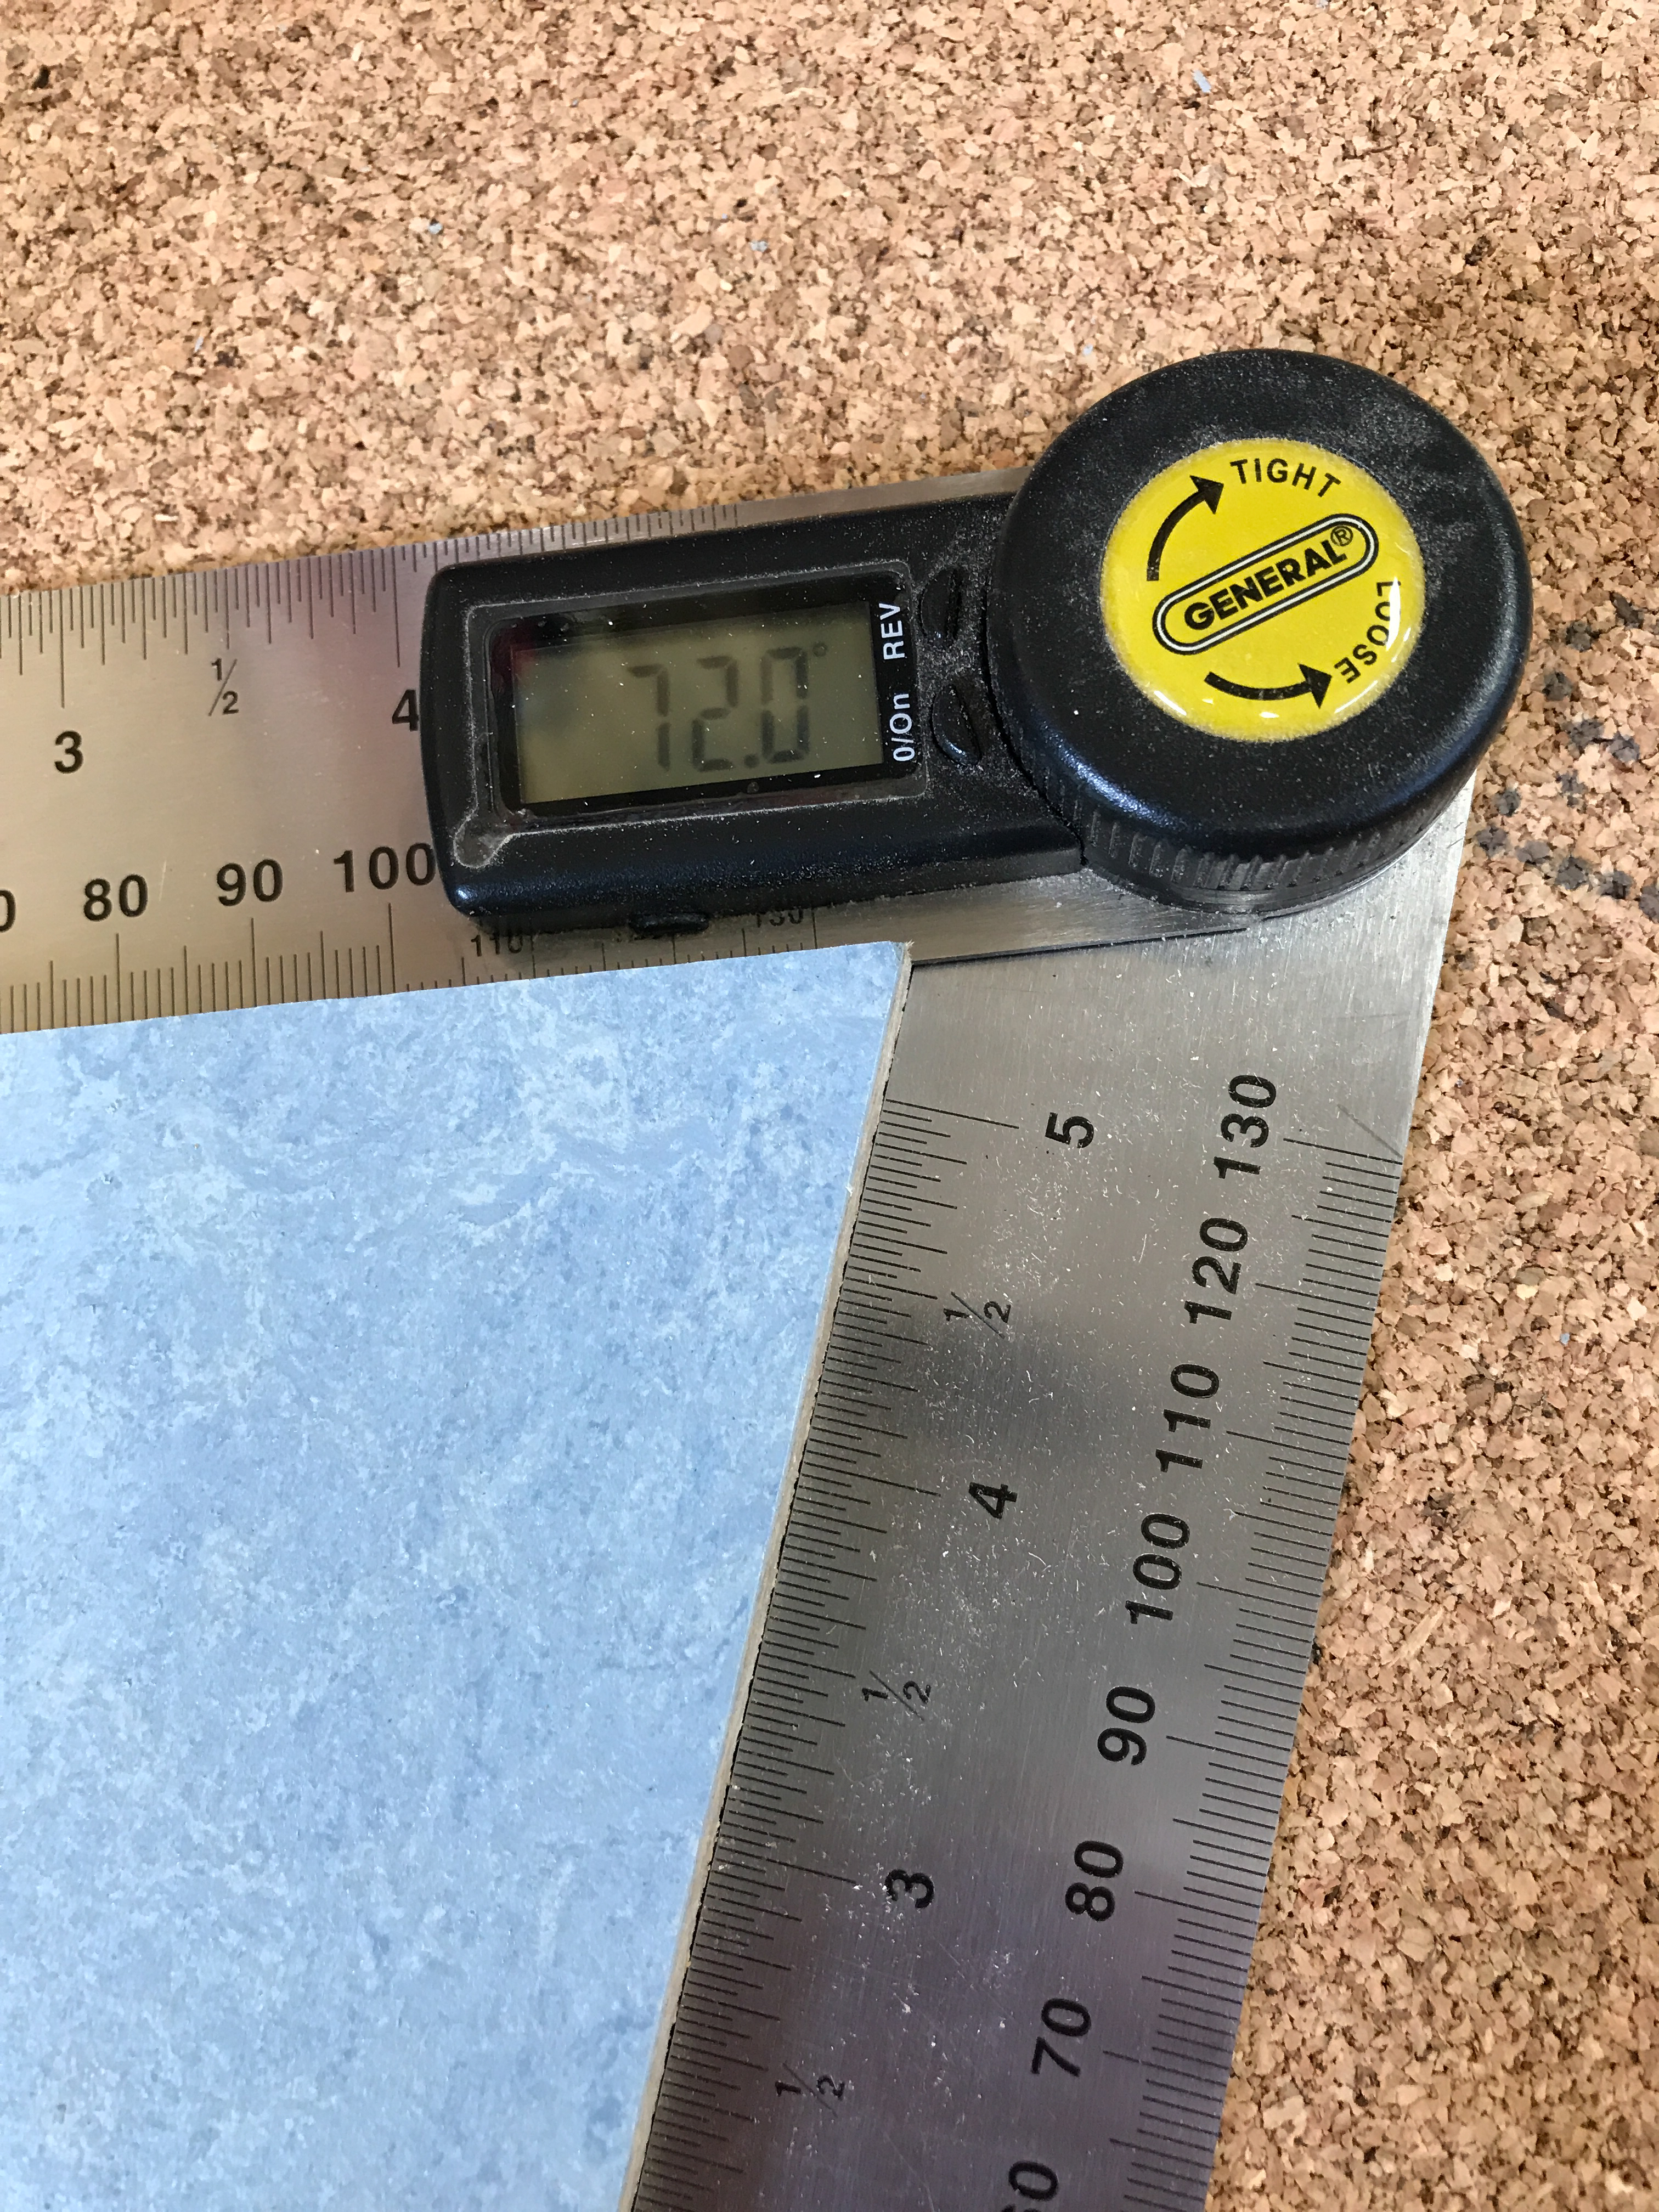
My tile size was based on an edge dimension of 250 mm, almost 10-inches. The angle of the fat rhombus is 72 degrees. Here are my checks.


