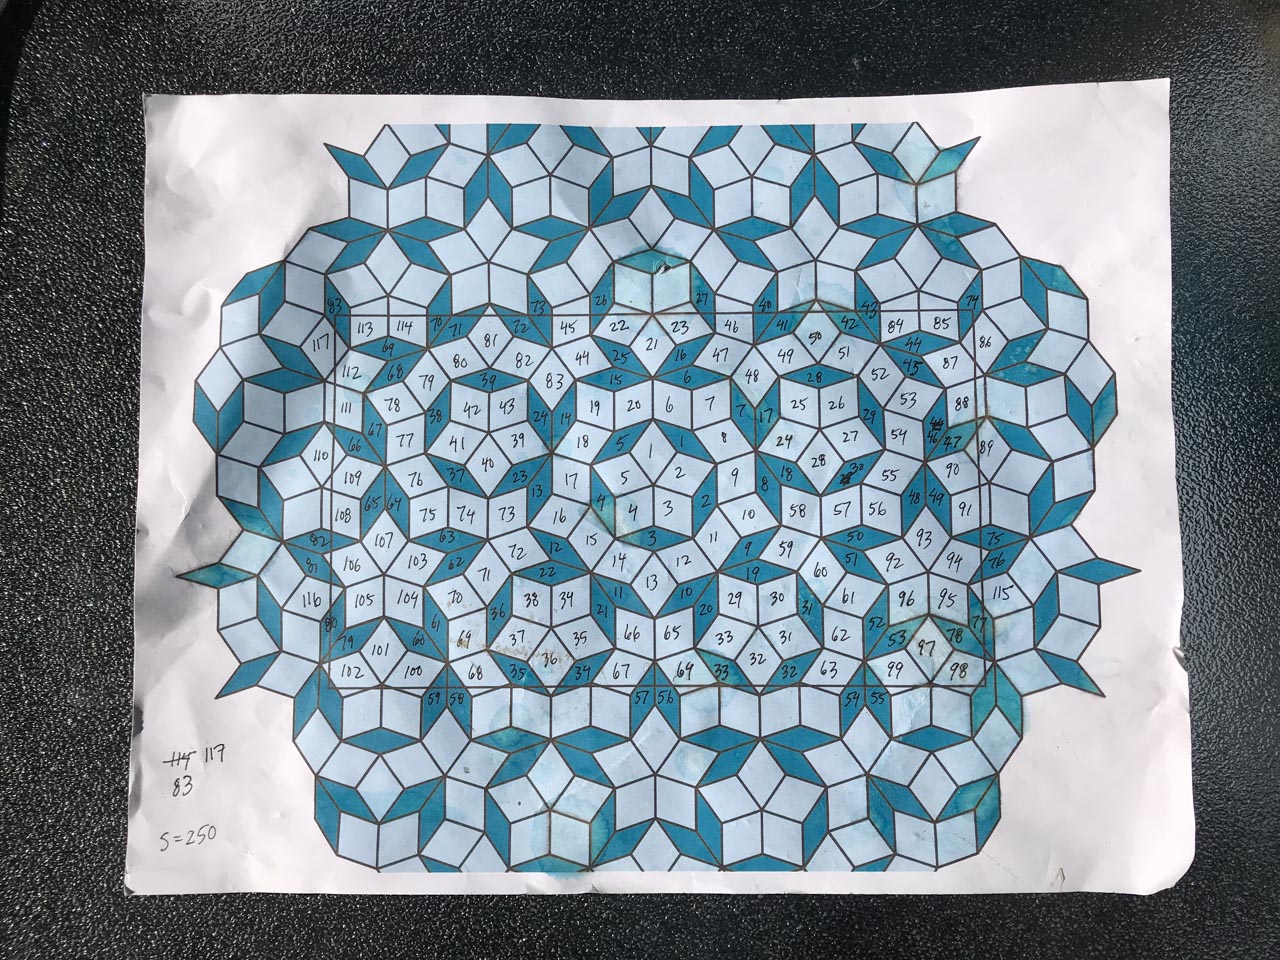
My printed tile map. It identifies the fat and skinny rhombus tiles so that I knew how many to make and how to place them. It was generated based on a simulation of an edge length of 250mm and a gap width of 6mm, adding up to a nice binary number.
I suspended this project in order to go on a roadtrip to capture pictures of the night sky in the beautiful deserts of the Southwest. I am currently working on them, and hope to share them soon, but the Penrose tile floor project carries a higher priority—we want our screen porch back while it is still summer!
Having prepared my tiles to the best accuracy I could coax from my woodworking tools, I now faced how to place them on the floor. As before, I considered the advice from Ken Adelman, who recommended “dis-aligning” the pattern from the rectangle of the room, to avoid difficult or awkward-looking tile fragments at the edges. He also recommended identifying a center point and creating reference lines radiating at angles that match the pentagonal symmetries of the tiling.
My room is considerably smaller than his, and I chose not to complicate my layout with his first recommendation, but I followed his second, which turned out to be a powerful guide to keep the tiles on track, despite being mathematically imperfect and the floor not being truly flat. I was depending on the spacing between tiles to provide the tolerances to keep the pattern intact, hiding the errors in visually acceptable gaps. I was not sure if this strategy would work, and I was nervous as I placed the tiles, but when a tile landed with its apex right on the chalk-marked line I had made on the subfloor, I was encouraged. When it didn’t, I could make some slight shifts on the neighboring tiles so that they did.
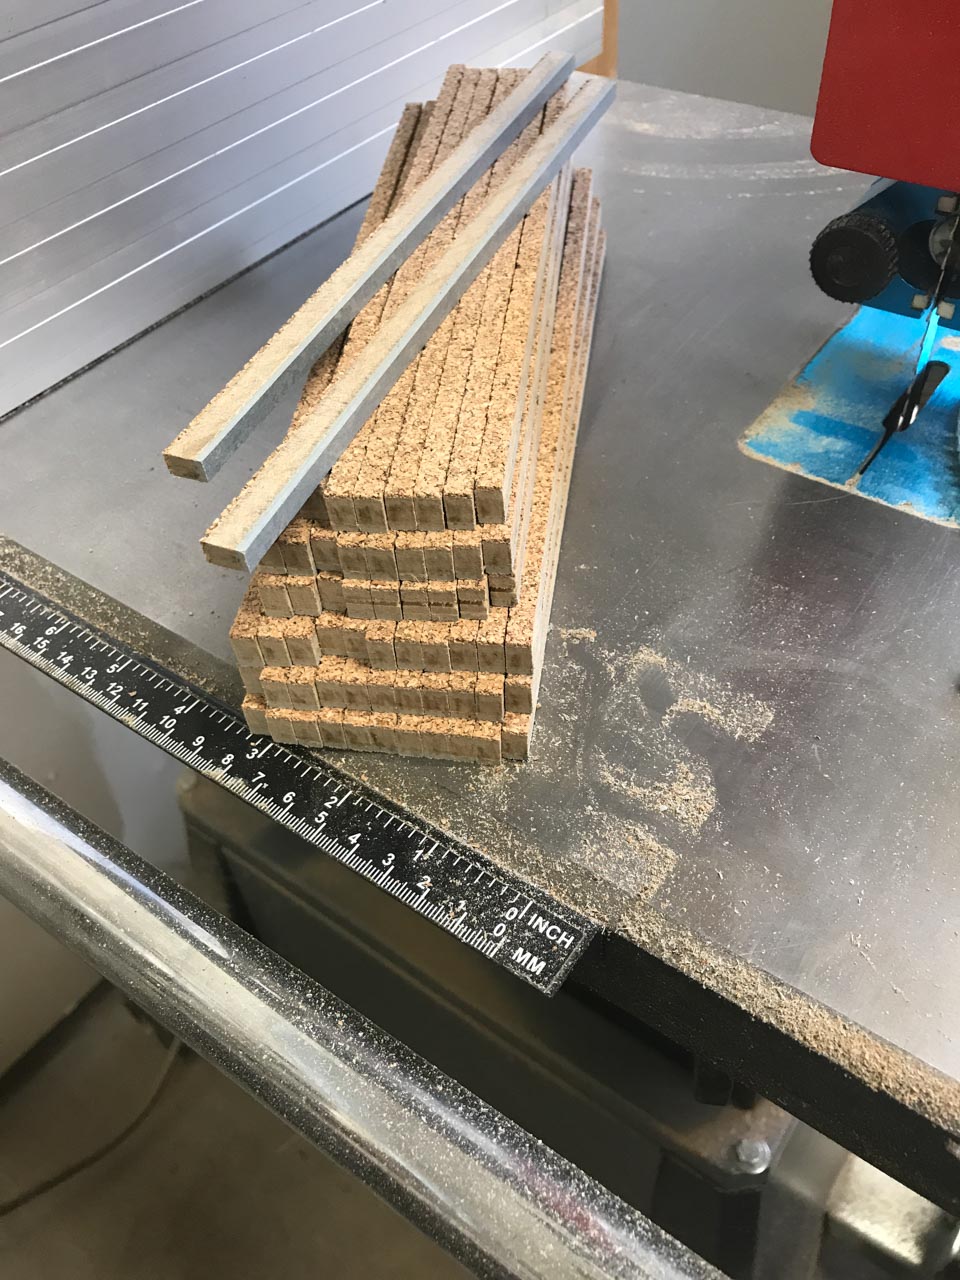
Key to this success was finding the proper way to create the gaps between tiles. I initially purchased official tile-spacers, used by professionals for positioning ceramic tiles on their mastic. They are small soft rubber crosses with ¼” arms. I rapidly found them to be useless on this project. They twisted and turned and compressed and fell out, not providing much help in positioning the tiles. I decided to make my own spacers, ¼” wide, and 250 mm long, to span the full edge of each tile. I cut them from the scraps of the Marmoleum planks from which the tiles themselves had been cut.

A batch of tile spacers, cut from the scrap of the Marmoleum planks. I kept having to make more.
My plan was to position the tiles, using the spacers, then lightly glue each tile in place with a dab of silicone adhesive. The spacers could then be removed, and I would fill the gaps with grout. I thought I could do a section at a time, but it became apparent that anchoring a section with glue reduced the ability to stay on the pentagonal guidelines. In the end, only the center section was glued down, with the surrounding tiles left to “float” on their cork backings. Finally, when the edge tiles were cut and positioned, they were also glue-tacked into place. This did a good job of “locking in” the intermediate floating tiles.
We experienced a heat wave during this time. I would start working on the tile placement, but by the afternoon, this second-floor room became unbearably hot. I figured that I was under no obligation to put in full days of labor—I was not getting paid for this, and my enjoyment of the project would suffer if I did. So I spent the (somewhat) cool mornings positioning and adjusting tiles, fitting spacers between them, and cutting the edge tiles to fit. It took five such mornings, but I avoided the 90+ degree afternoon blasts that lasted all week long.
During those afternoons, I did research on grout. There are lots of factors to consider, with plenty of opinions to be found on the internet. I eventually sorted through them and speculated that an acrylic latex grout would be flexible and outdoor temperature tolerant, and located a source that even had the desired color– black.
I wasn’t entirely confident that it would work with my custom-made tiles however, so I did a practice session on some scrap pieces on a simulated floor (a plywood panel). It gave me a feel for the process, and I could confirm that it would bond to the subfloor, provide a good fill, and could actually be cleaned off the Marmoleum surface. These tests kept me busy in the air-conditioned indoors during the heat of the afternoons.
The tiles were all fully placed and ready to be grouted, when the heat wave broke. It would only last a day, so I pressed my live-in assistant to help with this final step of the project. It took much longer than I expected: the spacers needed to be removed, the grout pressed into the gaps, the excess cleaned off the tile surfaces, all done in modest-sized sections according to the working and setup time of the grout. I think my task (filling) was easier than hers (cleaning) but being able to do them both in tandem was an immense time-saver. I thought the job might take an hour or so, but the work took half the day. Had it been just me, it would have taken several.
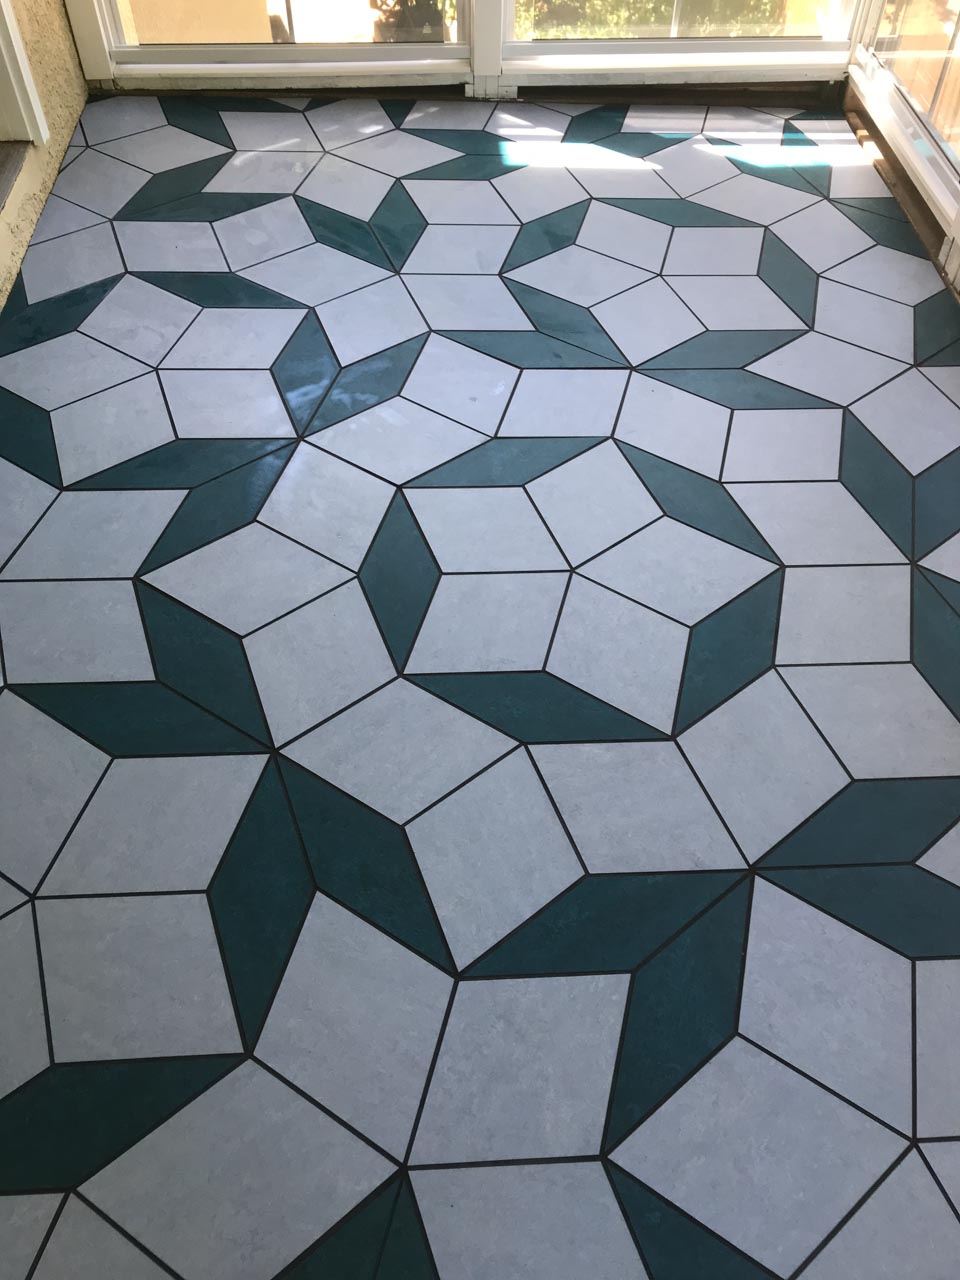
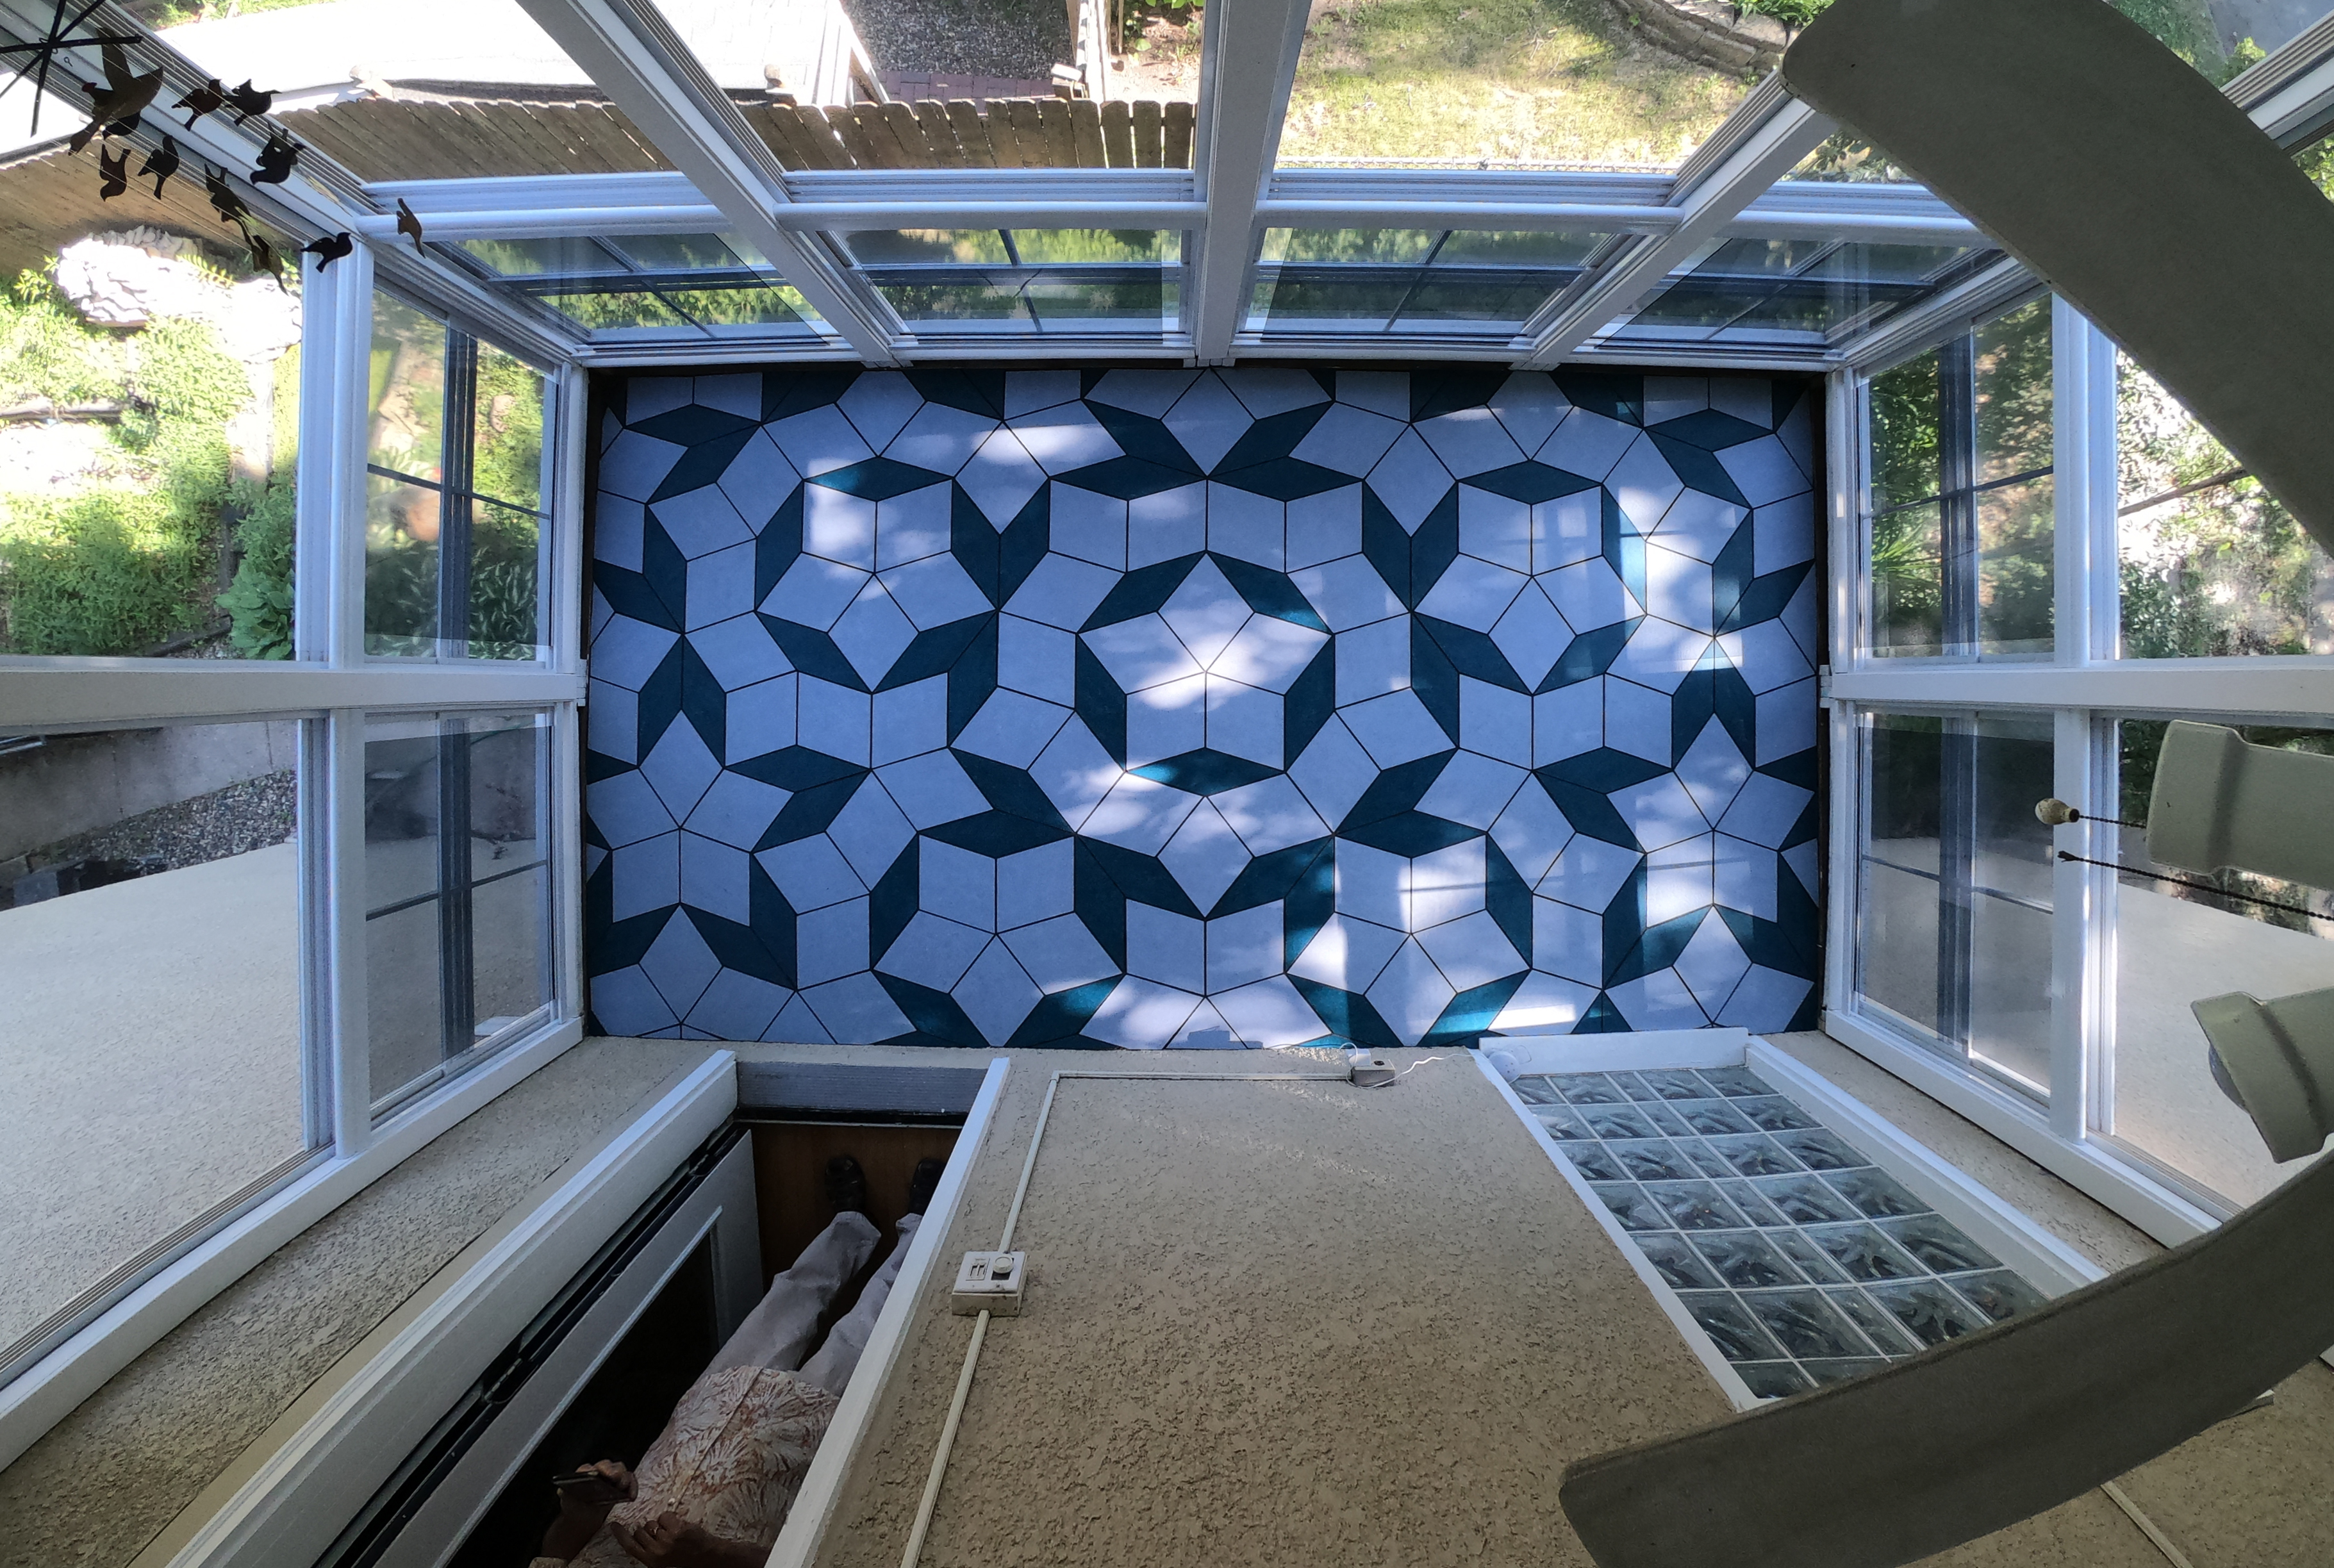
We were exhausted as we finished filling and cleaning the last few tiles at the exit, but when we looked behind us, the overall visual impact was stunning! What had started as an abstract pattern printed on a letter-sized sheet of paper had been mapped to an entire floor! It was beautiful.
There are a few touchup items to complete– baseboards and some painting, so this is the next-to-last step for my Penrose floor and porch project, but I am happy to consider this a satisfying ending of a long-term project.


A view of the completed, grouted Penrose-tiled floor. Compare to the printed tile simulation!
Inspired by Ken, I attempted to make a time lapse of the week’s work. I relied on the features of my GoPro camera, a system I find both amazing and infuriating. Amazing for the imaging technology, infuriating for its flaky phone app user interface and limited battery life. Still, I tried not to “fight the tool” while using it to create a few short time lapse segments. See what you think.


Very impressive work! Love the pattern!