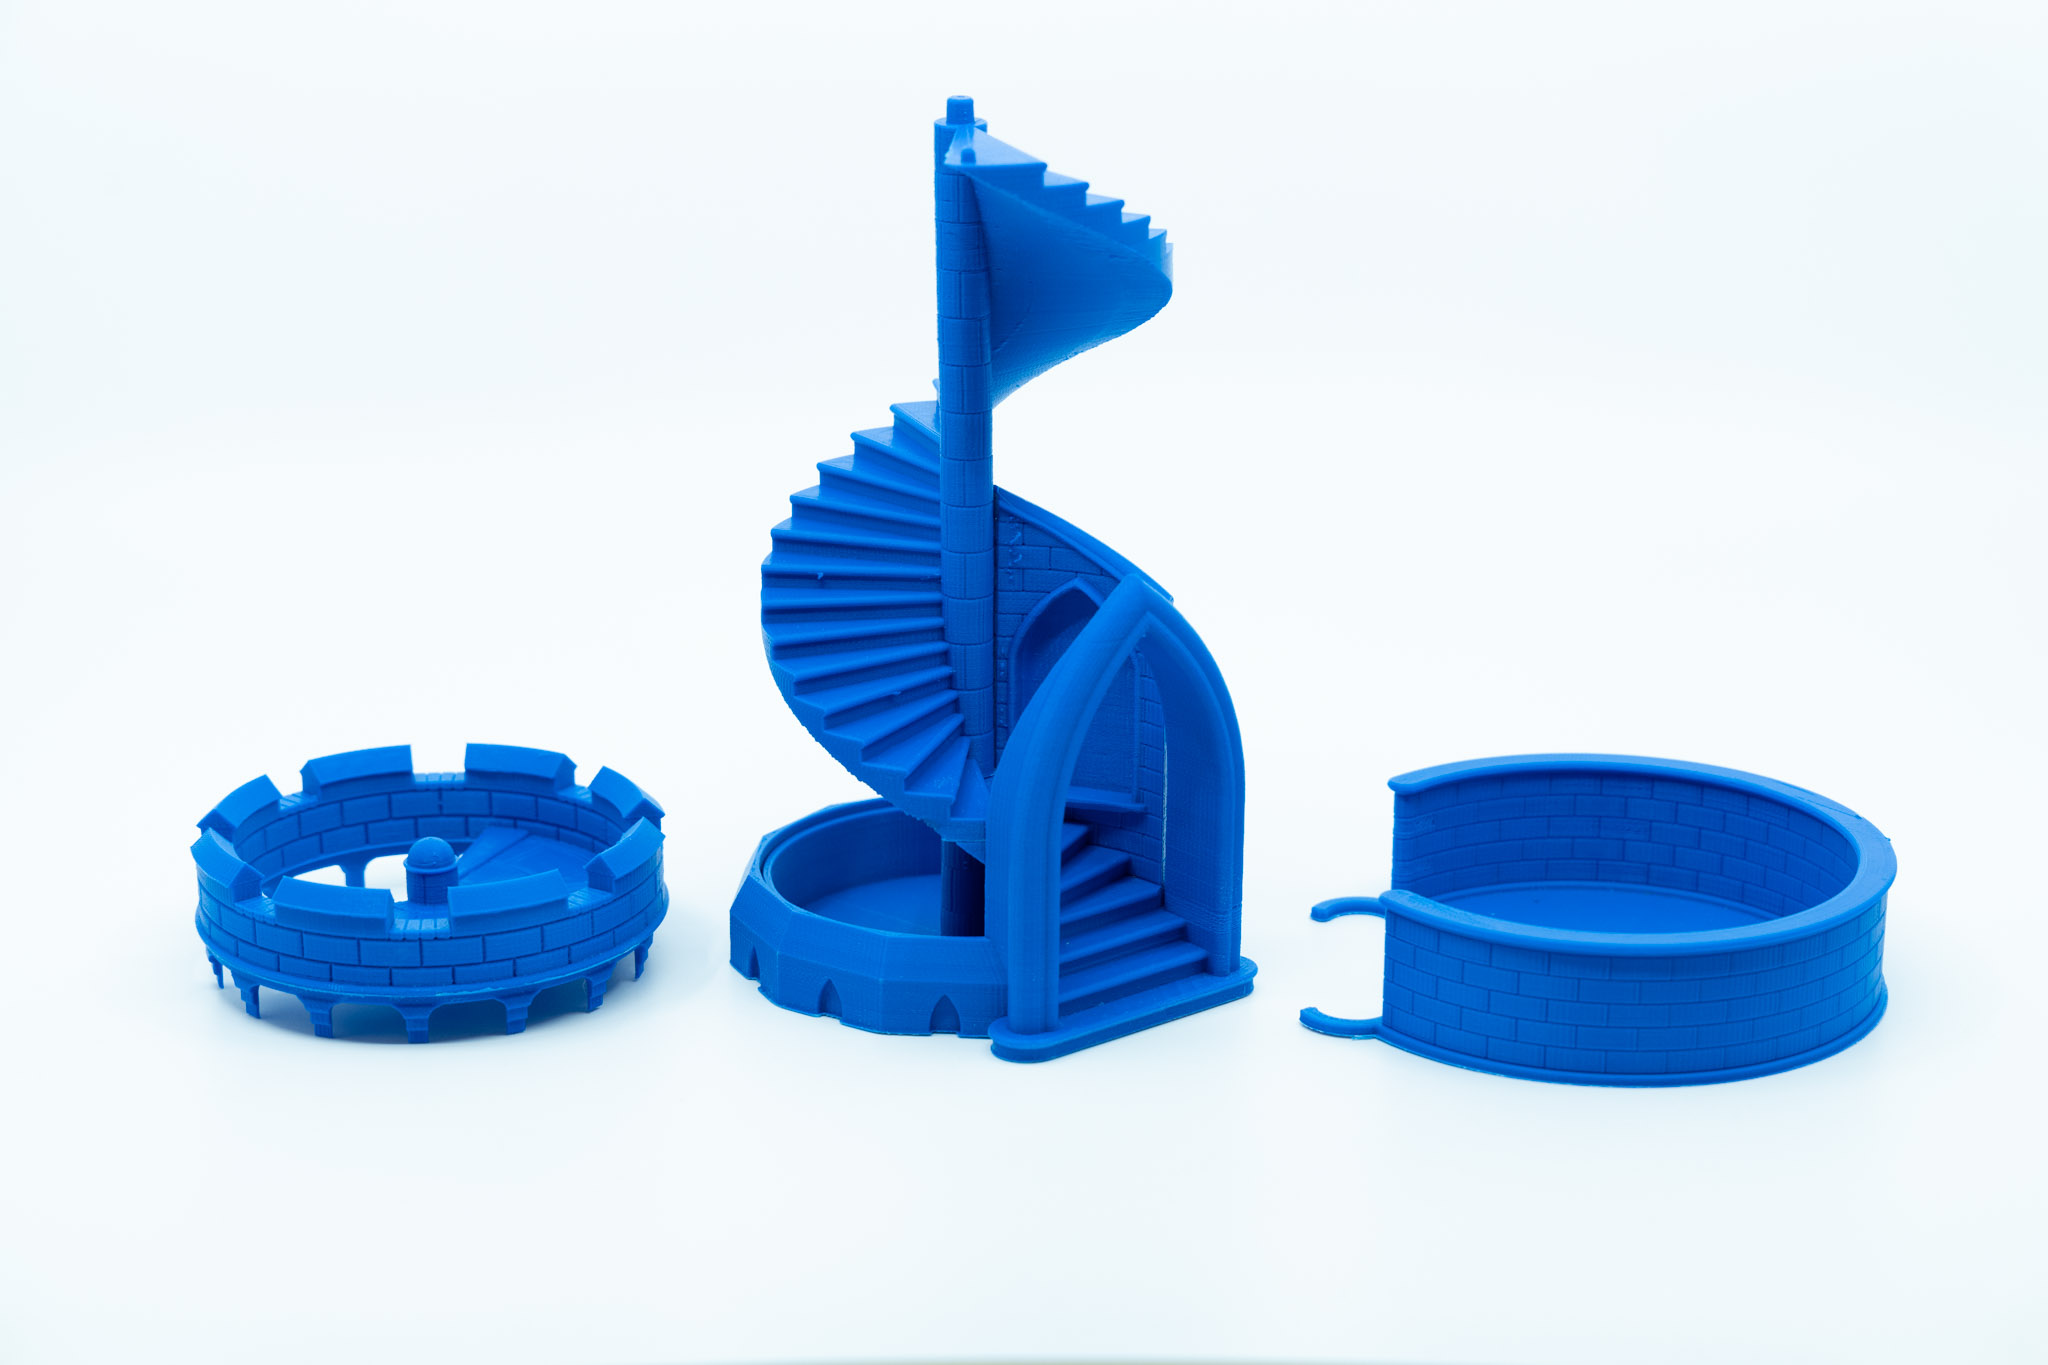
Parts for a dice tower, printed in blue PLA plastic
I had not heard this descriptor before, but when my son suggested it as a project to help his game-focused young family, I did some investigation. A dice tower is a mechanism to manage the throw of dice in a way that is fun and relevant to the game being played. Often the games are similar to Dungeons and Dragons. And so, the theme of a medieval tower, where dice are dropped from the top and randomized by tumbling down to the bottom is a natural match for the theme of the game.
There are other benefits as well. For my son’s young family, throwing dice is a haphazard and unpredictable experience. Haphazard is a desired feature of a dice throwing outcome, but when the dice bounce beyond the table into the next room and have to be located and assessed, it slows down the game. A more constrained way of throwing dice becomes desirable. A dice tower, with an easily accessed upper deck to launch the dice, and a containment vessel to receive them below is the perfect solution.
Being unfamiliar with the dice tower concept, I did some research. There are many, many, descriptions of how to construct a dice tower, mostly by avid woodworkers, who take it as a challenge to create a beautiful and fun product for this purpose. I’d like to pursue them someday, but for today, I wanted to find a 3D printer version of a dice tower.
I happen to own an inexpensive 3D printer, an experimental gadget that resides in my project room. I’ve made some parts for some previous projects, but it is largely unused, resulting in stagnation from clogged nozzles. This project gave me the incentive to get it working again and tune it up.
There is a large and active community of 3D printer users, and they share their designs through websites with names like “thingiverse” and “myminifactory”. I found a set of parts to make a dice tower that appealed to me, partly because one could watch the dice tumbling down the tower. It utilizes an empty soda bottle as one of the components.
I downloaded the design files, and then prepared them for my particular printer with an appropriately named software tool called a “slicer”, which prepares the instructions to move the print head and extrude melted plastic, layer by tenth-millimeter layer, into the desired shape. It is a time-consuming process. One of the parts took over 20 hours to complete! The full set of five components required several days. I was surprised that my cheap 3D printer could sustain such a lengthy operation without crashing, or locking up, or getting lost, or any of the many ways in which moving parts fail.
After printing, the parts needed a bit of manual touch-up with Xacto knives, Dremel tools and sandpaper. Spray paint then provided a smooth finish in the desired color. A bit of super glue cemented the parts into place.
I was pleased with the result and my son was quite impressed. His family will be utilizing it on every game night.

