I had seen examples on the web of Penrose tiles, but they were always rather high-end installations. I recently encountered someone who had successfully created a Penrose flooring in his sunroom. I was able to ask him about the details of his project and the recurring theme in the ensuing discussion was “accuracy”. His floor was made of ceramic tiles, rhombuses carved from 1’x2’ rectangular commercial tiles with a computer-controlled water-jet cutter to one-thousandth inch precision.
I was not prepared to go to this level, so I sought less expensive materials and tooling, settling on modern linoleum, “Marmoleum”, a materal that can be obtained laminated to a medium density fiber board substrate that I could cut myself. Any lack of machine precision would be hidden by the spacing and grout lines between the tiles. At least that is my plan.
Still, it was important for the angles and dimensions of the tiles to be as consistent and accurate as possible. I made a proof-of-concept trial with sheets of plywood, cutting them on my table saw using the fence and miter gauge at the prescribed angles. This exercise showed me that the standard methods would not work. I needed a more specialized jig, one that could result in many, many congruent tile shapes being cut to precise angles and lengths. I learned that such jigs for the table saw are common, at least among the skilled woodworkers that make fine furniture and other beautiful objects.
What I needed was a “crosscut sled”, a fixture that could be crafted using the saw it would ultimately supplement, and there were many YouTube instructions on how to make one. After watching several, I opted to skip the learning curve and purchase a commercial version. It had a wonderful angle fence, riding on a machined steel guided platform running parallel to the blade, equipped with a stop that could exactly position the material for its cut.
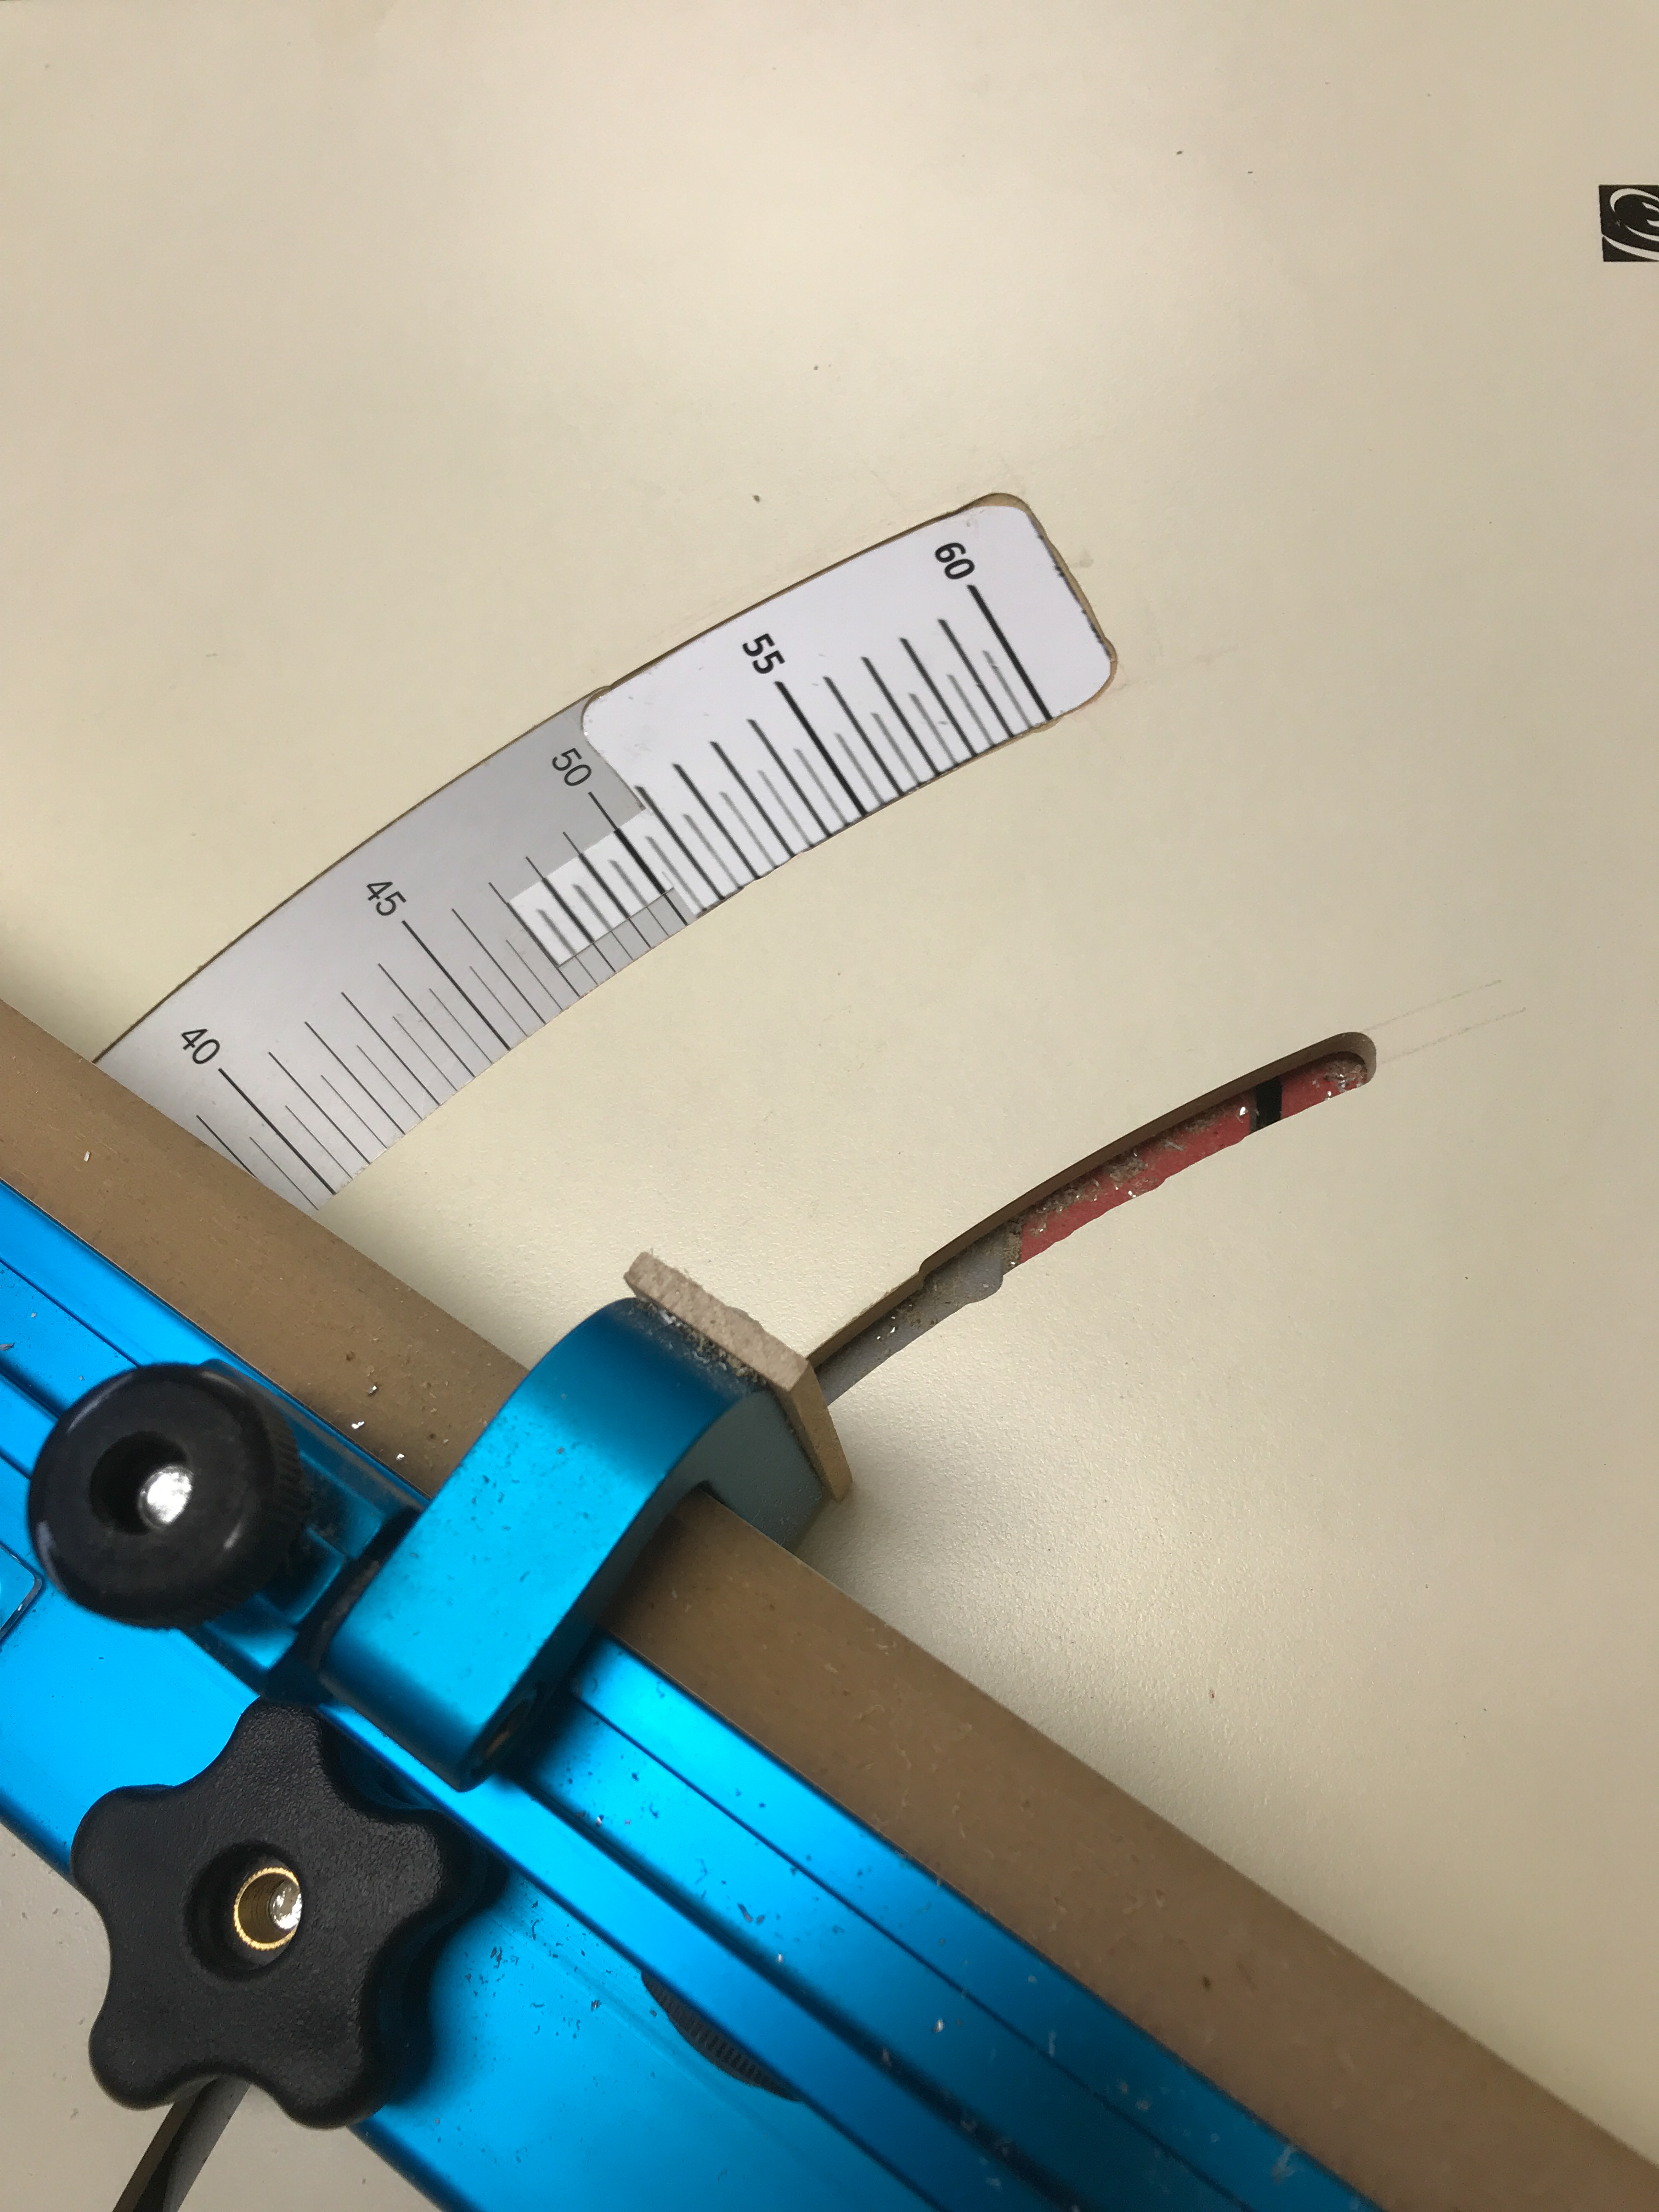
It was perfect. I created several identical copies of the first fat rhombus, and started making the second skinny rhombus when I discovered that the jig could not reach the required angle, 54 degrees. It stopped at 50.
A customization was required and I was able to extend the range by routing a slot in the sled, and calibrating it. I now have a Penrose-compatible crosscut sled for my table saw. On to actually making my linoleum tiles!


