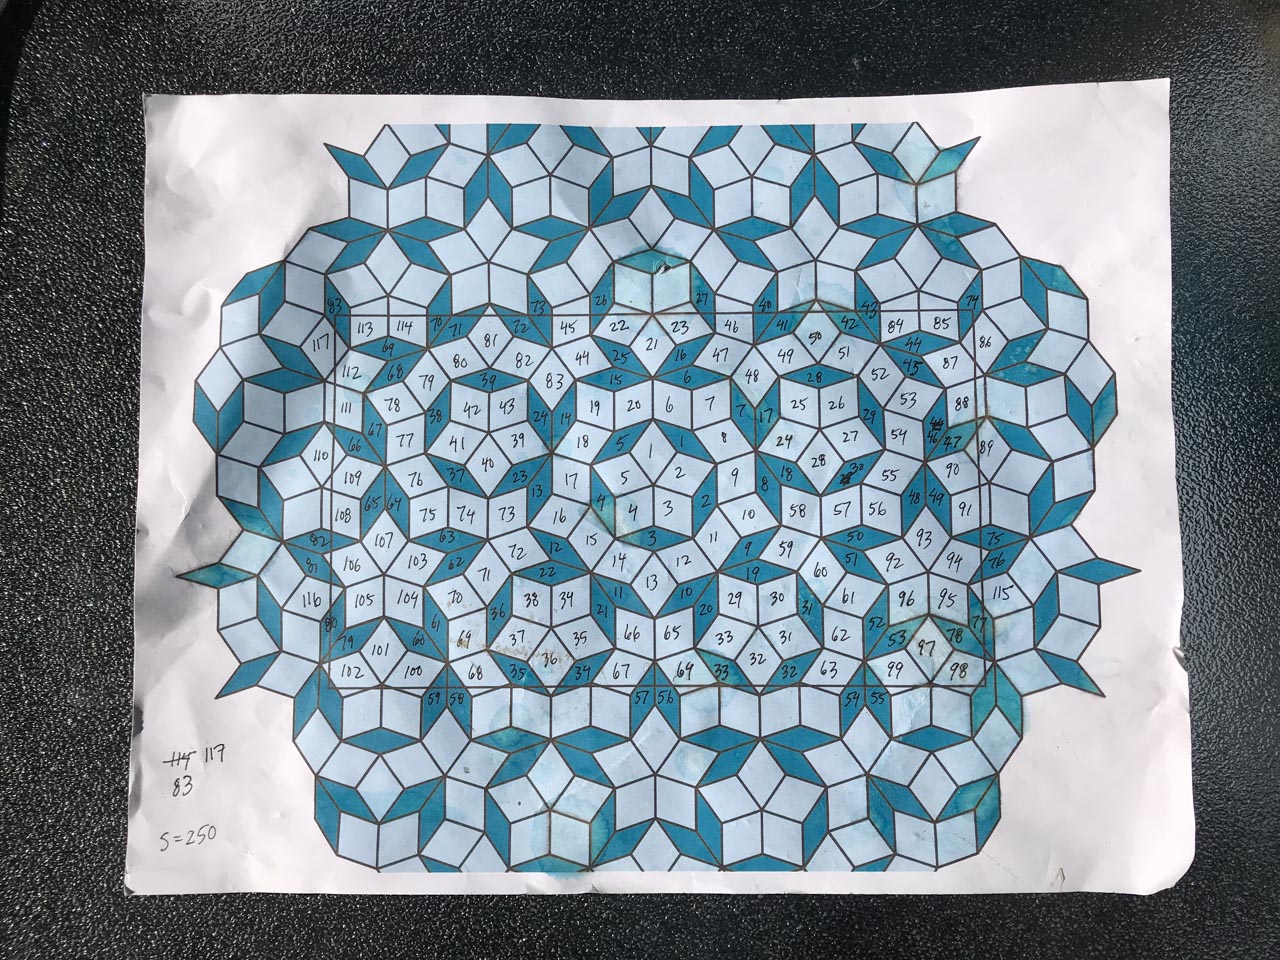
My printed tile map. It identifies the fat and skinny rhombus tiles so that I knew how many to make and how to place them. It was generated based on a simulation of an edge length of 250mm and a gap width of 6mm, adding up to a nice binary number.
I suspended this project in order to go on a roadtrip to capture pictures of the night sky in the beautiful deserts of the Southwest. I am currently working on them, and hope to share them soon, but the Penrose tile floor project carries a higher priority—we want our screen porch back while it is still summer!
Having prepared my tiles to the best accuracy I could coax from my woodworking tools, I now faced how to place them on the floor. As before, I considered the advice from Ken Adelman, who recommended “dis-aligning” the pattern from the rectangle of the room, to avoid difficult or awkward-looking tile fragments at the edges. He also recommended identifying a center point and creating reference lines radiating at angles that match the pentagonal symmetries of the tiling.
Continue reading
