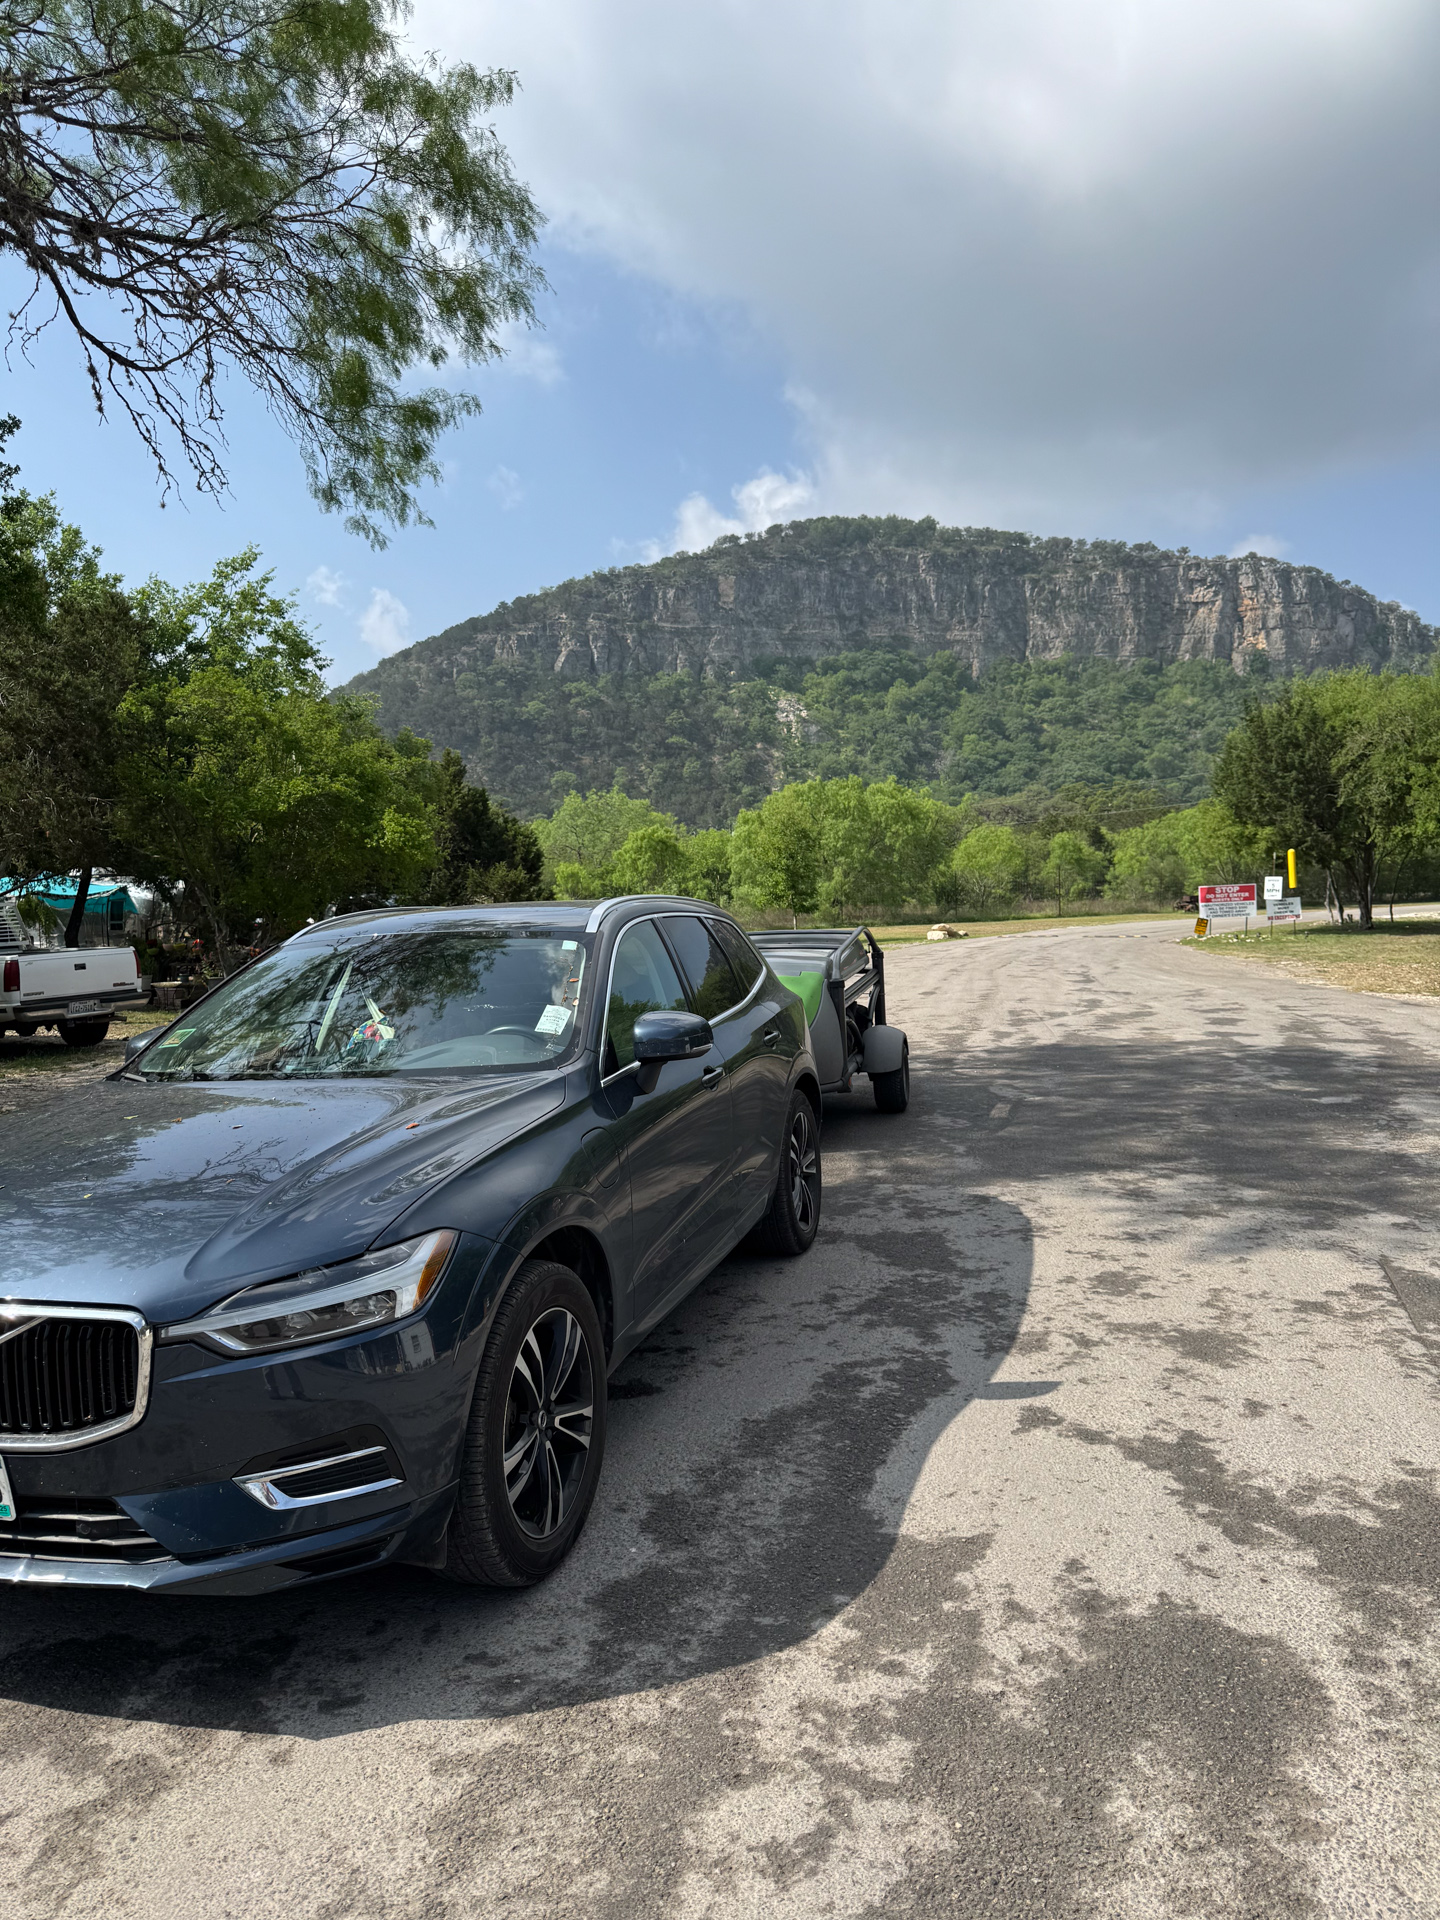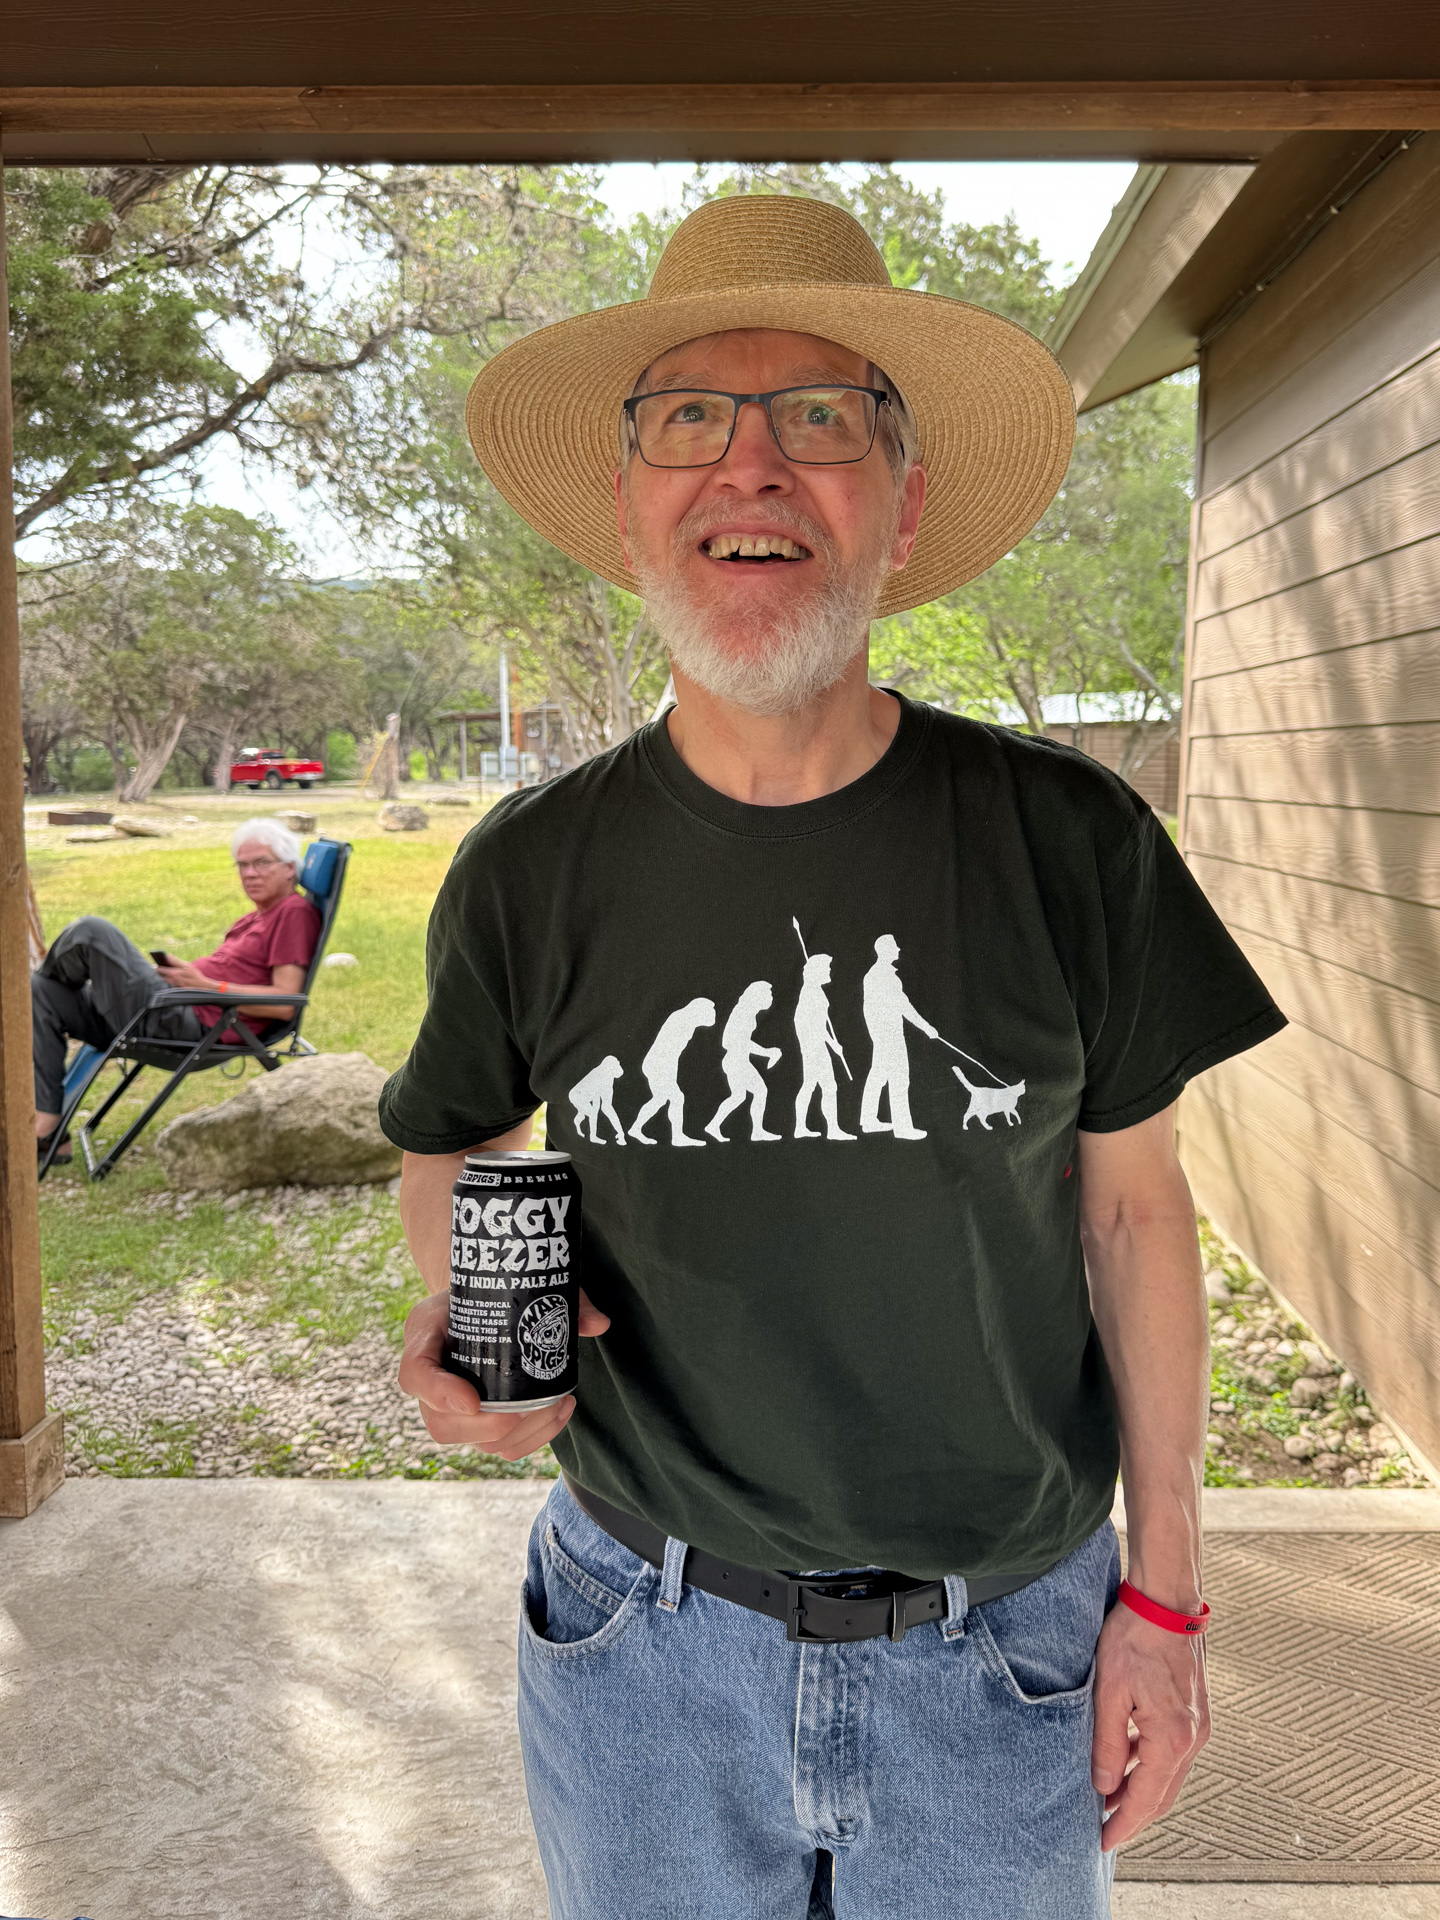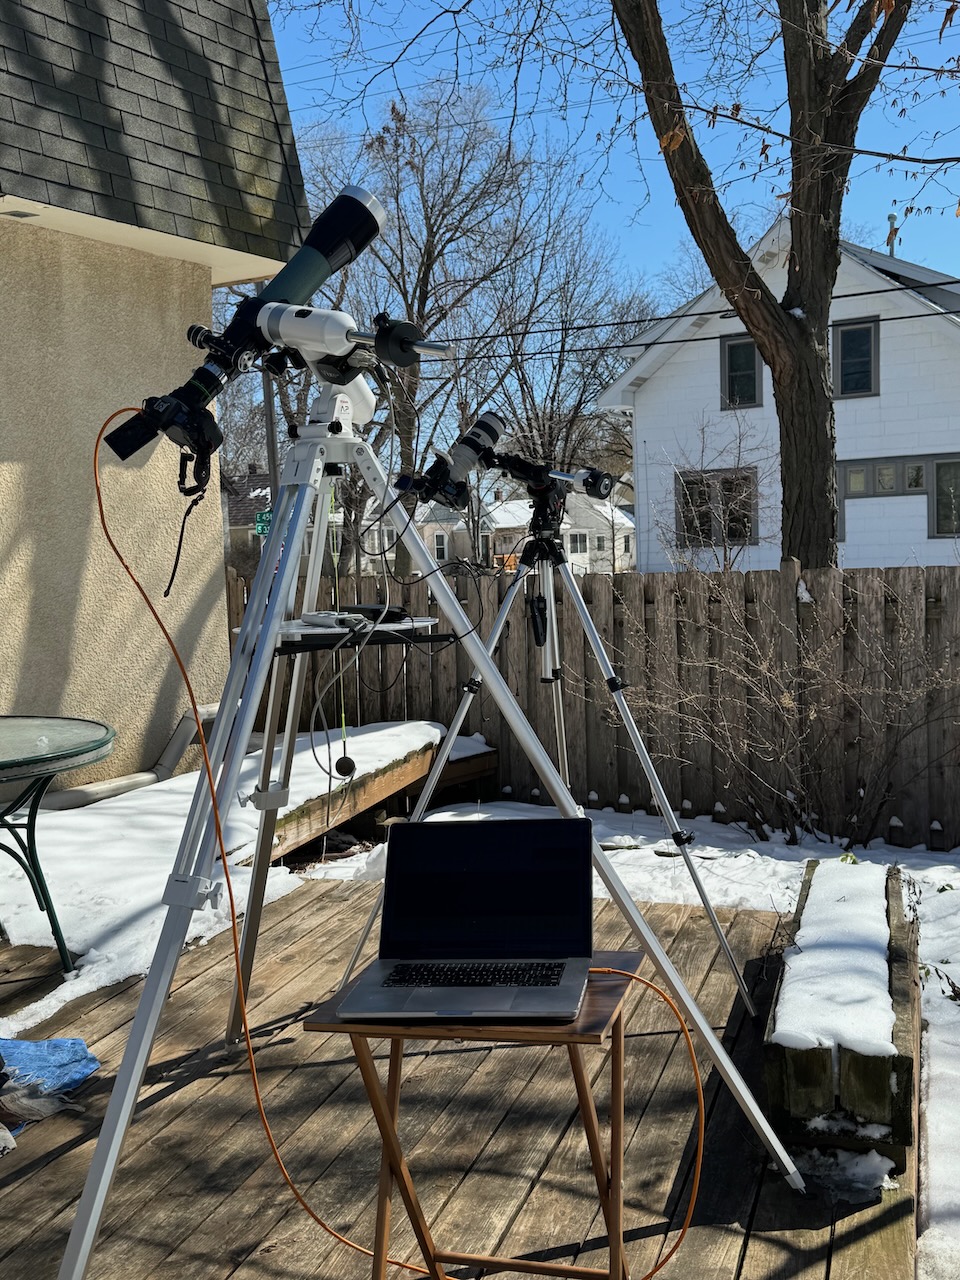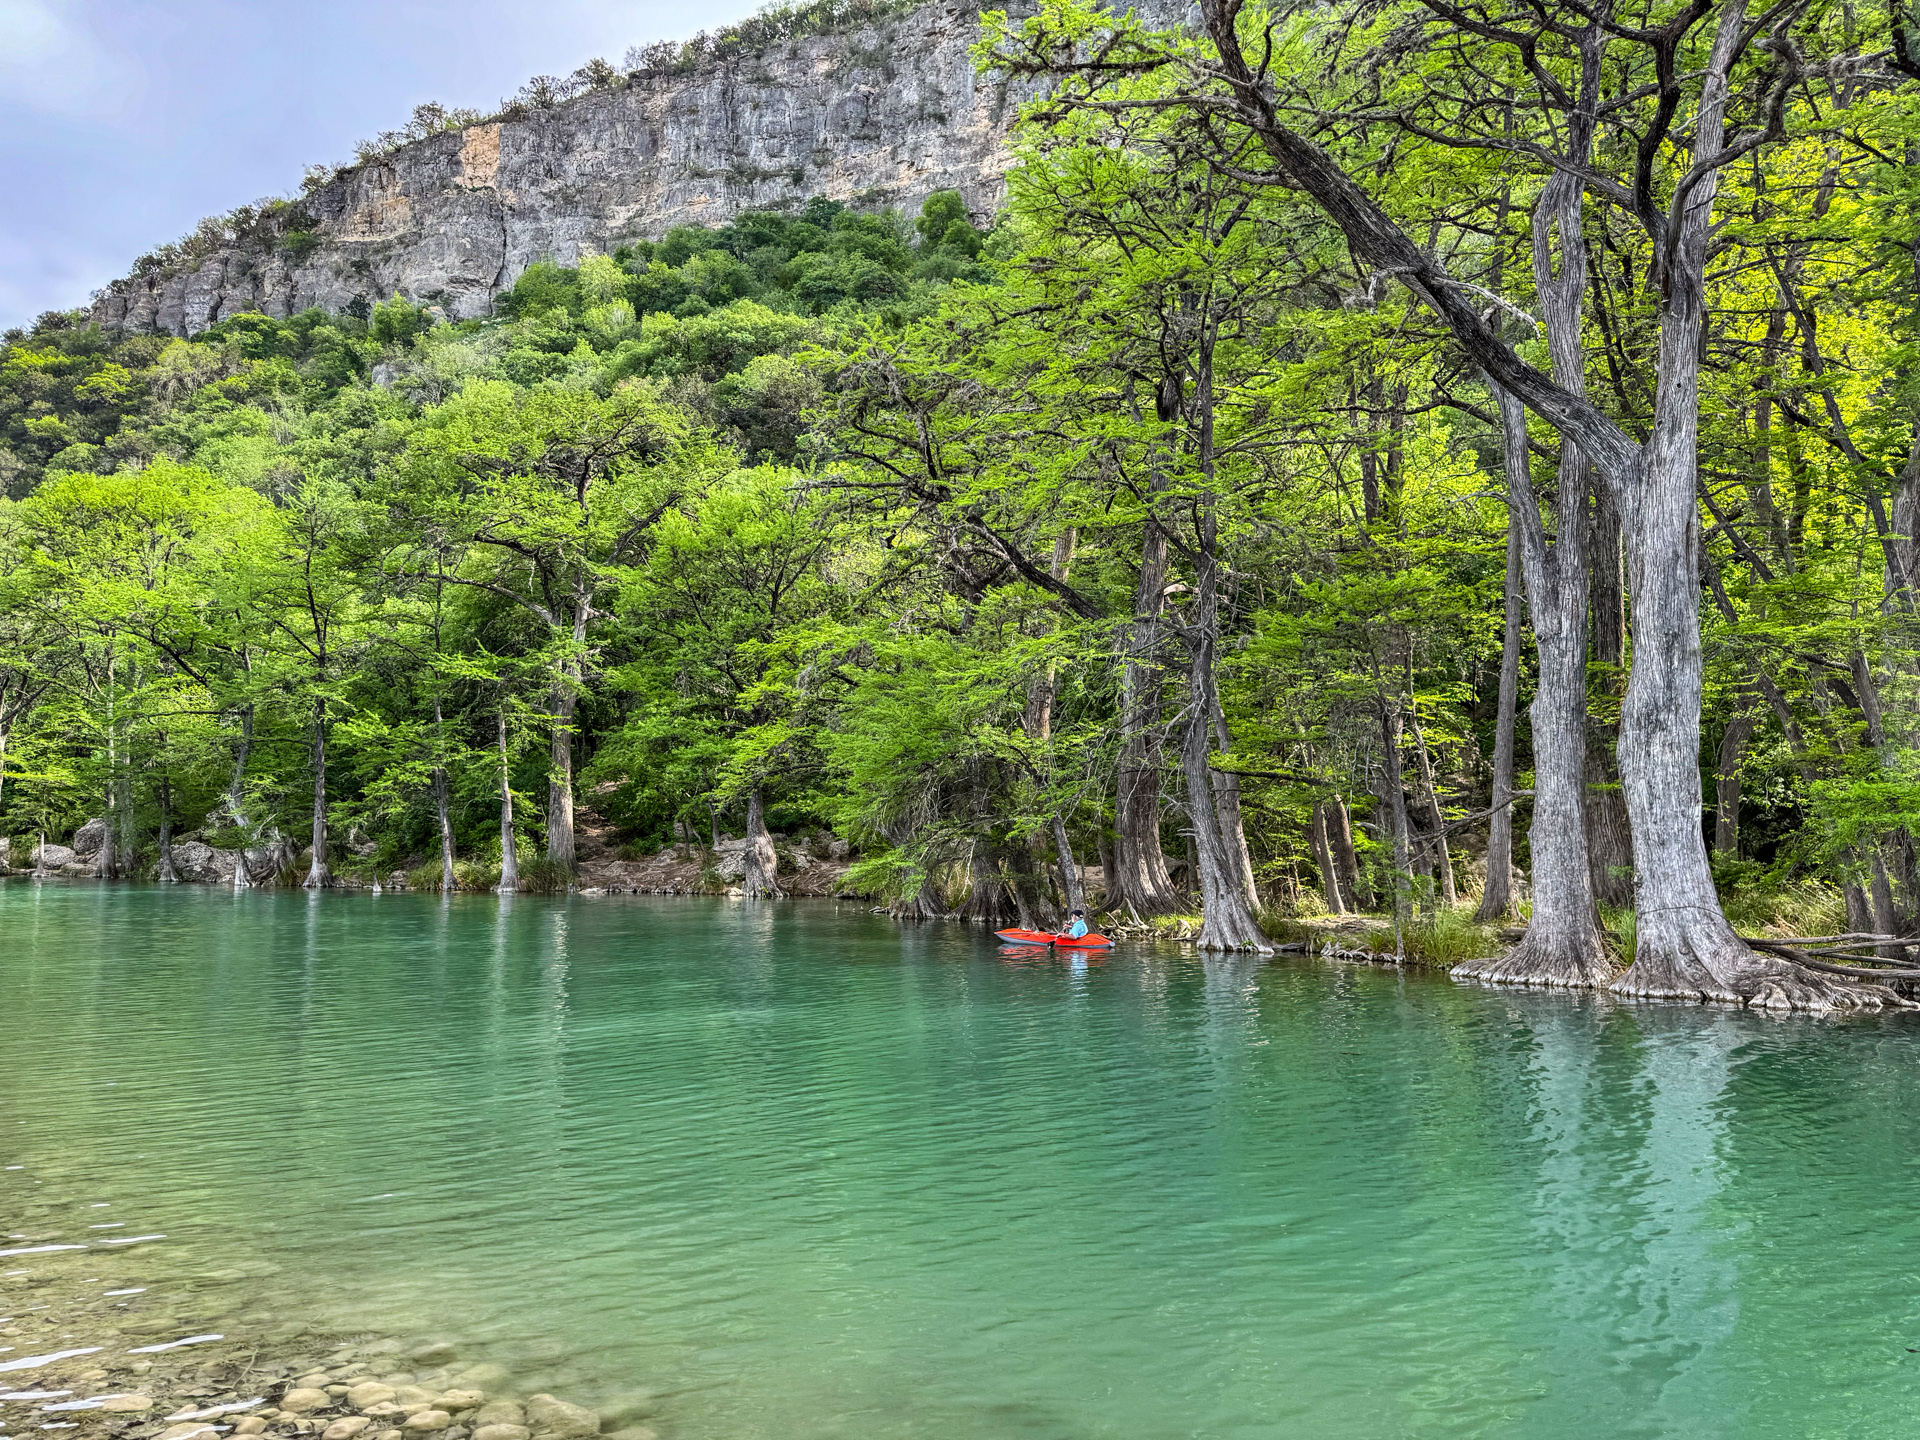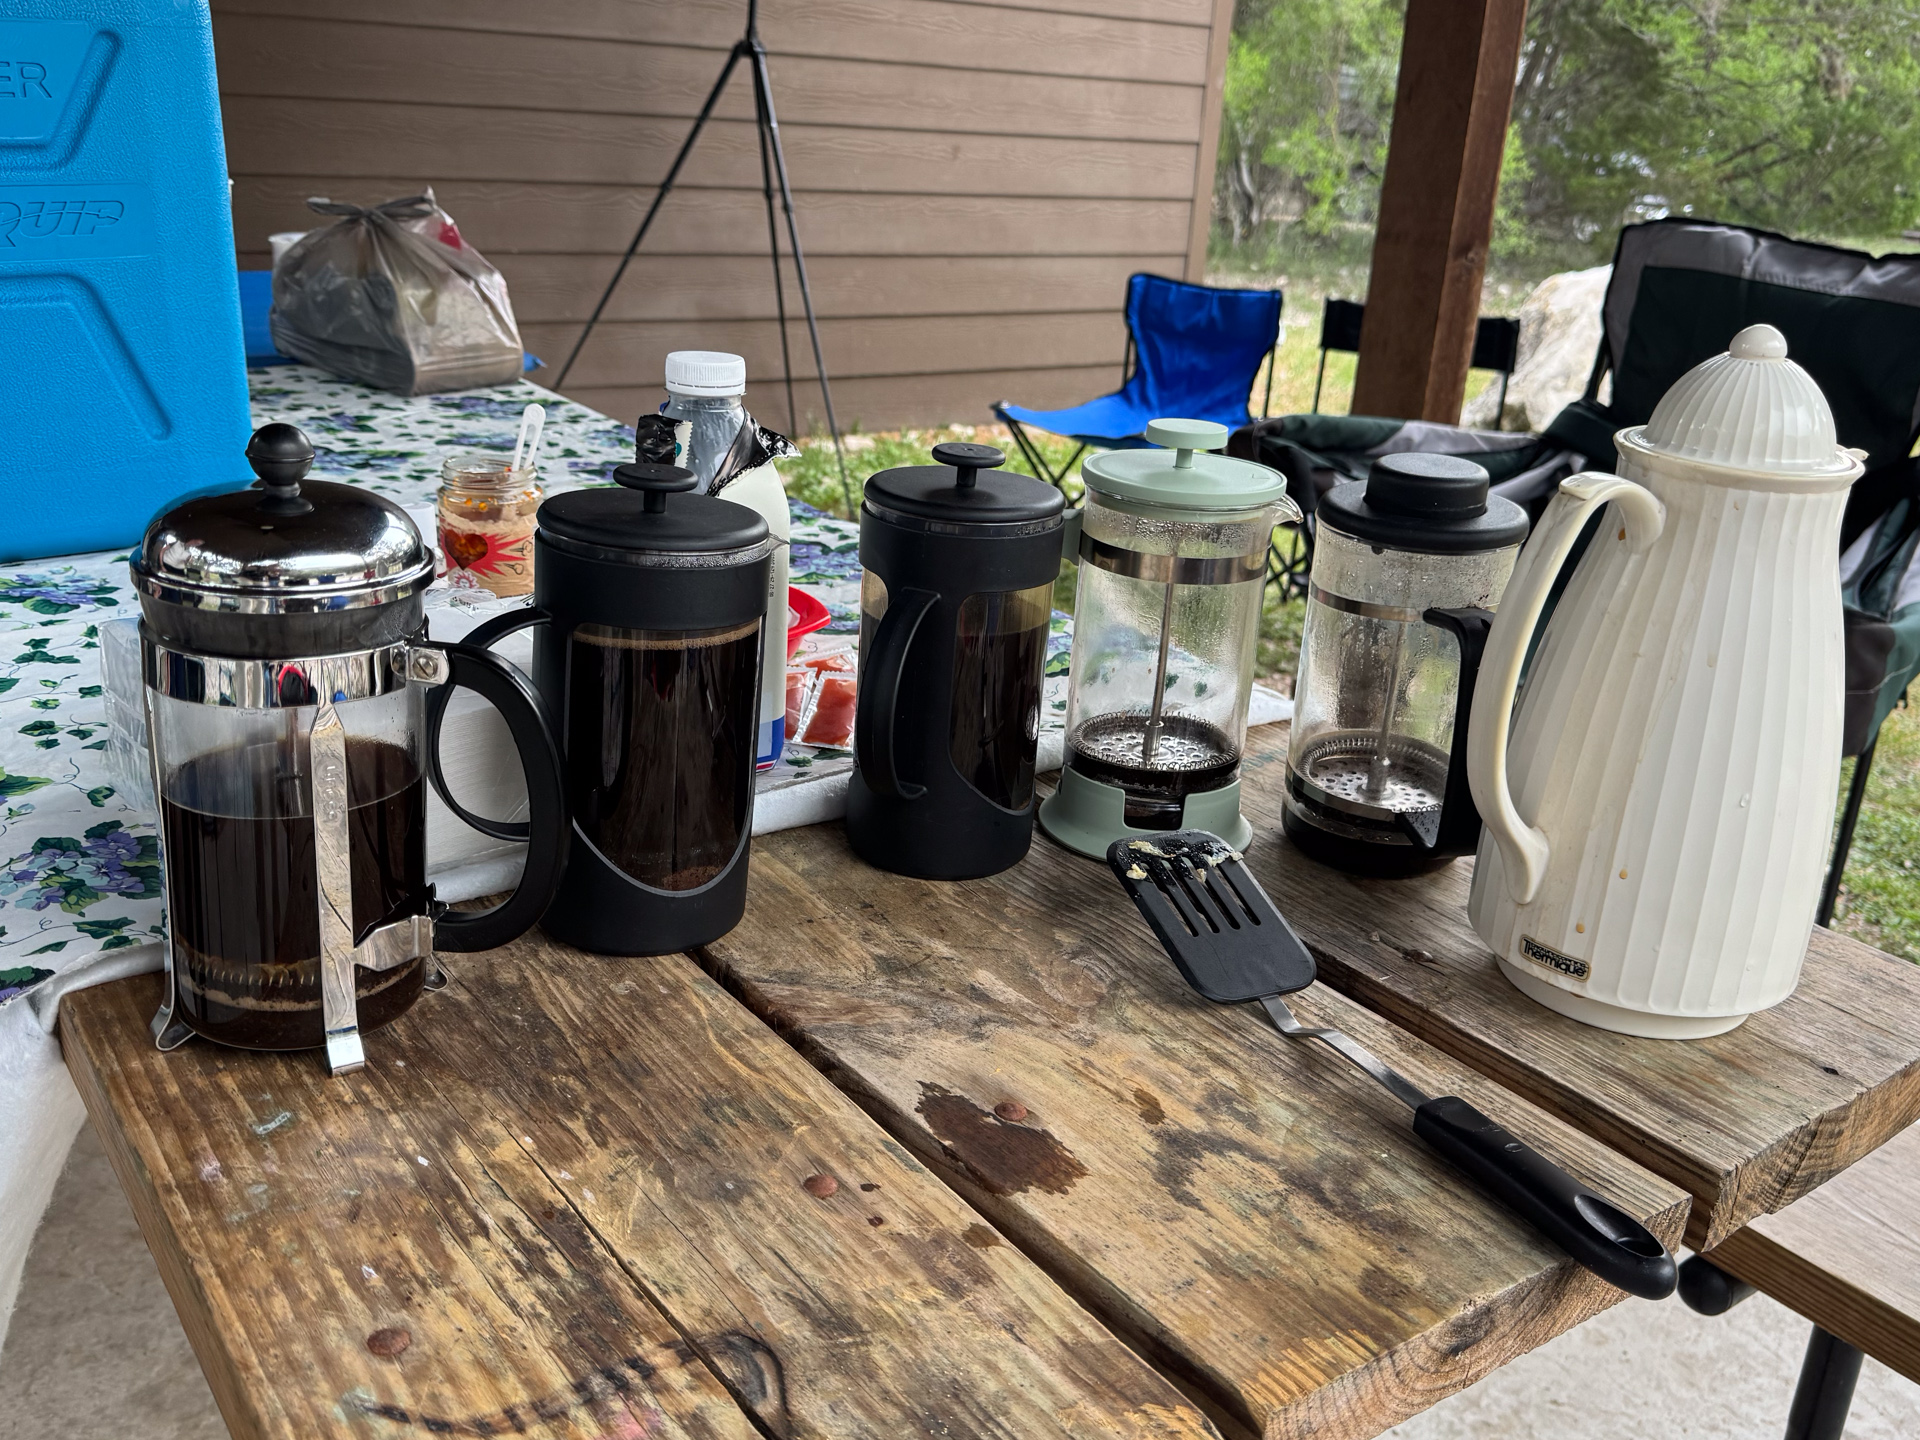
The terms of the campground reservation required a three-day stay. This was fine with us; it was a beautiful location, and we would be entirely avoiding the post-eclipse traffic jams. So Saturday and Sunday and even Monday morning—eclipse day– were open to enjoy the scenery at our place in Texas Hill Country.
Our compound within the camp comprised “Cabin H” with power and plumbing, and three shelters (“7” “8”, and “9”), which were basically screened-in porches with an electrical outlet. The shelters were surrounded by outdoor space to pitch a tent or park a camper.
Our fellow eclipse partiers gradually joined us on Saturday and Sunday. They set up their camping arrangements (tents, campers, shelters, or cabin facilities) and then went exploring.
Our plans came together well. We were worried about bringing all that we needed to host a group of 17 and worried it would all fit in our vehicle. But then, as it seemed we were ready to go a full day ahead of time, we worried that we must be forgetting something. I never have my stuff together by the scheduled departure! What was I missing? Well, we decided to leave as planned anyway– we’d figure it out later if we needed to. But isn’t that how all trips start? It was just the lack of rushed panic at the end of packing that was missing.
My friend Rich traveled to Texas as a passenger in a caravan that included more friends, John and Karen, and friends of friends Jennelle and Mike. John is a professor emeritus of environmental engineering, but I think if he wasn’t, he’d be a long-haul trucker. He insisted on driving the full distance, no sharing the wheel with other potential driving shifts. Stopping for gas was a necessary interruption, but stopping for a meal was lost time entirely– they could eat sandwiches on the road. They made the trip from Minneapolis to Zuber’s in two days. I’m glad to be in a different caravan.
While Poldi was preparing food-for-the-masses, I was preparing other things. The big attraction the eclipse held for me was its rare opportunity to capture unique photos of the sun.
In 2017 I had participated in “The Modern Eddington Experiment“, trying to photograph the nearby stars to see if they were deflected by the sun’s gravity as Einstein predicted. My results were inconclusive, but I really enjoyed the challenge of getting the pictures and analyzing the results afterward.
This year I registered to contribute to the Eclipse Mega Movie, a less complex project but one that matched my desire to capture the corona, which as we near the peak of the solar cycle should be even larger than it was in 2017.
To do this, I needed to precisely control the camera during totality. As often occurs with our rapidly evolving technology, much has changed in the seven years since 2017. I had a new camera and a new computer, several hardware and software versions later than my previous eclipse session. The software application I had used before had become obsolete, no longer able to run on the new laptop and operating system. The author had not migrated it to the latest platform.
Fortunately, a new program had been created that could fill its role– it had fewer features but was entirely adequate for what I wanted to do. I was pleased to discover it.
I remembered the excitement at the 2017 eclipse site, of various groups gathered in the campground, enjoying the spirit around the campfires. One of the groups was from an astronomy club, and they had made special eclipse event t-shirts for their members to wear with pride and distinction. When I expressed how impressed I was with the design, the group leader offered to sell me one. I took him up on it and have worn it frequently since.
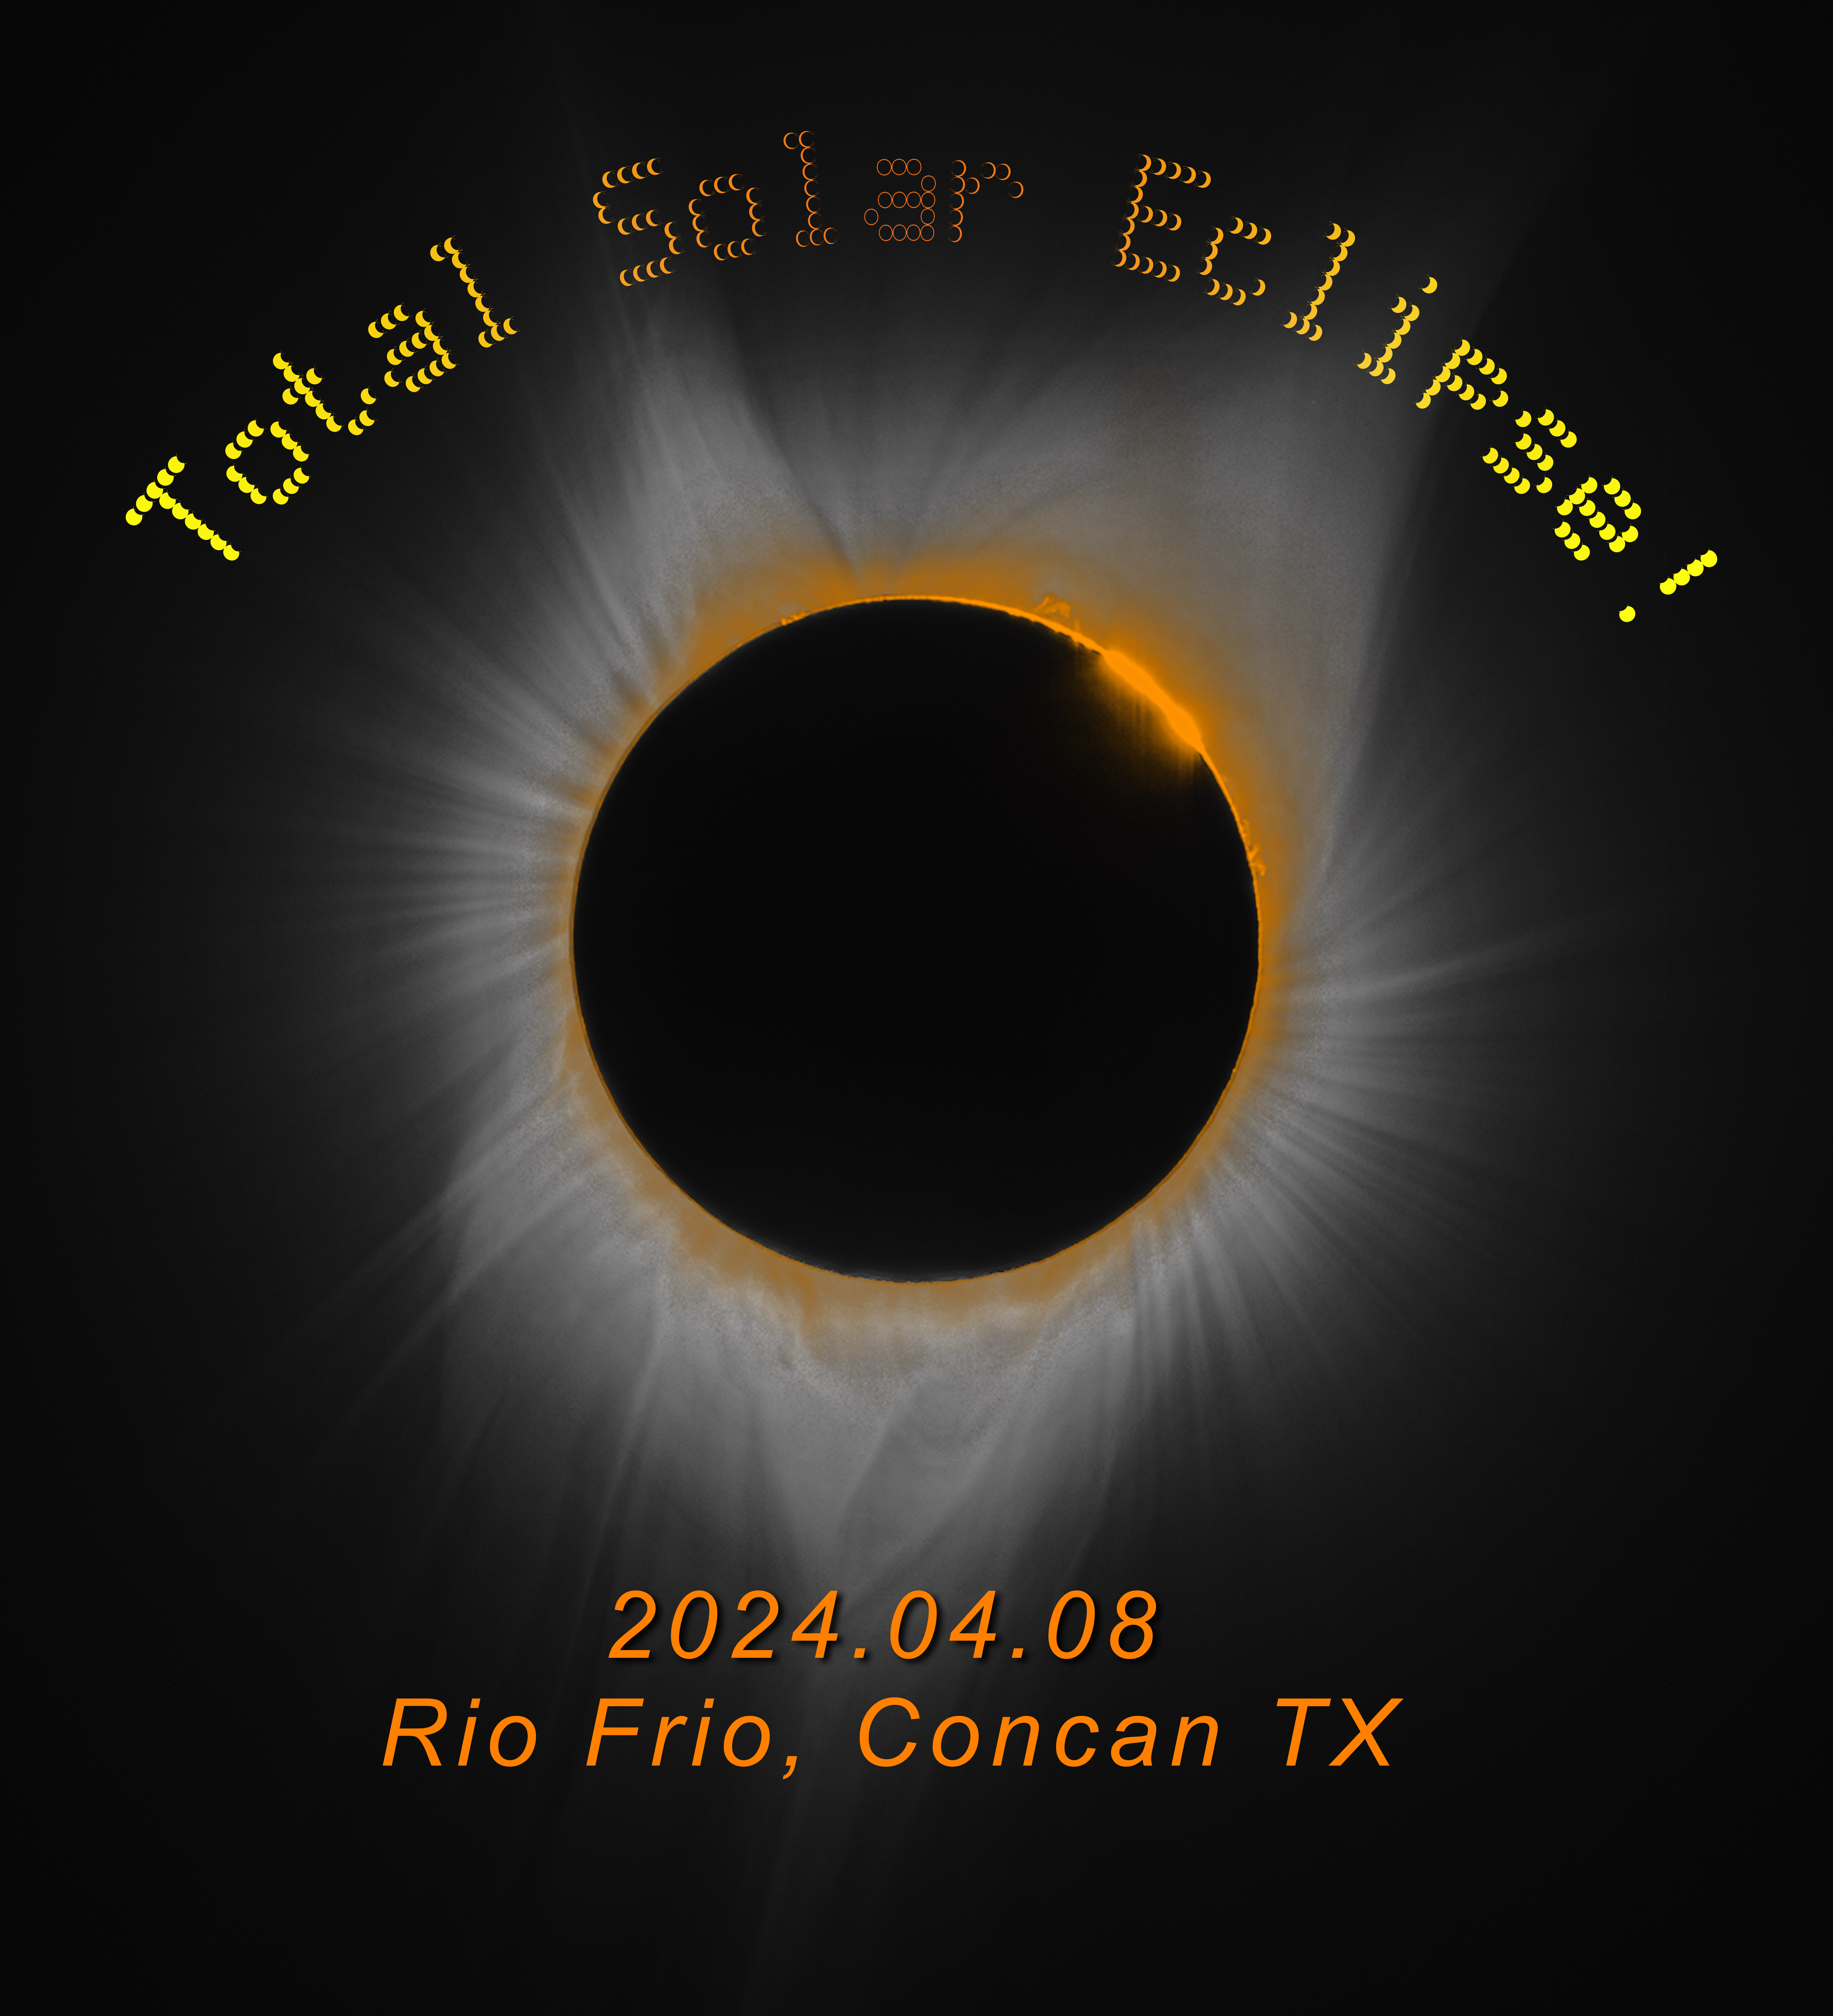
Seeing an opportunity to do something similar for our group, I put together a design. It was much simpler than the one I admired in 2017, but it featured one of my photos from that eclipse. It documented the time and place of our eclipse party, and it had a banner declaring “Total Solar Eclipse!”. Rather than making it big and bold, I realized that I could use the dot-matrix font of the name projection cards, which tied in the pinhole projection activity nicely. I further realized that I could represent the full progression of the eclipse by evolving the dots into thin crescents, and then back to full disks. I was eventually satisfied with this design and stopped tweaking it.
Now I needed to find some way to get it printed onto shirts. I hadn’t ever done a project like this, but with all the zillions of t-shirts one encounters, I figured there must be some businesses that specialize in it. My concern was that my small print run would not be of interest to them—the setup expense would be too high and the margins too small.
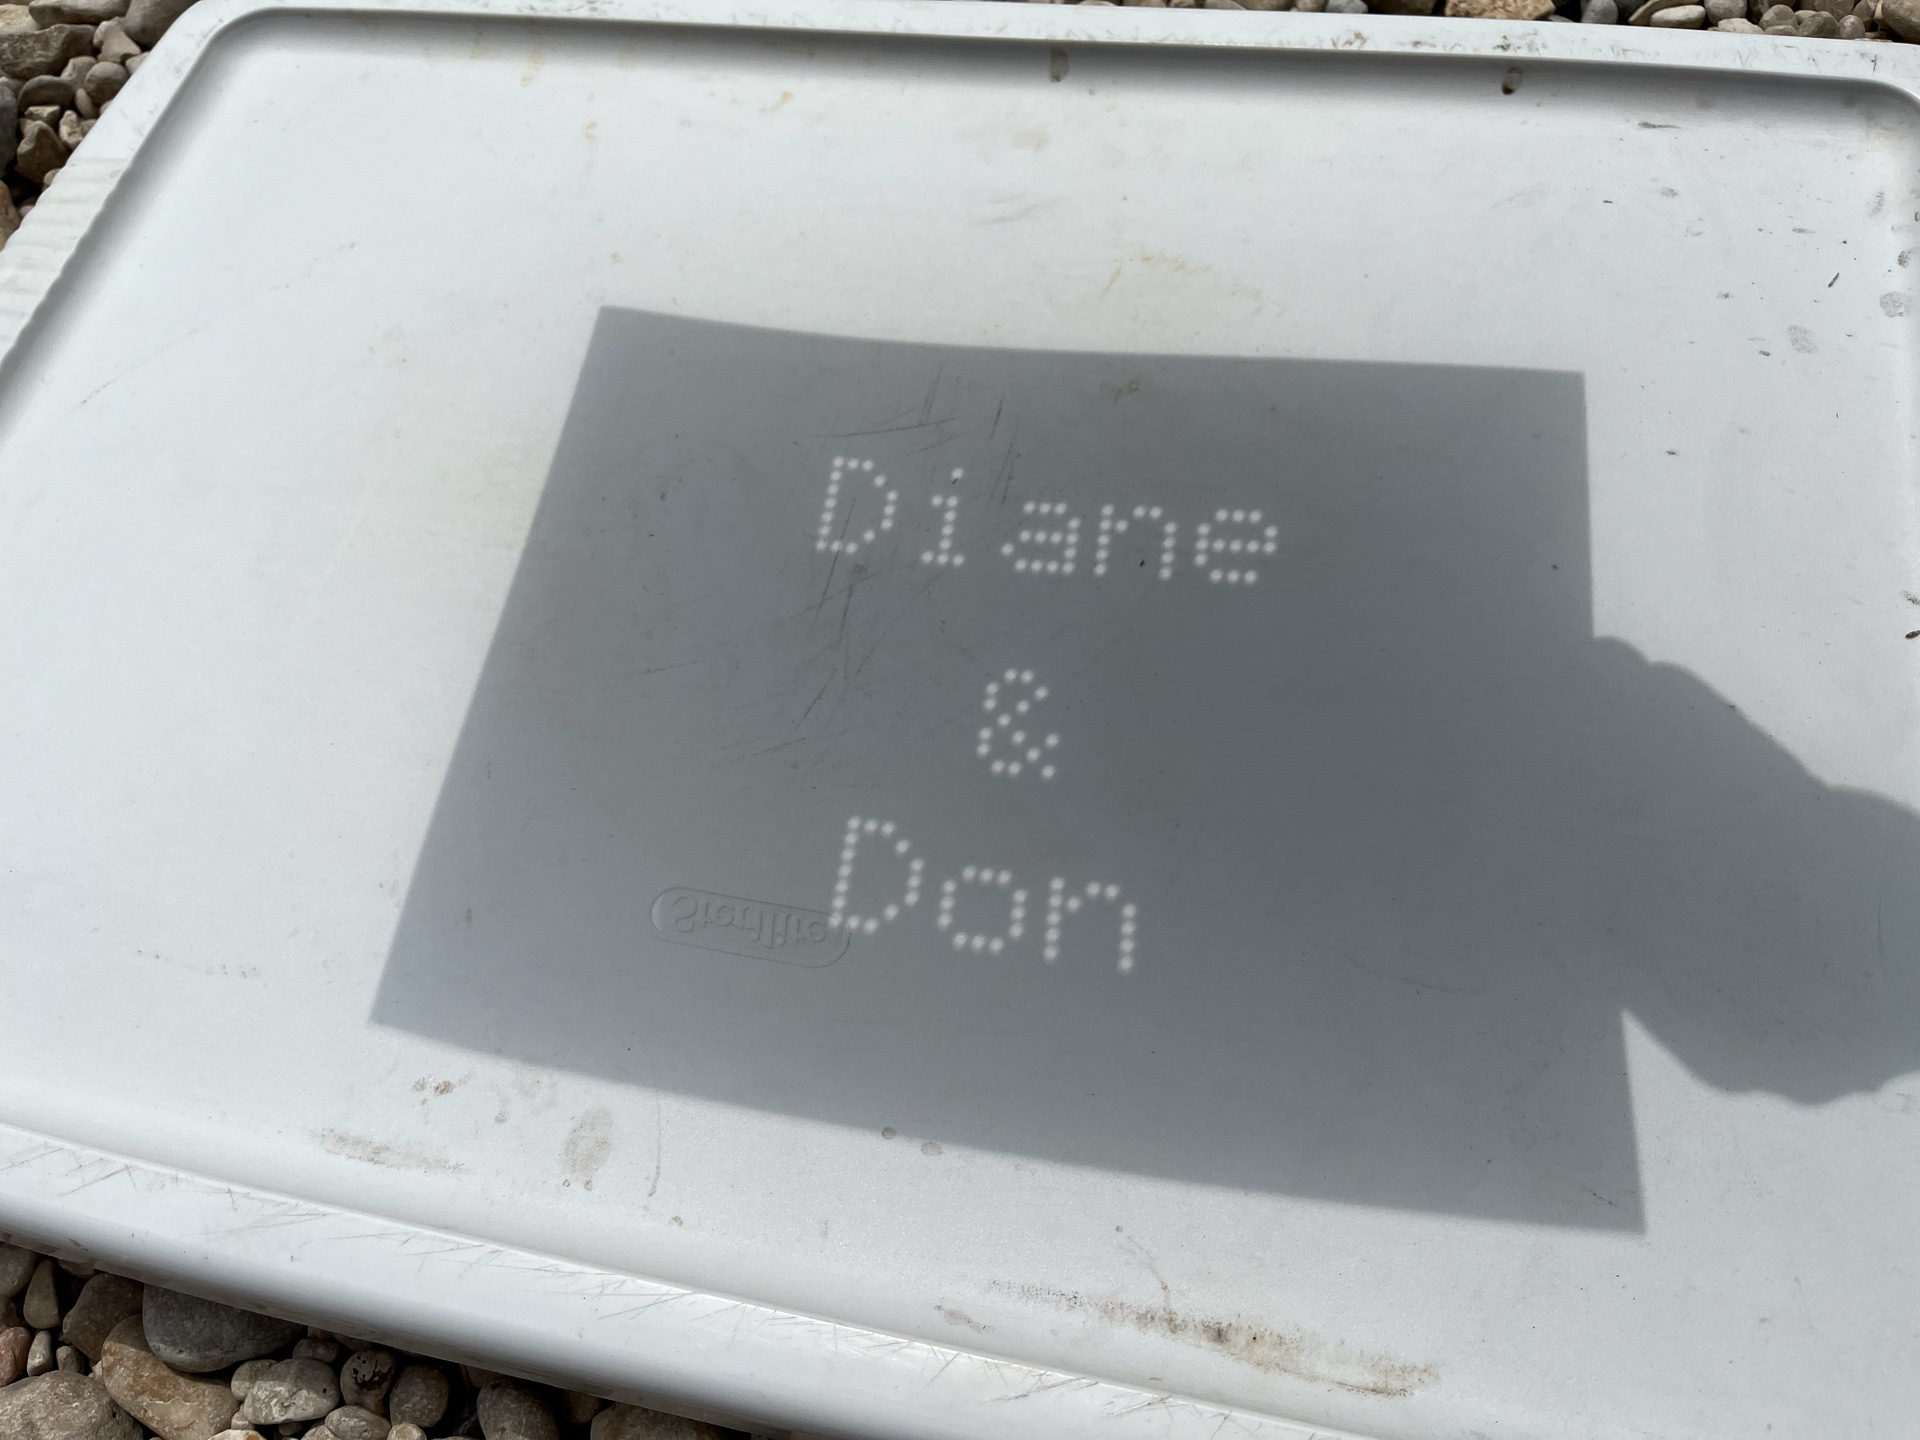
As co-host of Thor and Poldi’s Excellent Eclipse Party, I wanted to provide something that might augment Poldi’s gourmet camping meals. I was inspired by a YouTube presentation of how to enjoy the eclipse, including during the partial phases leading up to totality, and how to safely view the sun during this time (over an hour). One of the techniques was the use of “pinhole projection” where a small hole in an opaque panel projects an image of the sun onto a flat surface. It is an embodiment of a pinhole camera, but aimed at the sun.
In 1963 a solar eclipse crossed North America. I was living where the eclipse would be 80% full and I recall my dad setting up a pinhole projector so we could watch the progress of the eclipse. The image showed a small crescent, like the moon. This left an indelible memory on an impressionable 10-year old, but even more so, was seeing the multitude of crescents projected along the street in front of our house. The cathedral ceiling of elm trees along the avenue had holes in it, formed by the gaps between the leaves. Each was its own pinhole and cast a crescent image on the pavement. This is what left the strongest impression on me that day.
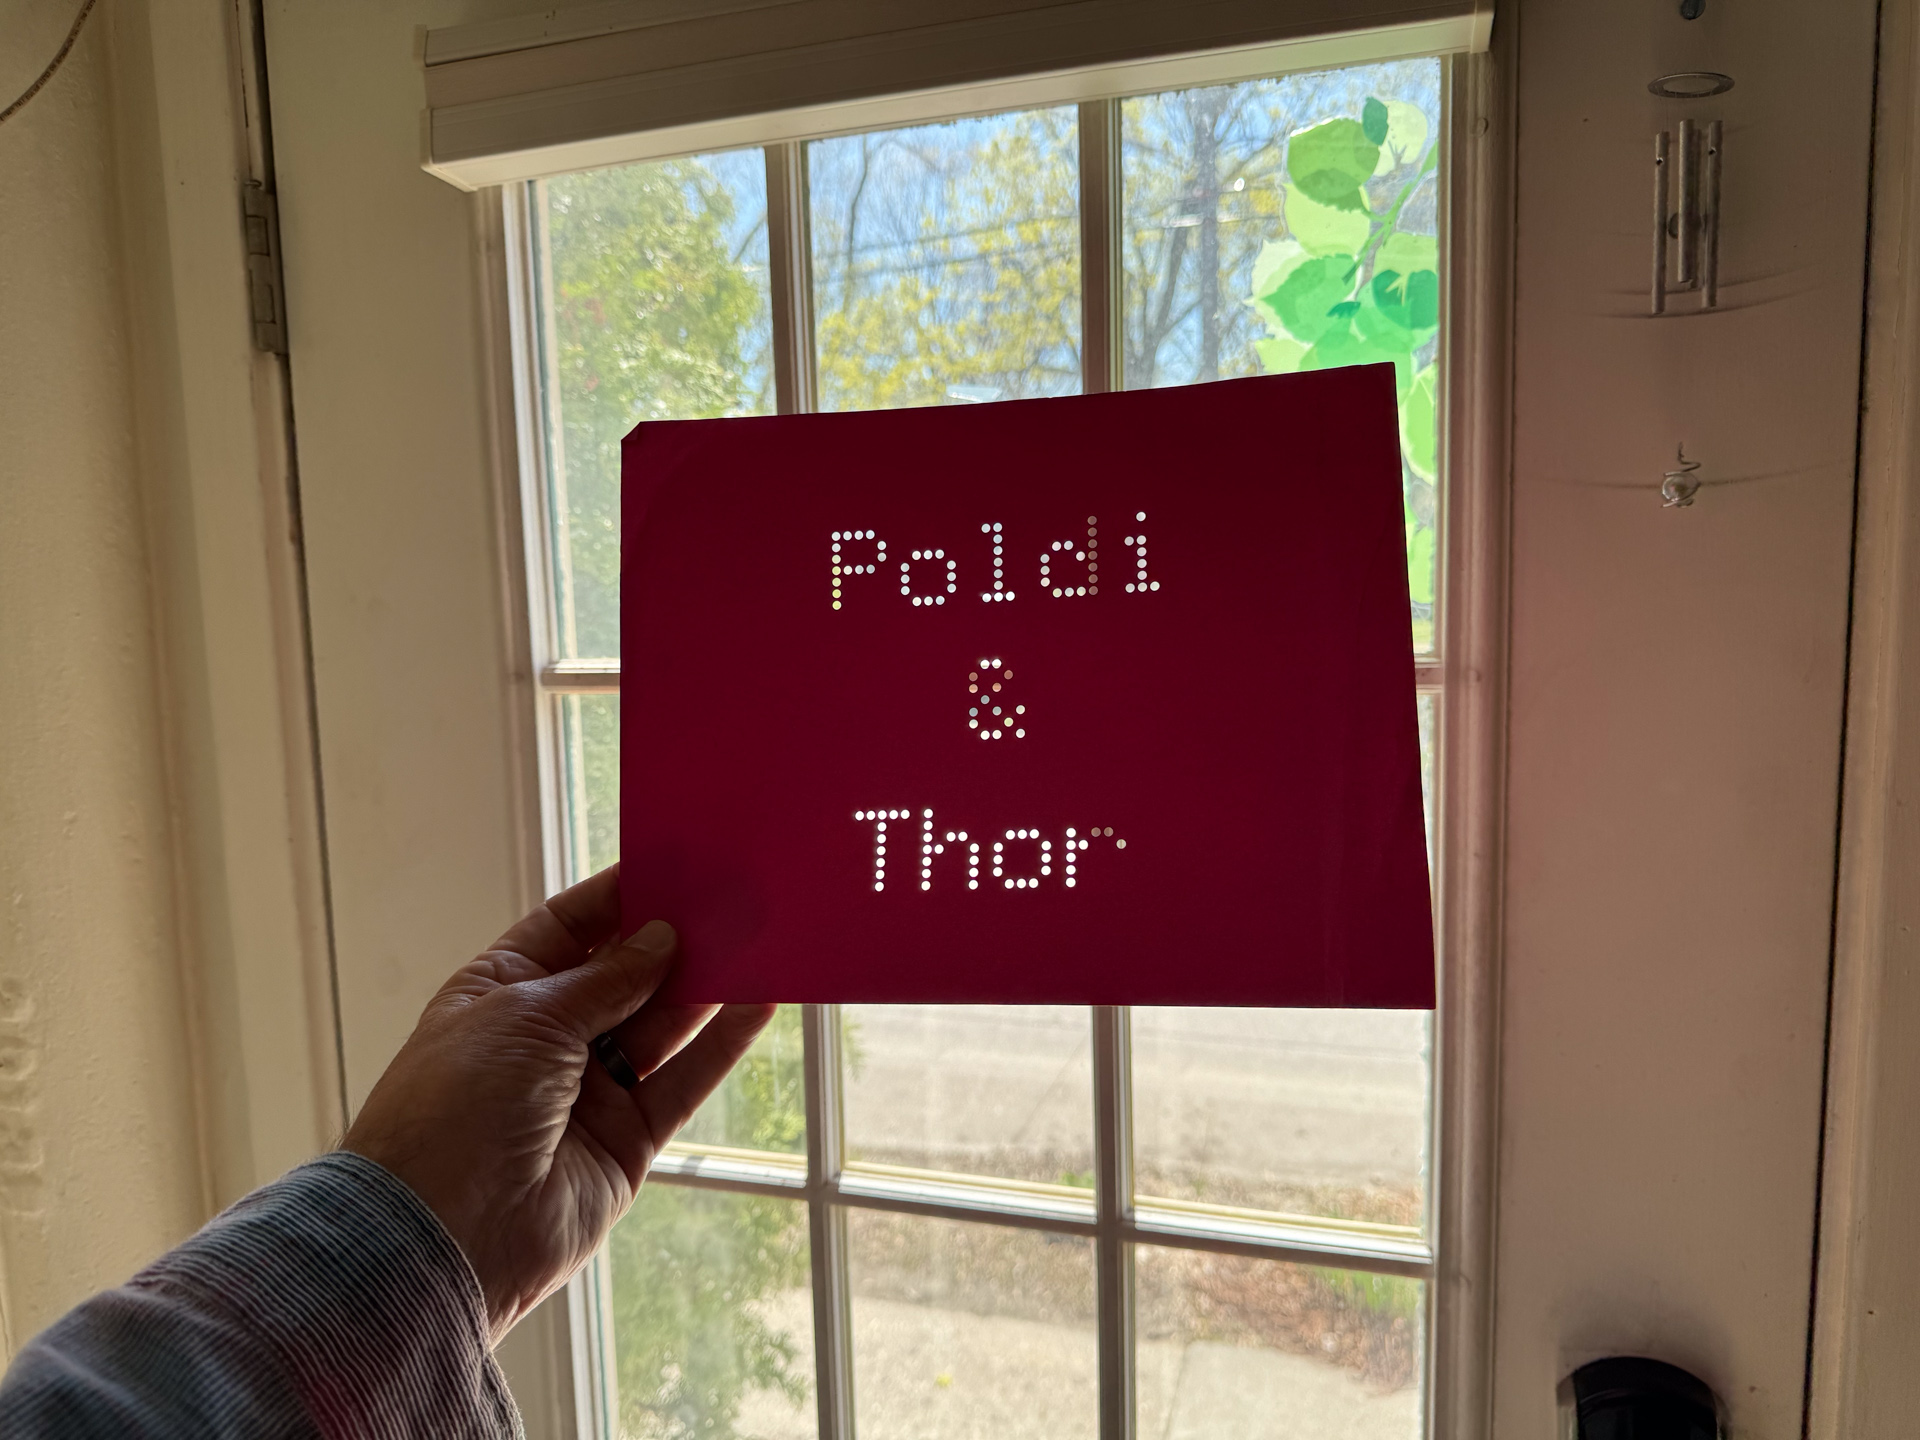
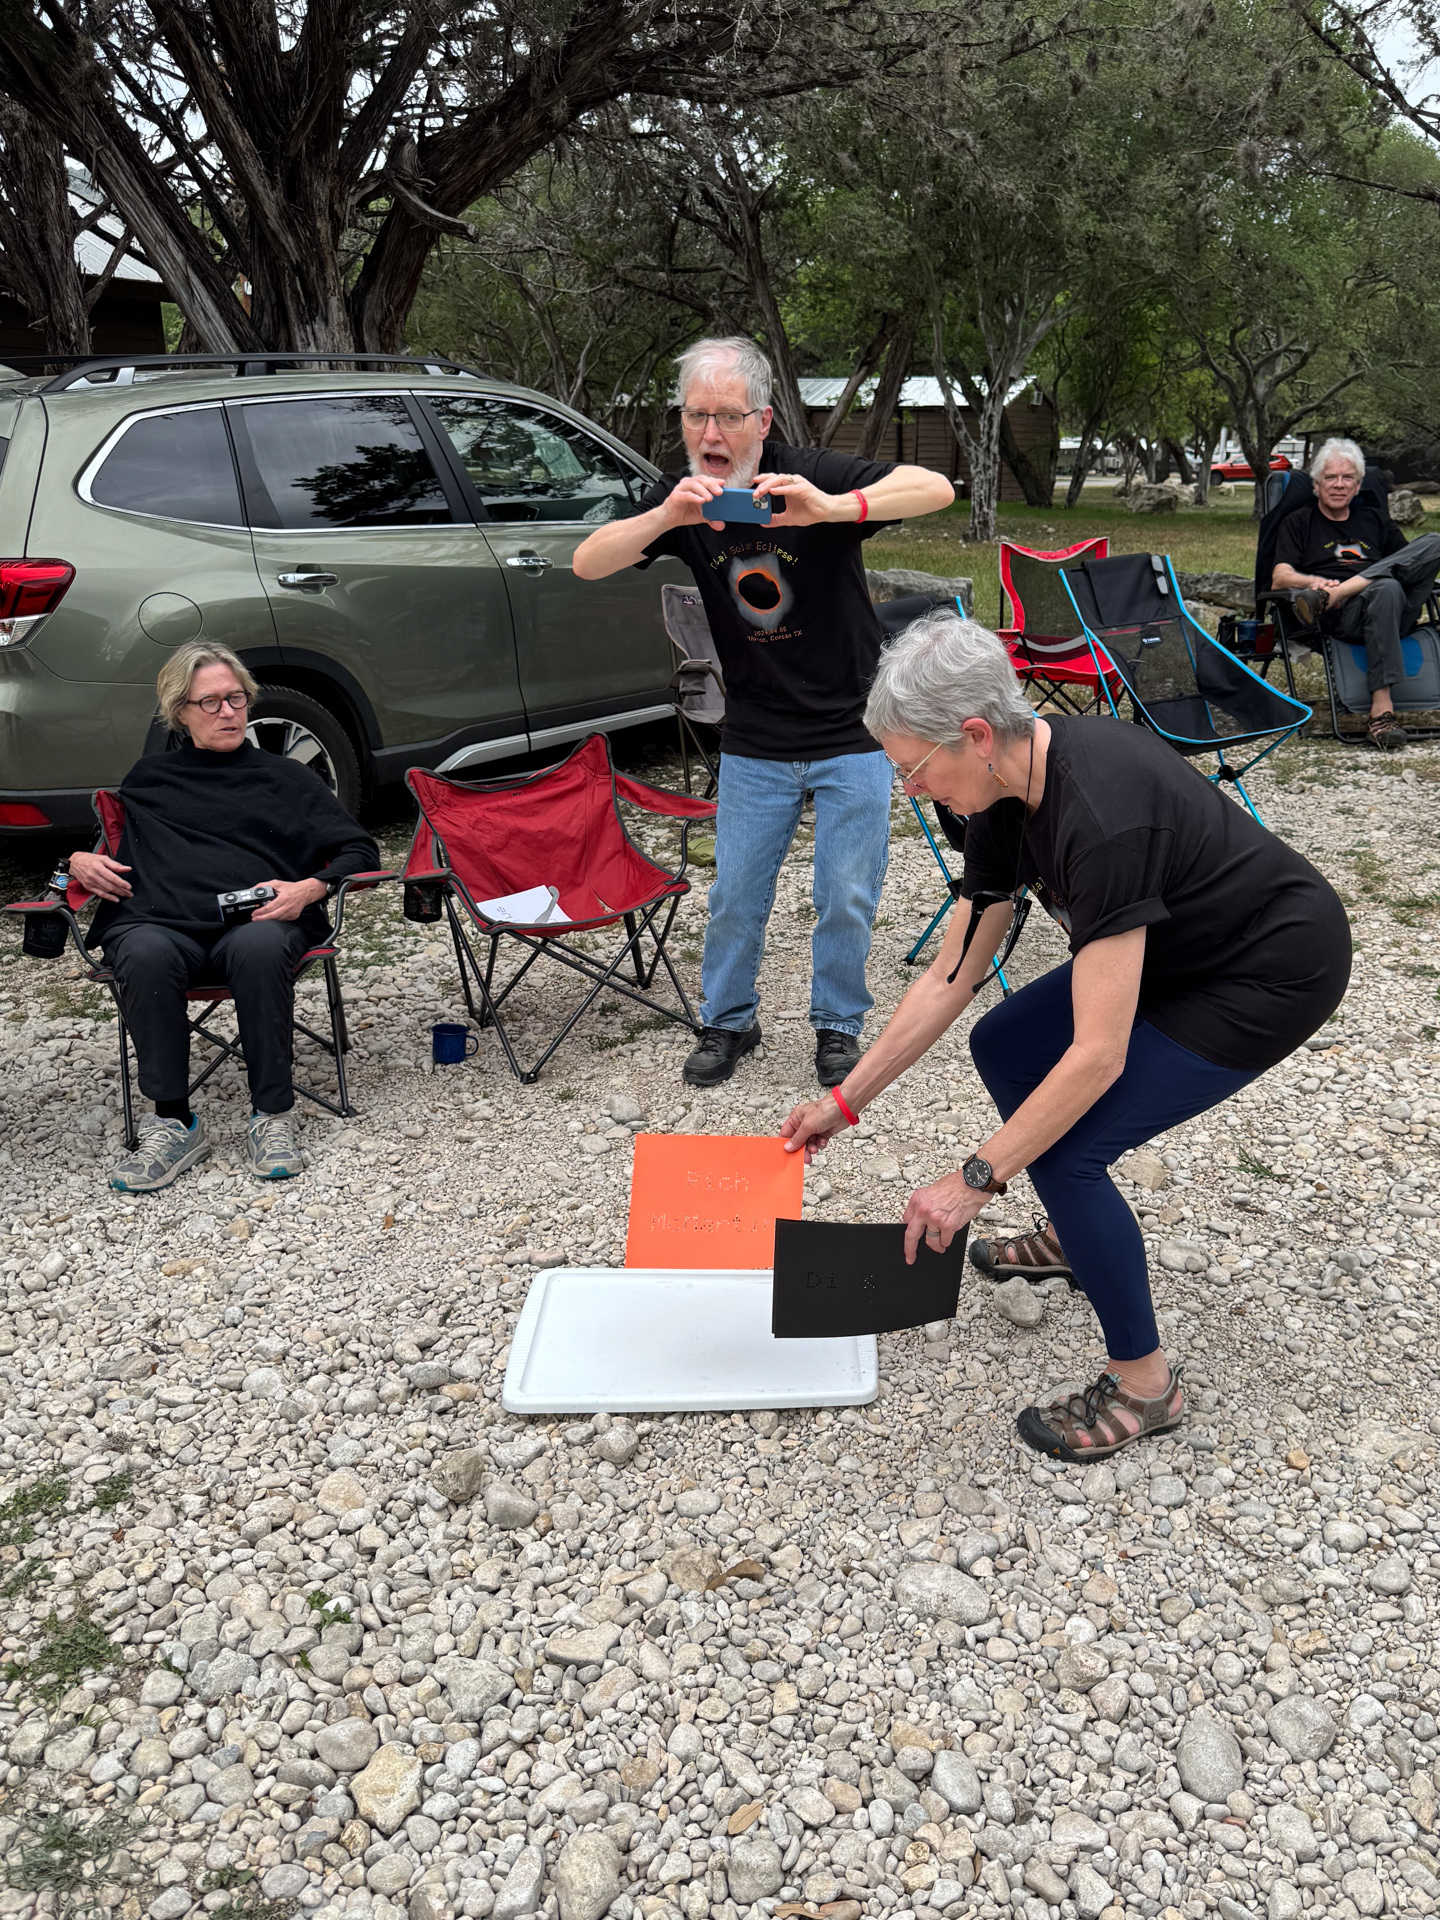
Today I understand the physics and optics of what made those images, but it does not diminish the awe and wonder I have for the effect. I wanted to see it again at this eclipse, and to that end I designed cardstock pages with holes punched in them for our eclipse partiers to project. The holes spelled out the name of each guest in a dot-matrix font.
I considered how to punch all these holes and soon realized that doing this by hand would not work. I did not have the tools or patience for such a task. I considered acquiring a laser cutter, but this would be a new technology to me, one that I didn’t have the time to learn. I contacted a local shop, but was not confident in their response to my request (“we’ll have to experiment to see if this will work”), and it would be expensive.
Fortunately, as I described the situation to my talented and well-equipped friend Odd Dave, he offered to make them on his laser cutter (of course he had one, and he wanted to keep it in condition by using it). I sent him a test file, he “printed” it with seemingly little effort, and then proceeded to punch the rest of them. He mailed them to me with plenty of time to pack them with the other eclipse equipment.
The eclipse partiers were thrilled to receive these custom-punched cards and looked forward to making projections of their names during the partial phases of the eclipse. Sadly, nearly all of that time was overcast. One needs a full view of the sun for the projection to be effective. There were a few openings early in the eclipse, and one might be able to make out the solar disk images with a small “bite” taken out, but the more dramatic projections of thin crescents were clouded out.
I hope they save the “name hole projection” cards for their next eclipse.
Two years ago, in anticipation of the 2024 eclipse, I made a reconnaissance trip to Texas, where the historical odds of clear skies were the highest in the US. I located a similar campground to the one we had enjoyed in Idaho, this time along the Frio River in the “Hill Country” of Texas. Zuber’s River Camp was a few hundred meters from the centerline of the eclipse and would yield over four minutes of that bizarre condition we wanted to experience again. I didn’t know two years ago who might want to join us, but I made a guess and put my name on a waiting list for campground shelters.
I sent out an invitation and attracted the attention of several of those who had joined us in 2017. Word spread to relatives, friends, friends of friends, and friends of relatives, and soon we had a full roster. Many in the group had not seen the total eclipse in 2017, or ever.
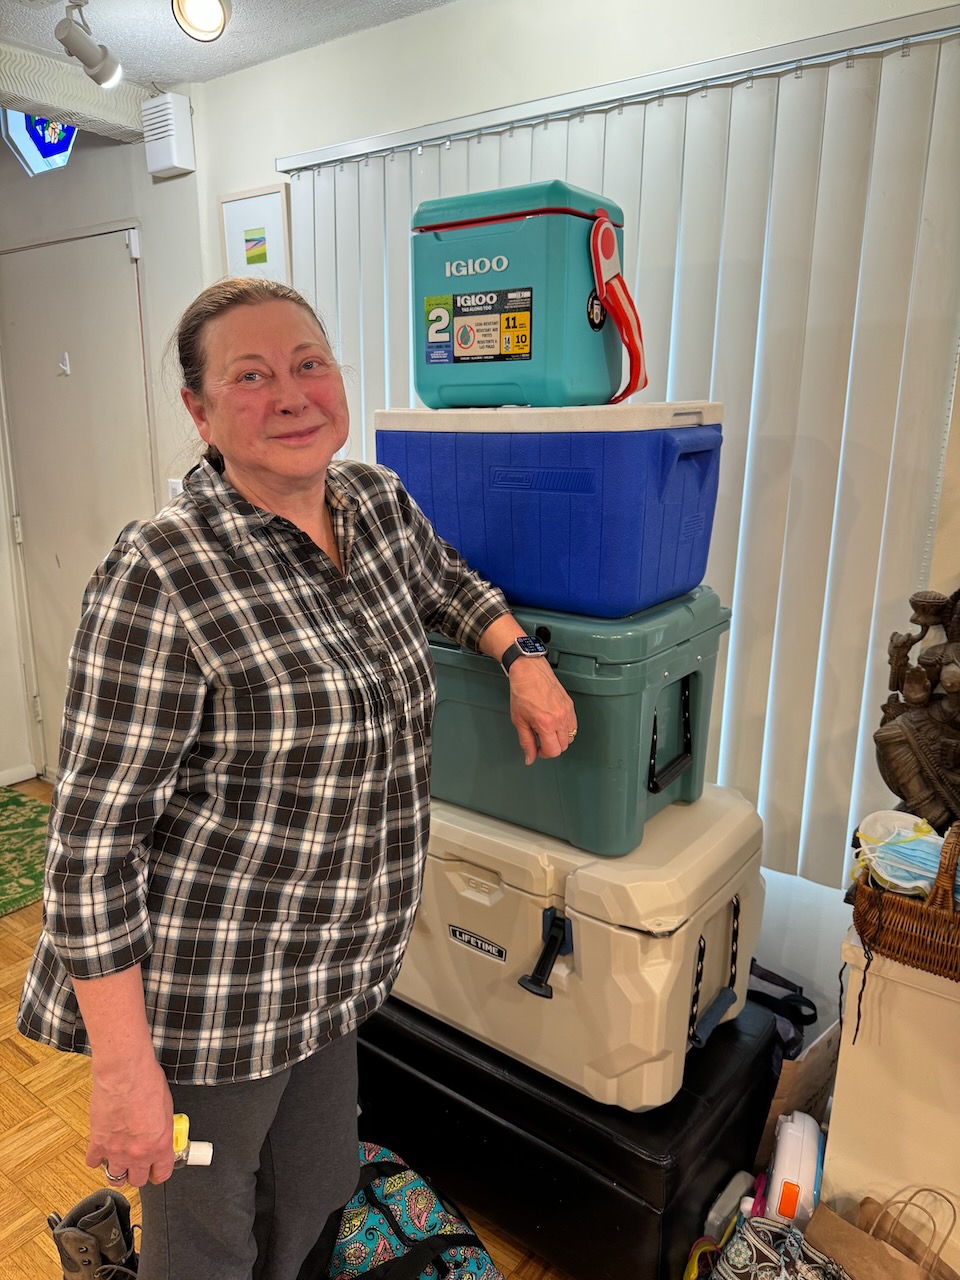
We secured the campground reservations and plans came together. Poldi, who seems to have a natural desire to feed groups of people, became the camp quartermaster and took on the challenge of planning a menu, pre-cooking and preserving, and the logistics of acquiring fresh provisions on our route to the Texas site. She did reconnaissance and training runs at the local Costco store. She estimated the capacity of coolers and containers and stockpiled all the necessary cooking supplies and staples.
While Poldi was creating and refining her plans for food, I was making other plans. Despite the widespread advice to not spend the precious few minutes of totality fussing with camera settings, I wanted to take pictures. Pictures of the sun’s prominences and corona and maybe even a timelapse of the eclipse. Expert advice or not, it is what I do.
In addition to planning for my photographic goals, I wanted to do something to help bind this group of people, none of whom knew everyone– even the hosts had not met them all! This inspired two more preparation projects: “name card projections” and the creation of a t-shirt design, to be described next.
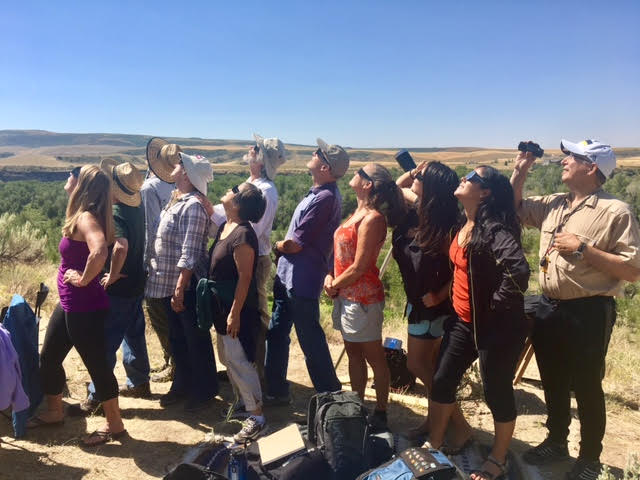
In 2017 we hosted “Thor & Poldi’s Excellent Eclipse Party” for about a dozen friends and relatives. They recall fondly the time we spent on the banks of the Snake River at Heise Hot Springs campground, and the beautiful clear day at “Stinking Springs”, where we witnessed the sun turn into a hole in the sky. It was three minutes of an otherworldly sensation.
We decided to do it again for the 2024 eclipse. This begins a series of blog posts that describe that experience– the planning, the traveling, and the day of the eclipse. It is not a spoiler to let you know that clouds interfered with our plans, this is now meteorological history. But we were rewarded with all the pleasures and adventures of the journey, and the sharing of it with friends, old and new.
I will be adding bits to the story over the next few days and weeks. If you wish to subscribe and get the posts in your email, there is a signup link somewhere nearby.
Thor and Poldi’s Eclipse Party 2024 previous | beginning | next
My idea of creating a vacuum was terribly simplistic. Just run a pump until you reach your desired vacuum, right?. Well… I learned that there is much more to it.
First, there are different degrees of vacuum, categorized by how difficult it is to attain them. The easiest can be obtained by a mechanical pump, a piston, or equivalent, pushing air molecules from the chamber to the outside, essentially a reverse bicycle pump. It is possible to remove 99.9% of the air molecules and a few more, but that still leaves too many for the cool vacuum electron effects like neon signs, nixie tubes, and for audiophiles, amplifier tubes.
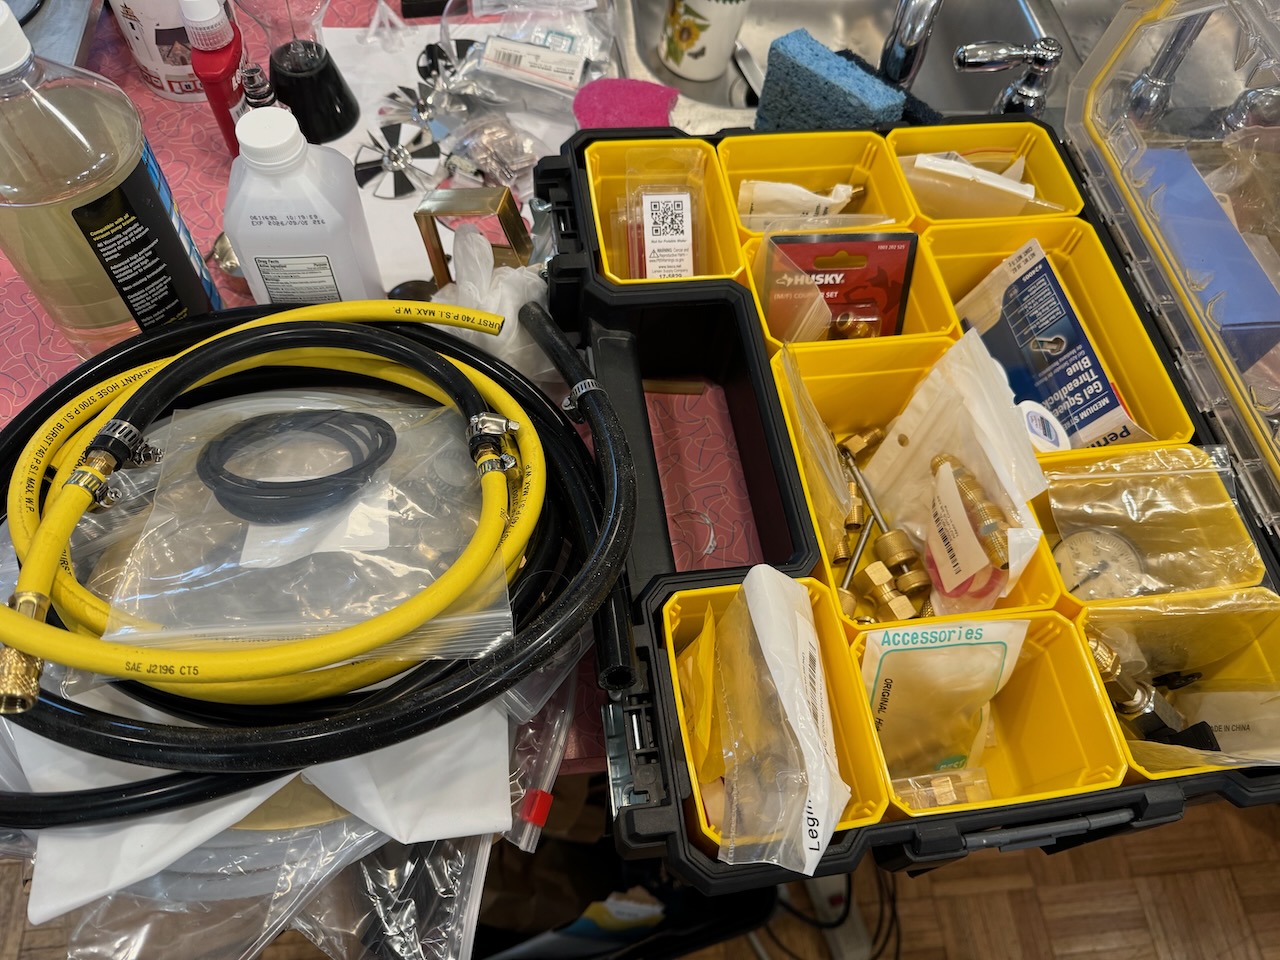
The mechanical vacuum pumps can’t reach those levels; more exotic pumps are needed, but they can get close to where radiometers operate, which is my interest. So following the advice of expert friends, I acquired a pump that, in principle, could reach the level of vacuum I needed: 50 microns (a micron of mercury air pressure is 1/760 thousandth, call it a millionth, of standard atmosphere). The pump model I bought is commonly used by the HVAC industry, where air conditioning units need to be evacuated before charging them with refrigeration working fluids (Freon, etc.). They can reach the 50 micron vacuum level internally, but if you connect it to a real world vacuum chamber, there is a myriad of “leaks” that will prevent getting there.
I found this out by trial and error. I found that the hoses, fittings, and gauges from the HVAC world were not cheap, but there is a market to keep them reasonably affordable to the industry’s practitioners. Vacuum-rated hoses, gauges, valves, and fittings (the connectors between vacuum elements that minimize leaks), are hard to make. And they all seem to have their own connection systems. I learned about “flare” fittings, “nominal pipe thread” and tapered thread, acme threads, o-rings, and a bunch of other methods for connecting things and trying not to leak air molecules.
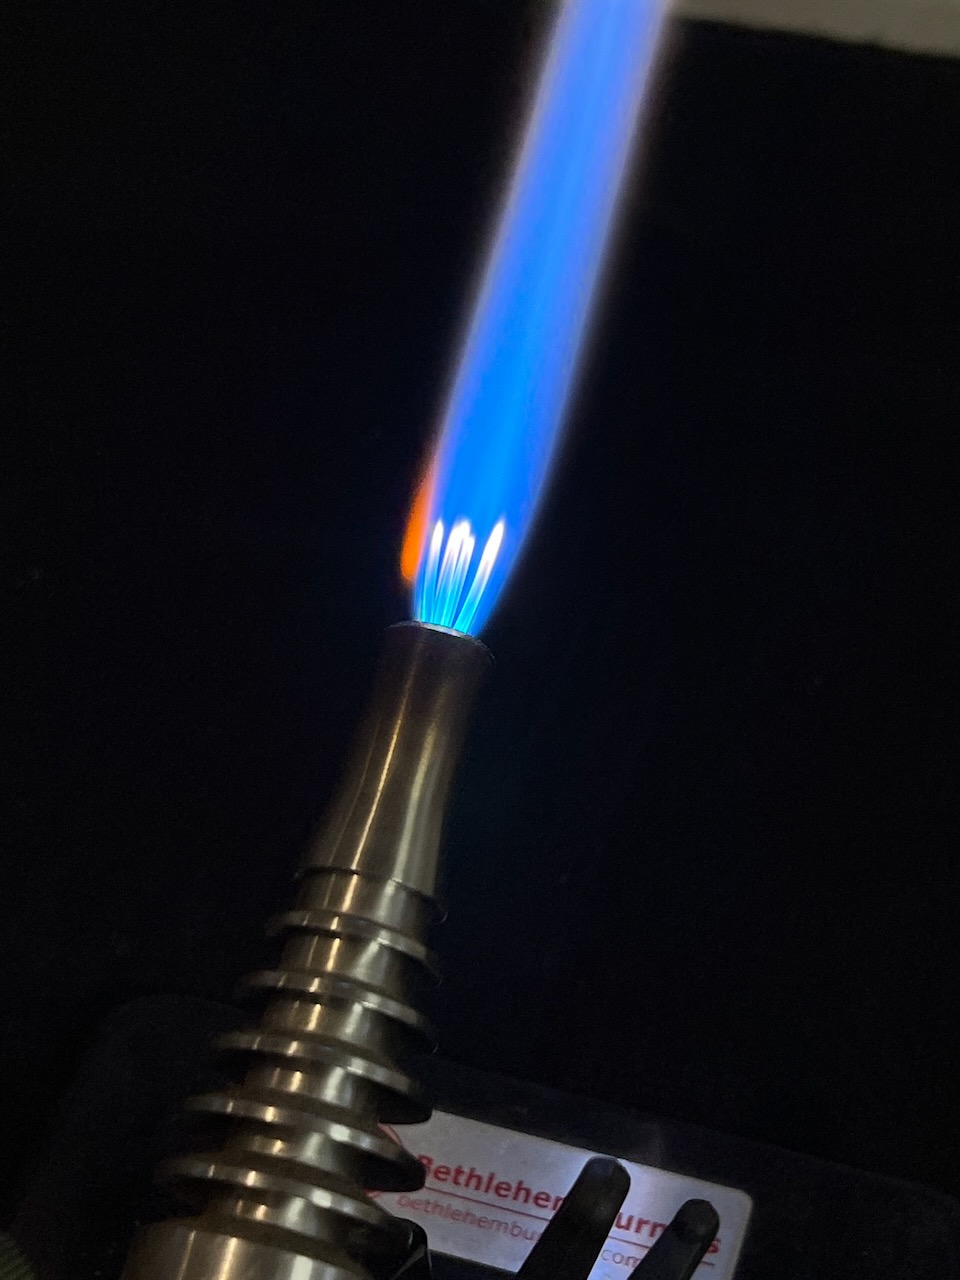
I decided that to become more skilled, I would need my own torch and materials so I could practice and make as many mistakes as needed to acquire a specific glass-blowing skill. I found a torch on eBay, some hoses and fittings on Amazon, a tank of propane from my barbeque grill, but then had to figure out an oxygen source. I also needed an exhaust system so I wouldn’t asphyxiate while heating glass from my propane-burning torch.
The exhaust system was simple in principle, but of course, the actual implementation was not. I wanted to create a “glass working station” in a corner of my garage/workshop—a recently built structure with a 10-foot high ceiling with no explicit ventilation. This has already been a limitation when I wanted to work with paints, adhesives, or solvents that required a ventilated area, so I welcomed the excuse to create a ventilation zone for my shop.
Professional paint and chemistry booths are expensive, so I looked for kitchen exhaust hoods. I discovered that they have an enormous price range which depends almost entirely on the current popular style and appearance of the sheet metal hood, and almost nothing on the exhaust rate of the fan. The typical kitchen exhaust rate was less than I wanted anyway, so the fan didn’t matter—I would be replacing it. I really wished I could buy the exhaust hood sans fan motor, but they are rare. And when you find them, they cost the same or more. It’s the external visual style you are paying for.
I found a low-cost, unattractive but functional, kitchen exhaust hood with a low-power motor that I could replace with one that was more capable. It seems a huge waste, but these are the tradeoffs in the DIY world.
I was recently struck by an unexplained desire to craft a classic scientific object, a “radiometer”. It was first created and demonstrated in the 1800s as scientists explored the fundamental elements of nature, especially the behaviors of atoms and molecules. The periodic table and the ideal gas law that we learned in school were figured out during this time through many careful experiments.
Among the experiments was one performed by William Crookes while trying to isolate and identify his newly discovered element Thallium. To make high-precision measurements of mass, he avoided the disturbances of air currents on his balance by putting it in a vacuum. But he found that the readings were still varying, depending on whether the balance was in sunlight or not. With his laboratory skills, he crafted a device to demonstrate the effect, a device that today is known as a “Crookes radiometer”, or “light mill”. It is a delicately balanced arrangement of vanes, black on one side, white or silver on the other side, suspended in a glass vacuum tube. Crookes discovered that when the vanes were illuminated by sunlight, they moved, rotating around the balance point, demonstrating that light induced some force to cause the rotation, and that force was also responsible for the variations in his mass measurements. See this account for a wonderful history of the radiometer. There is still some scientific uncertainty about how exactly it works!
My fascination with the Crookes radiometer began as a child when I first saw one spinning in a store window. My dad was with me and was able to explain it to the satisfaction of his 8-year-old son: “The light hits the white side and bounces off, but it gets absorbed by the black side and the difference of force makes it move”.
I immediately set out to make one for myself. With black and white construction paper I made some vanes and taped them to a pencil. I found a sunny spot in our backyard and planted the sharp end of the pencil into the ground. Nothing. No motion. It was quite a disappointment.
When I later explained to Dad that my radiometer didn’t work, he told me that the force of light is very small, and for it to spin required a very delicate balance and removing the air from around the vanes, which was why the radiometer at the store was inside a glass bulb. It explained why my backyard radiometer had failed, but it didn’t quench my curiosity.