
Years ago, after watching some YouTube videos on making cloud chambers, I tried my hand. A cloud chamber is one of the earliest techniques to see the paths of subatomic particles. It turns out that there is a natural background radiation of them and I wanted to see if I could watch these particles as they whizz around us. It seemed like a cool experiment.
The analogy I like to use is of a high altitude jet leaving a condensation trail behind it. You can see the contrail, but not the jet making it. In a cloud chamber, similar condensation physics is at work, but instead of engine exhaust, it is the particle’s ionization of gas molecules that triggers the condensation. The original Wilson cloud chambers used water vapor; modern chambers use alcohol, which is more easily managed.
My attempt to make one was less than satisfying. I recall staring at the mist at the bottom of the container and imagining that I was seeing patterns of droplets. Maybe I did, but it was not the thrilling experience of seeing the invisible that I was hoping for. I put the project aside. Until recently.
A decade later, I now have been inspired to try again. Two things are responsible. I encountered a more serious amateur cloud chamber project, and I met a student who had been awarded a scholarship that I support. Monica Robles presented a research project at the Minnesota Space Grant Consortium Symposium involving a cloud chamber buoyed to the stratosphere by a balloon. Imagine that! Cloud chambers and balloons!
She showed me her cloud chamber design, a modest small aquarium-sized fixture. I told her of my disappointing prior effort, after which she described some of the challenges in making hers, and encouraged me to try again. So here I am. Trying again.
The principle behind the cloud chamber is that a layer of saturated vapor, right on the edge of condensing into fog, is prepared and ready for a trigger that will suddenly convert the gas molecules into droplets of liquid. You may recall chemistry class experiments that demonstrated supercooled fluids suddenly transitioning to solid, or have witnessed firsthand a sudden transition while driving when you were suddenly enshrouded in fog, when the temperature dropped below the dewpoint threshold. This is the effect we are trying to create in the cloud chamber: an environment where the air is supersaturated with alcohol vapor, right at its condensation temperature. Any slight disturbance will trigger the transition from gas to liquid in the form of tiny droplets—creating a condensation trail along that disturbance.
To create that supersaturated layer, we take liquid isopropyl alcohol at room temperature and vaporize it by applying some heat, filling the chamber with that vapor, and then cooling it down by a cold surface, where it will condense back to liquid, like the water that collects on your iced tea glass in the summer. Near the condensation surface there will be an area of “fog”. This is where the contrails of subatomic particles can be observed.
So there are two components to the cloud chamber: a volume to heat and contain the vapor, and a cold surface to condense it. There are also the additional elements to view and record the contrails. In the following, I’ll describe my implementation of the vapor chamber, the cold plate, and the lighting. My goal was to be able to make this with commonly available components. I am not leasing liquid nitrogen, making a custom plexiglass chamber, or crafting expensive lighting modules. All of the components were ordered from Amazon, though I did make 3D printed parts for the lighting, which could have been crafted by more traditional methods.
First, the chamber. I found an 8-inch plexiglass display case that seemed about the right scale for this project. If you want to make your own, plexiglass is actually quite easy to work with. I was happy to find this one and save the time of cutting and plastic welding (though later I found that plastic welding is problematic, read on).
The vapor is generated by heating a sponge doused in isopropyl alcohol. Heating elements are in contact with the sponge and driven by a 12-volt power source. The sponge and heaters are at the top of the chamber but provide an opening for a person or camera to observe from above.
Many cloud chambers utilize dry ice to provide the cooling. But obtaining dry ice is inconvenient and requires some planning and preparation. I encountered a design that used freezer packs as the coolant. I will be trying it, but am prepared to use dry ice if it doesn’t come through.
Whether by freezer gel or dry ice, I found the idea of using an aluminum heat sink component to conduct and distribute the cold to be attractive. The smooth backside of the heatsink becomes the cold plate condensing surface, and the fins are immersed in the coolant, either freezer gel or dry ice. The whole cold plate assembly is contained in a Styrofoam tray, a convenient way to maneuver it without incurring frostbite.
Once the cold plate is ready, the chamber is prepared by soaking the sponge with alcohol and then positioning it over the cold plate, sealing the system. The alcohol in the sponge vaporizes at the top of the chamber, and over time, a temperature gradient from top to bottom stabilizes, and there becomes a fog layer just above the cold plate. Here is where the subatomic contrails will occur.
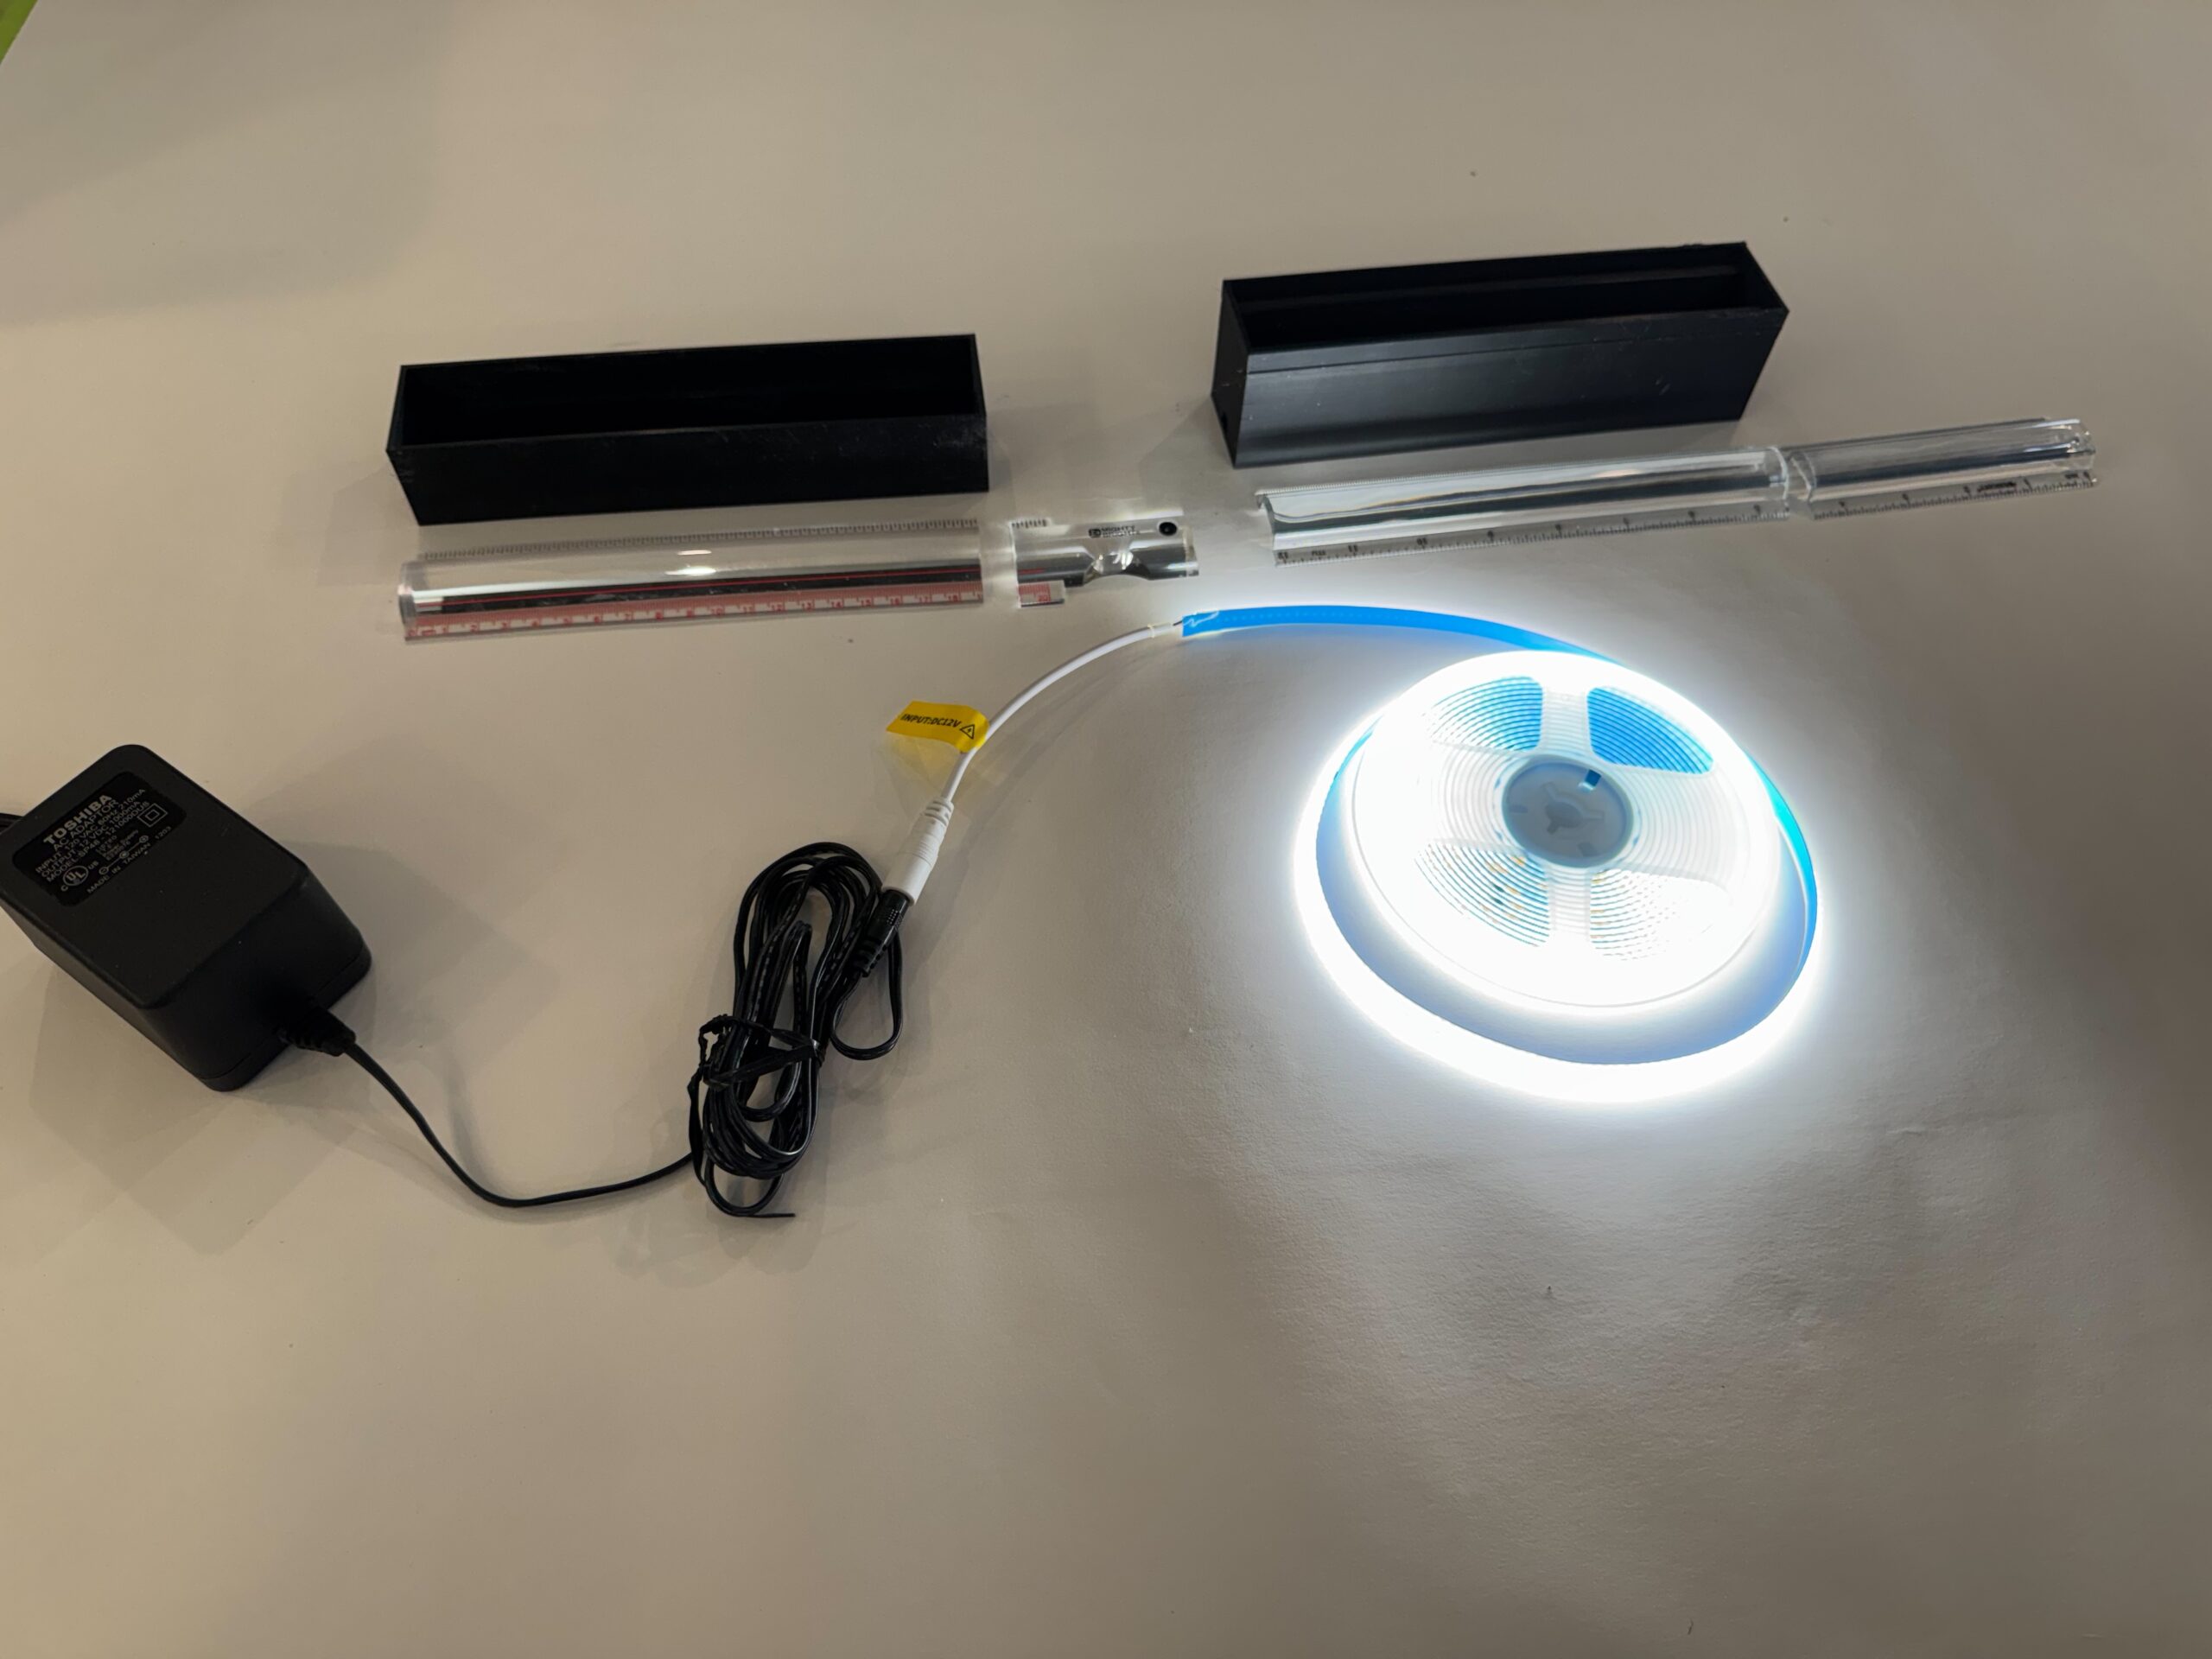
To see them, the right illumination can help. I wanted lighting that would show the contrails in the fog layer, but not create glare that would otherwise obscure the view. The Tech Ingredients project fabricated some lighting modules that involved specialized LEDs and lenses over each of them. Instead, I opted to make an illumination beam from common LED strips and a magnifying ruler. I made a housing to project them into the fog layer.
I used a 3D printer because I have one and am always looking for reasons to own it. The housing could have been easily constructed from wood, plastic, or even cardboard. But the dimensions are important. To collimate an optical beam, one needs to place the light source at exactly the focal distance of the lens. This will cause the light rays radiating from the source to be refracted by the lens into a parallel beam. Not knowing much about the optics of magnifier bars, I purchased several to experiment with. It is probably not difficult to determine the focal length of a cylindrical lens if you have access to an optics lab, but in a home office it is not so obvious.
The usual technique is to focus an object at infinite distance onto a surface and measure how far away the lens is. Imaging the sun on a clear day will do this, but the mechanical geometry can be clumsy and getting an accurate measurement is hard.
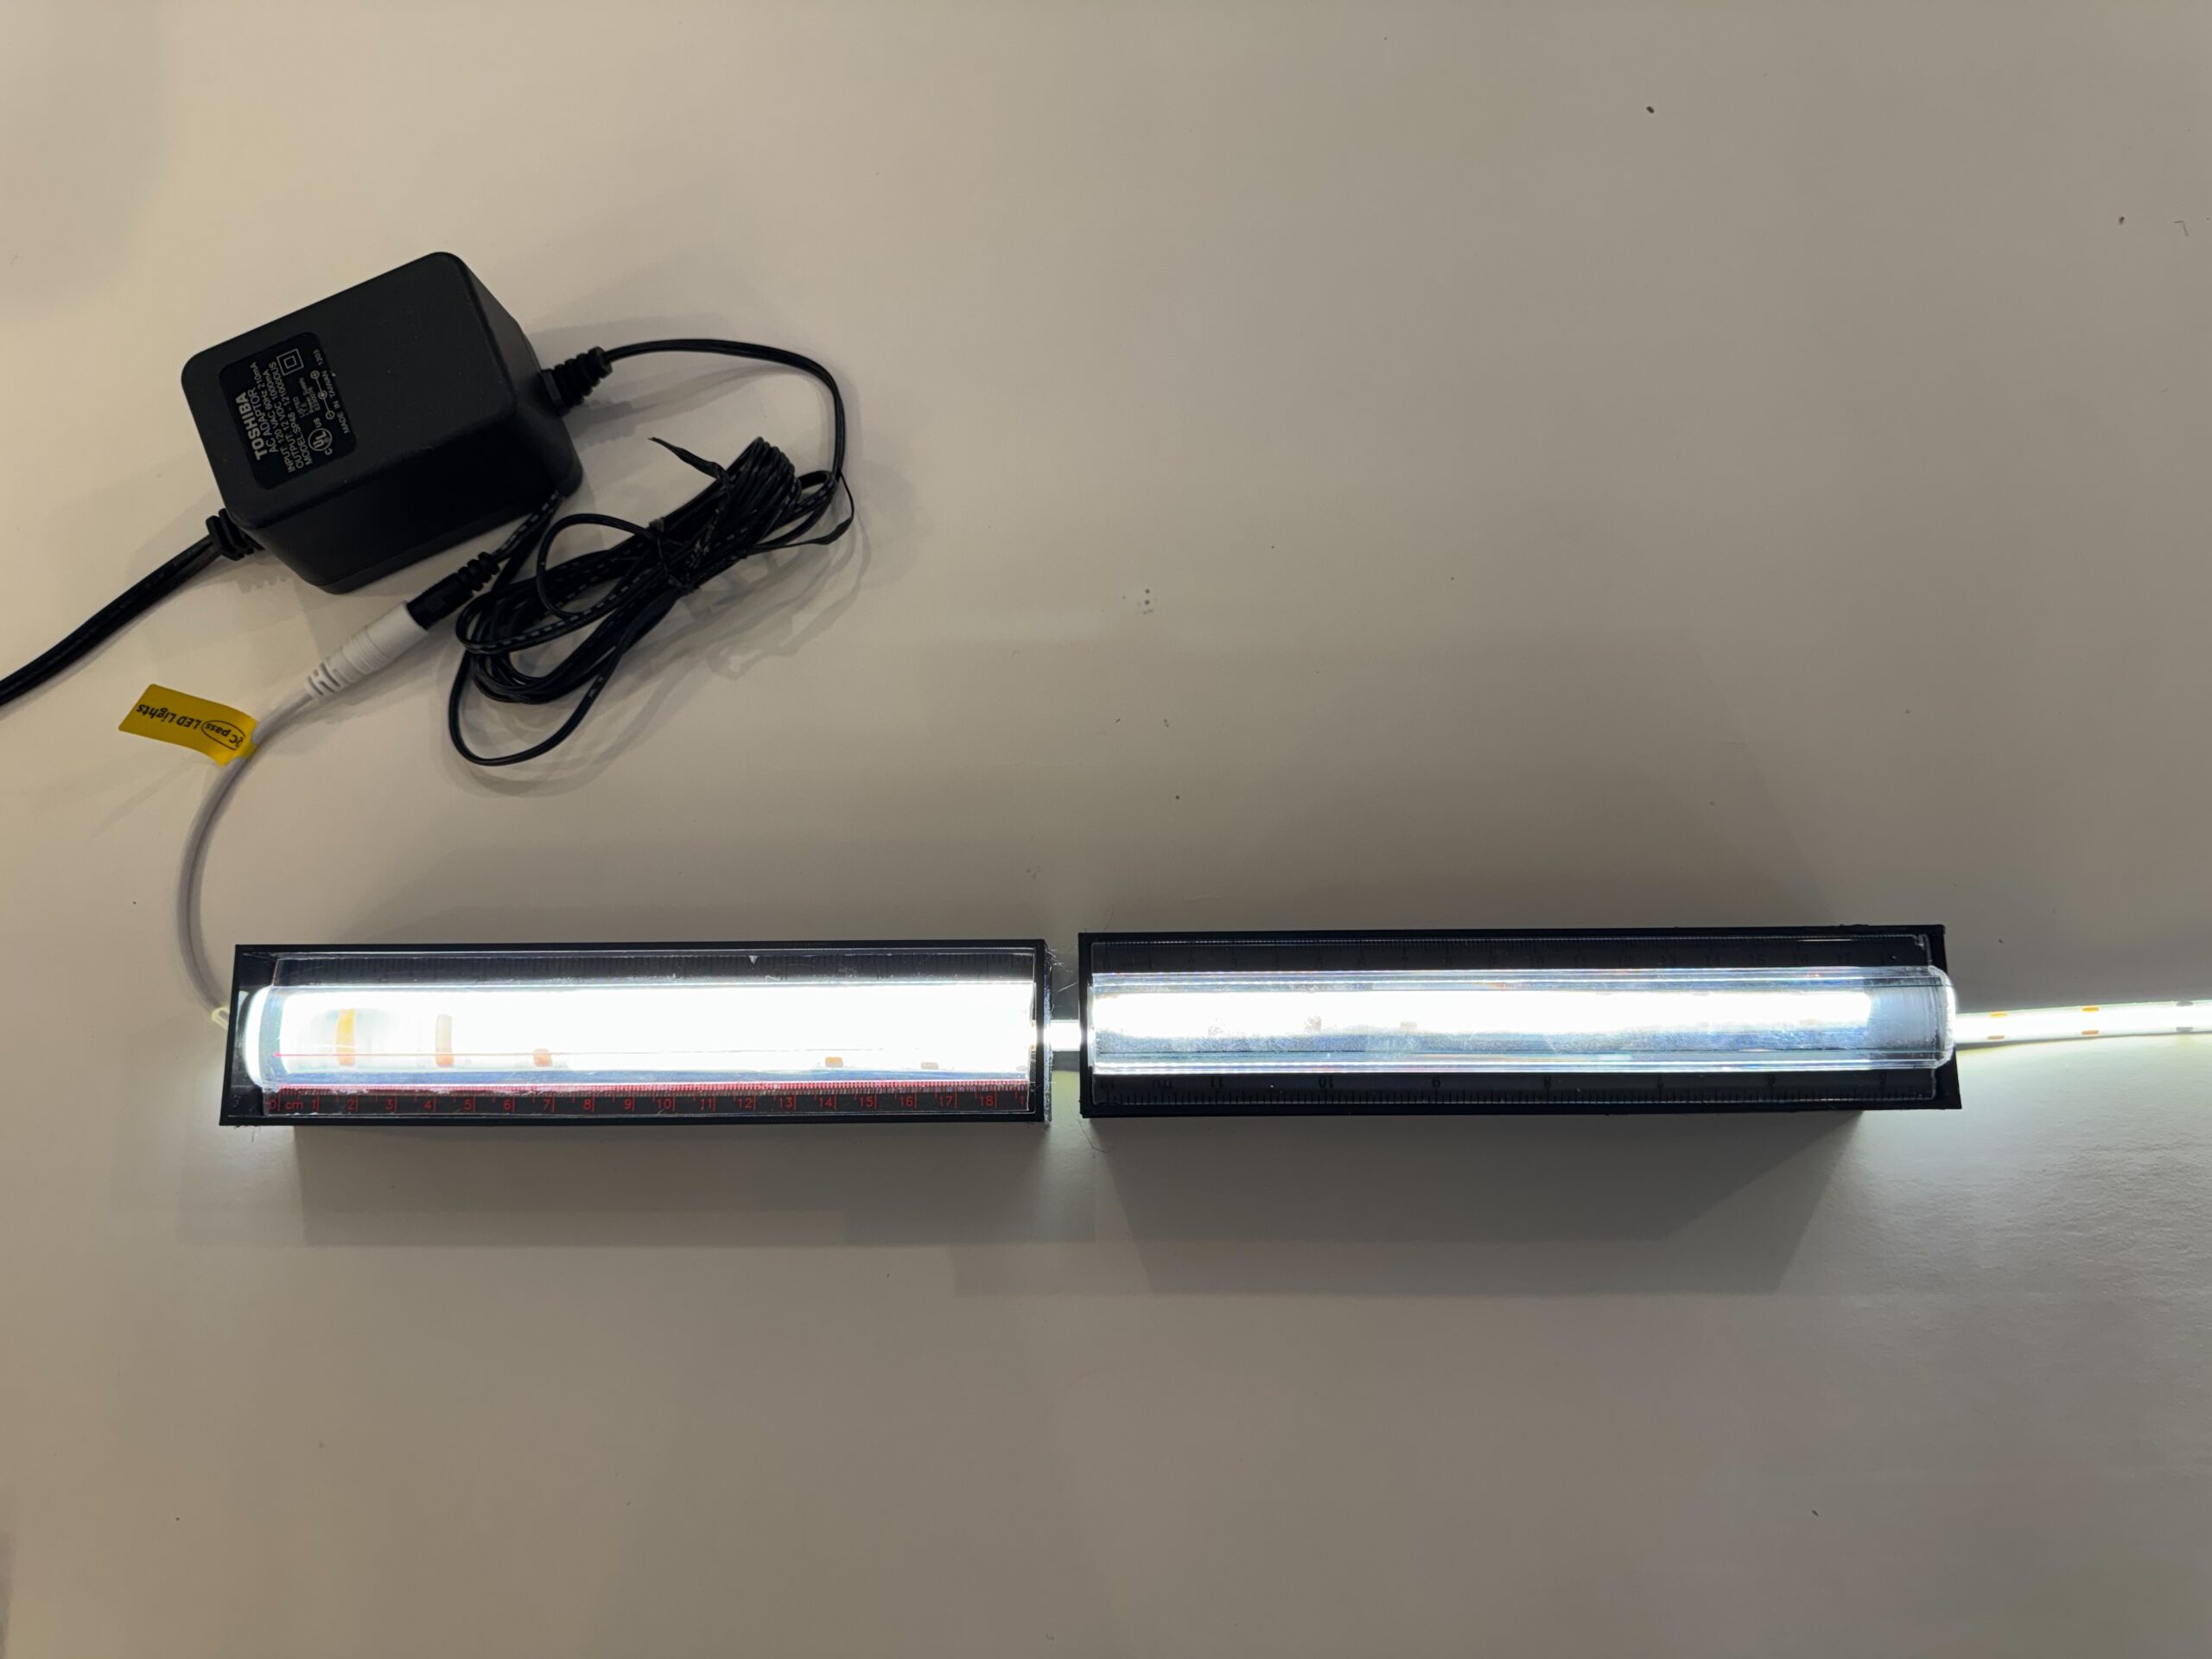
An alternative is to calculate the focal length. I measured the physical dimensions of my magnifier bar lenses with a caliper, and entered them into a lens calculator site I found. I then designed a housing that positioned the lens bar above the LED strip at the focal length it provided.
I am pleased at how the lighting modules turned out. I can now cast a broad but thin beam across the chamber to highlight the contrails. I haven’t seen this arrangement of optics and LEDs before, so I now offer it to the DIY cloud chamber community.
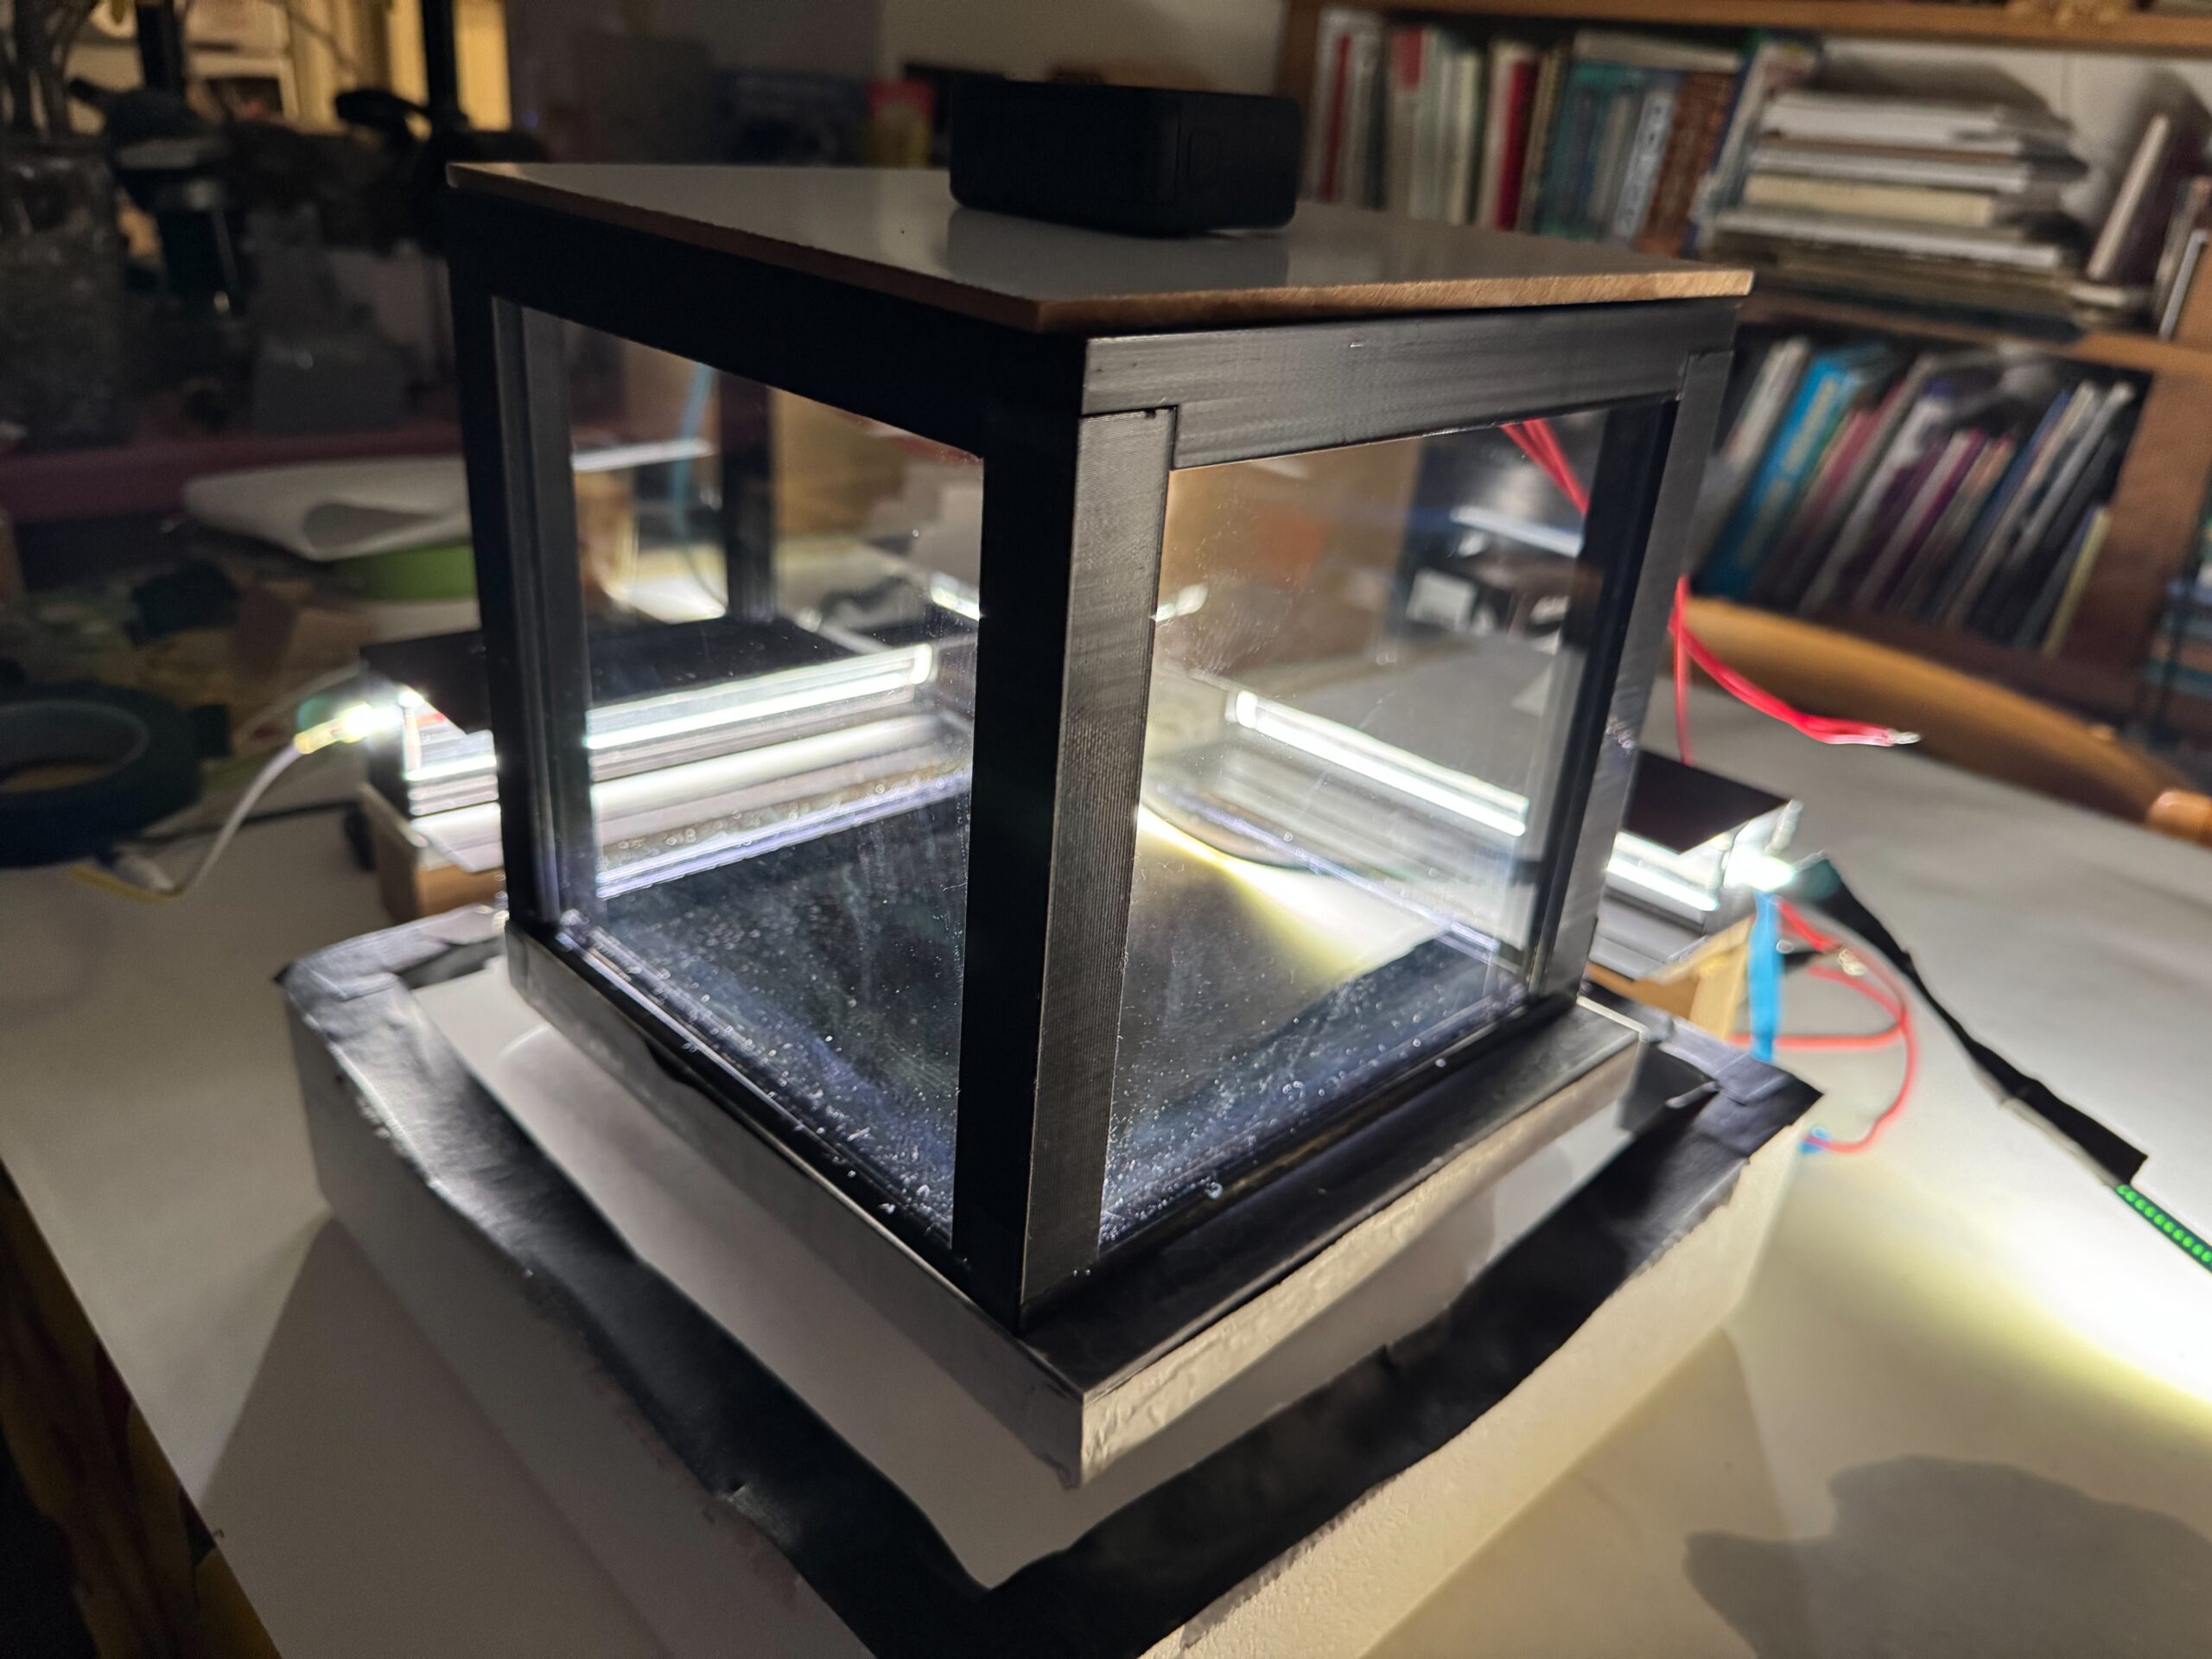
I was finally ready to put the components together and try it out. I had a Styrofoam box in which I placed my cold plate- the black-painted heat sink with its freezer gel backing, the Plexiglass display case with an alcohol saturated sponge at the top, and a GoPro camera to record the results.
I was disappointed. I could see that an alcohol mist was being generated—a rainfall of tiny droplets fell, but I did not see much in the way of trails or tracks. Over several sessions of soaking the sponge, pulling the cold plate out of the freezer, and watching the chamber stabilize, I only saw a few events that qualified as cloud chamber tracks.
But those few events were more than zero! So I concluded that it was possible, but maybe my setup was not optimized in some way. My expectation was that I would see an event every second or so, but I had only seen a handful in an accumulated hour of operation.
I considered the possible problems. One of them was that the lighting was not illuminating the narrow layer of supersaturated vapor in which the contrails formed. I certainly saw a lot of the alcohol “rainfall”, but by aiming the lights a little lower, could see there was a “fog bank” at the bottom, at the cold plate. Aiming the collimated beams of light at the right level might reveal the layer where the contrails happened.
I also discovered that the off-the-shelf plexiglass case was not capable of displaying this volume of vapor at such a high thermal gradient. Cracks formed as the stresses from thermal contraction built up. I used it for some more tests with the freezer gel cold plate, but it would need to be replaced with something more tolerant of the thermal forces. I ended up crafting a box with plexiglass side plates that fit loosely into grooves in their edge frames. I still think there may be an inexpensive aquarium solution somewhere, but I had the materials to make my own, so I did.

A more resilient chamber was important since I suspected that the freezer gel cold plate was just not cold enough to create the layer of supersaturation needed. The solution here was to up the stakes by decreasing the temperature. I acquired a block of dry ice on which to place the cold plate in the Styrofoam box.
I am fortunate to live in city where I can drive a short distance and purchase dry ice in this form. A typical block is roughly 8 to 10 inches square, an inch thick, and costs around $10. But it only lasts 24 hours. As I conducted various experiments, the block sublimed and diminished, eventually becoming a thin wafer, and then… nothing. I needed to have my tests ready to go when I came home with each block of dry ice.
With the dry ice at a temperature of -80C (-128F), I was able to observe more contrails in the chamber. But they were inconsistent. I would see them for a minute or two, and then they vanished. I suspected that I was not illuminating the right layer in the chamber, or that the condensation conditions were not stable. I continued testing the lighting angles. I also sensed that there was an air/vapor leak at the bottom of the chamber, causing instability at the cold plate surface.
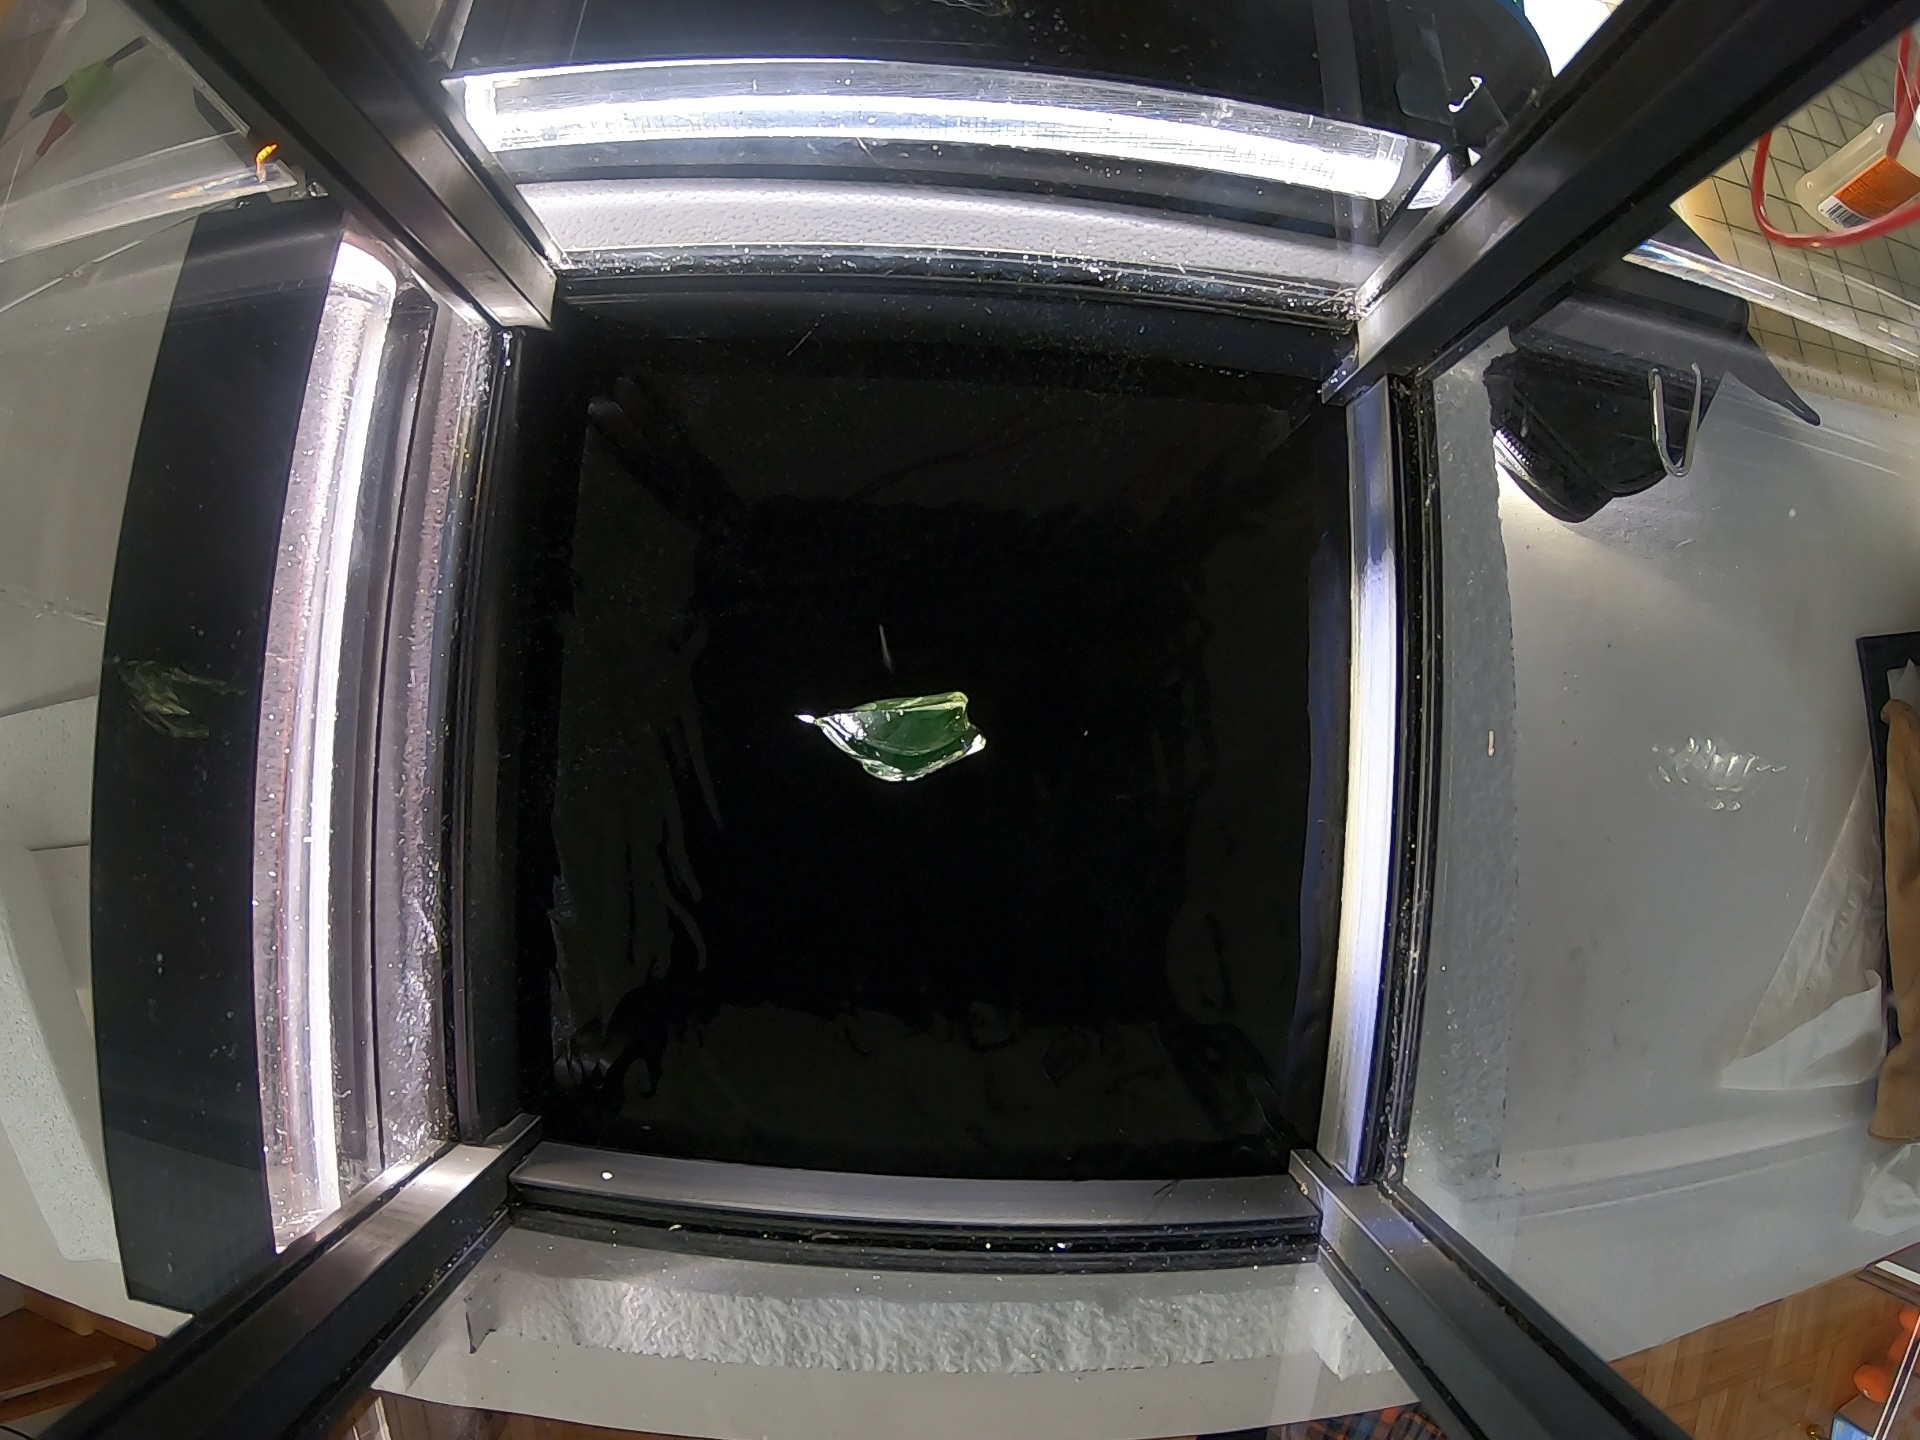
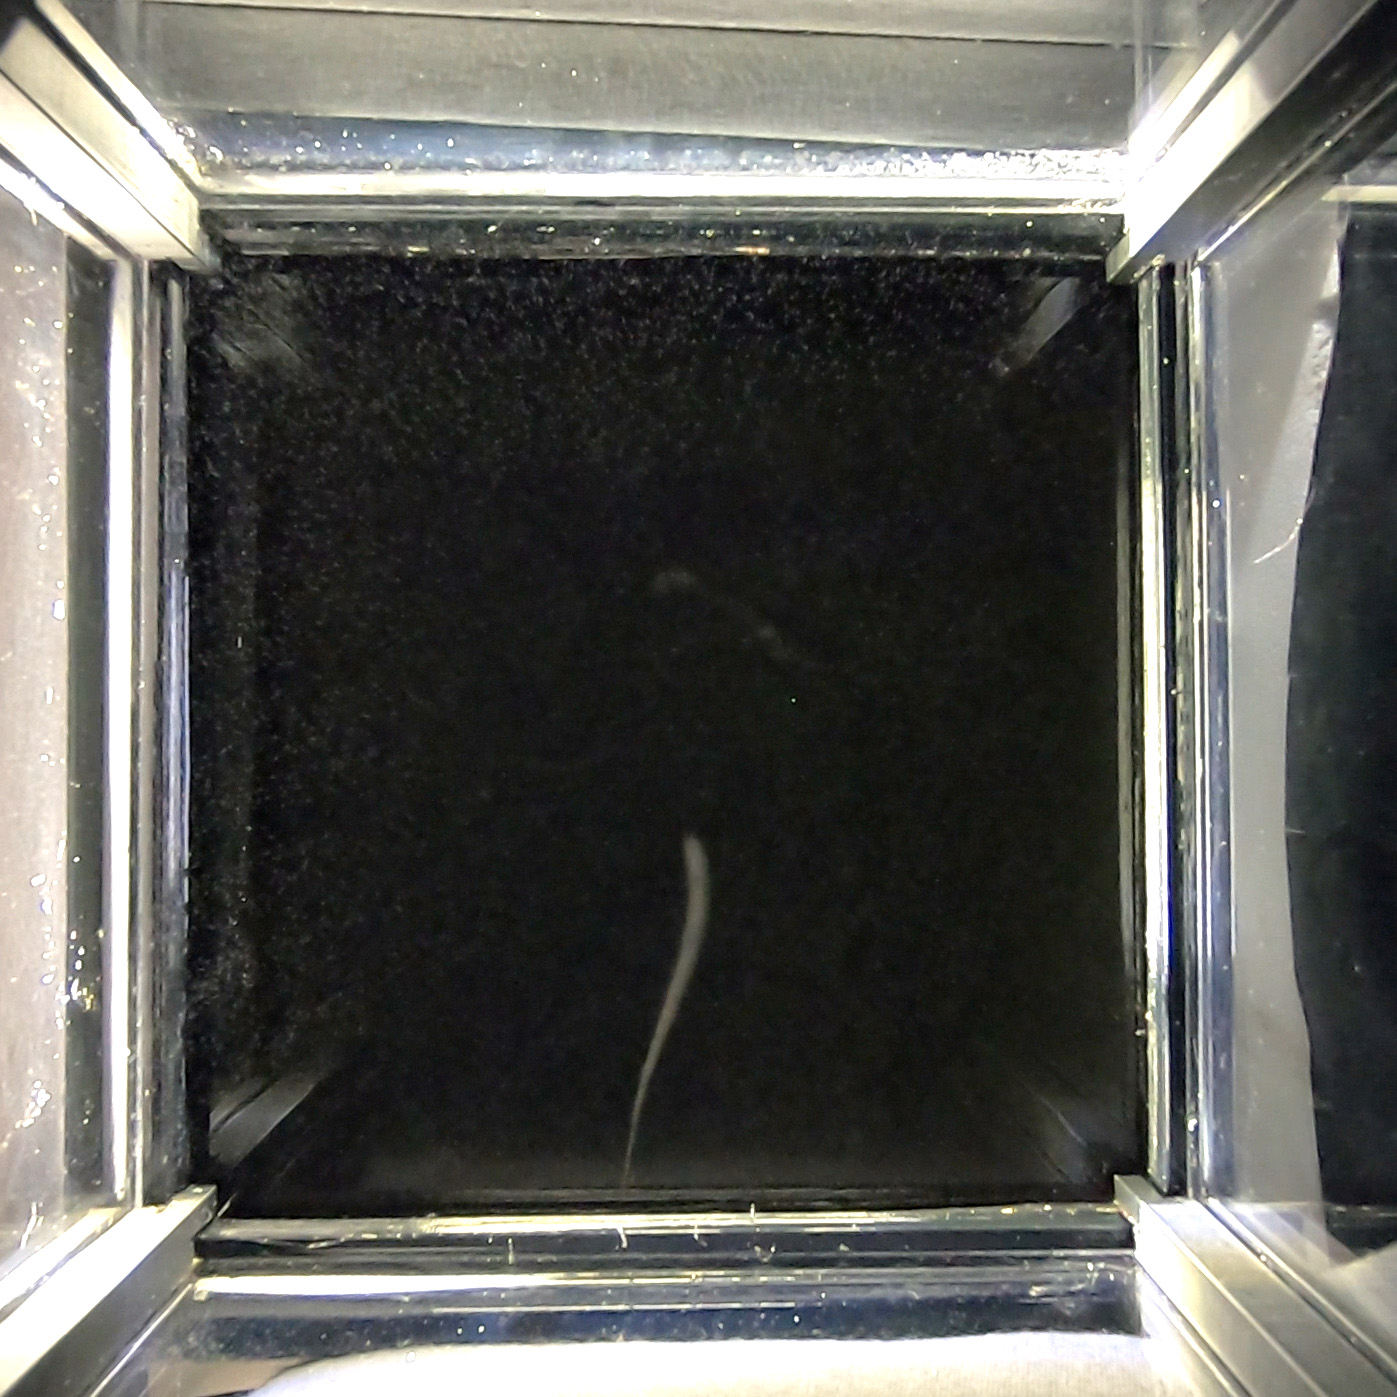
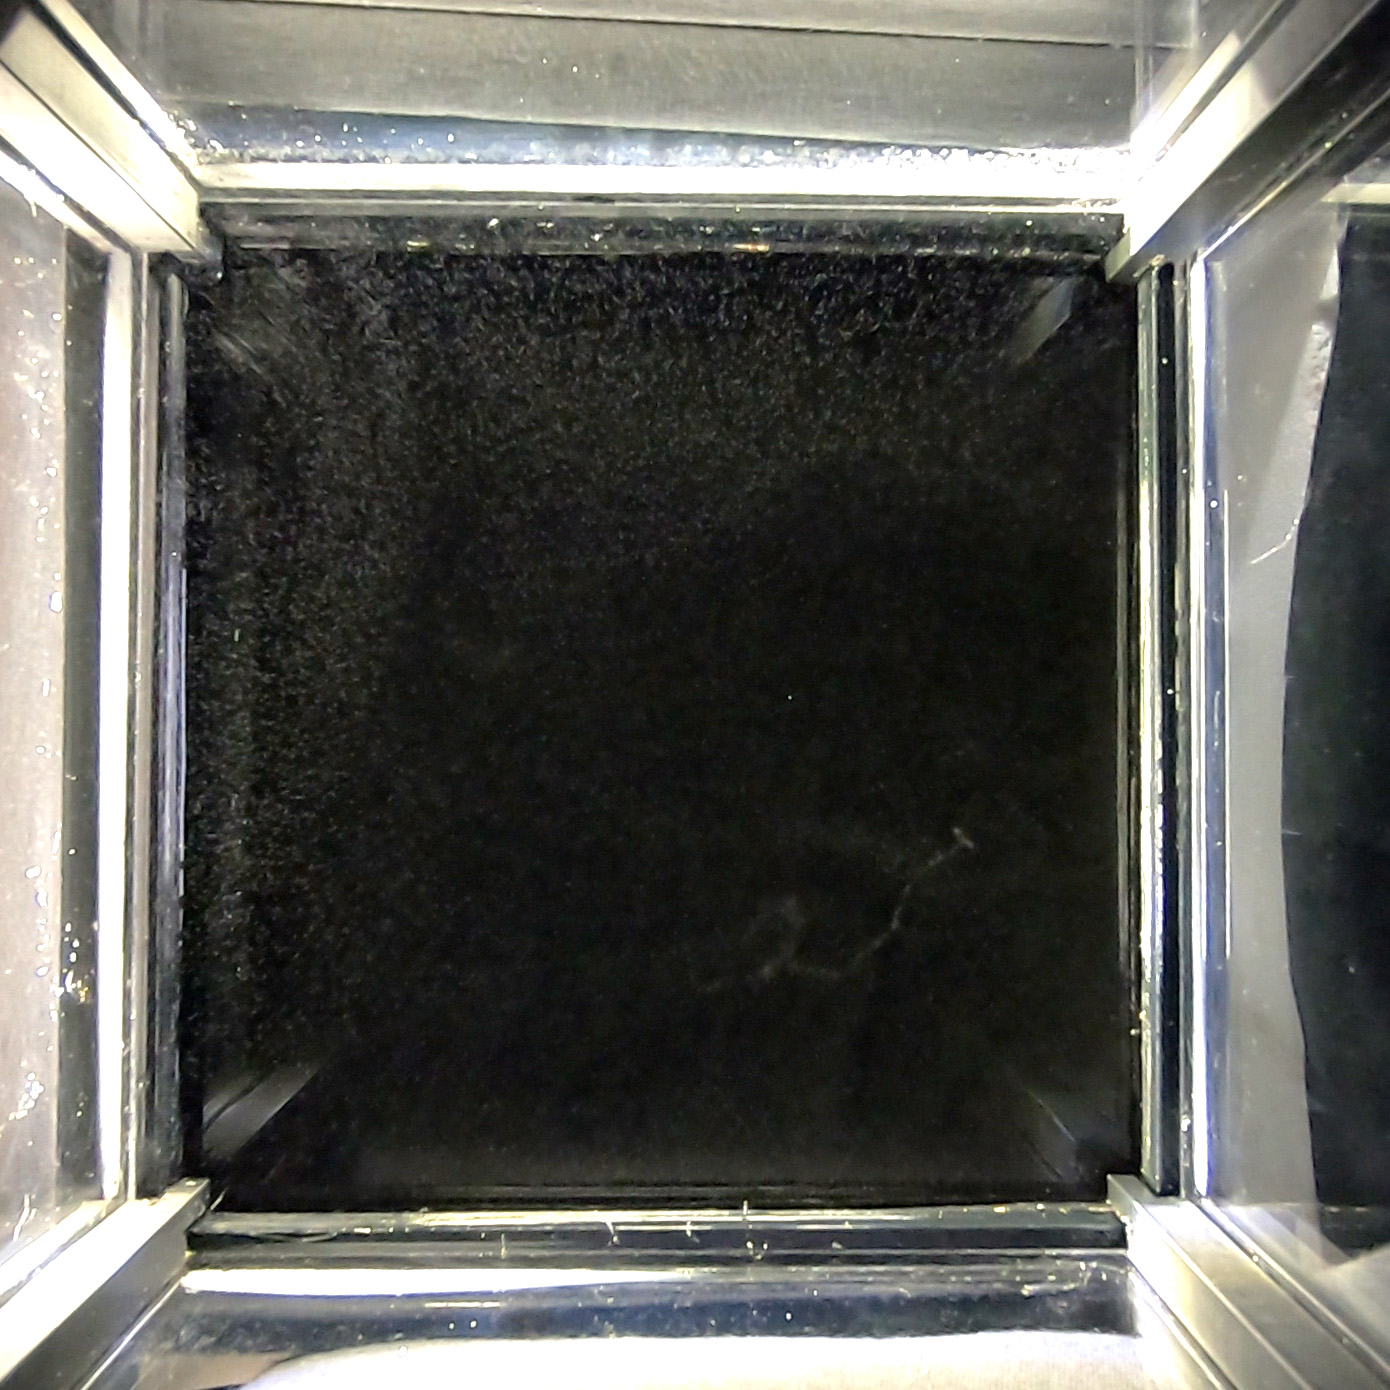
I have some improvements in mind for aiming the lights and sealing the chamber, but for now I’d like to share the results I have seen so far. In the moments when the conditions are just right, I can see evanescent streaks and trails appearing above the fog, and then dispersing and dissipating into the mini-turbulence of convections in the chamber, not unlike watching the contrails from jets at high altitude twist and expand, but at a much faster timescale.
I have seen several different types of trails. The most impressive are long, fat, mostly straight trails which are from high energy muons, created as the debris when cosmic rays hit air molecules. Trails that are fat, but short, are from alpha particles, a natural decay product from materials all around us. Alpha particles are the nucleus of helium atoms—two protons, two neutrons. They have more mass but not much energy, so they don’t go very far. They can’t penetrate paper or skin.
I have also seen thin trails. Some are long and mostly straight; others look like a random walk. These are electrons. The high energy ones go far on their path; the low energy ones get knocked around as they encounter air molecules that deflect them
Here are some frames from the GoPro video I recorded. The short video provides an idea of the real-time activity in the cloud chamber. I hope to improve on them– they don’t really capture the detail that I think can be obtained so I’ll post updates as I try to make this cloud chamber more reliable and photogenic.
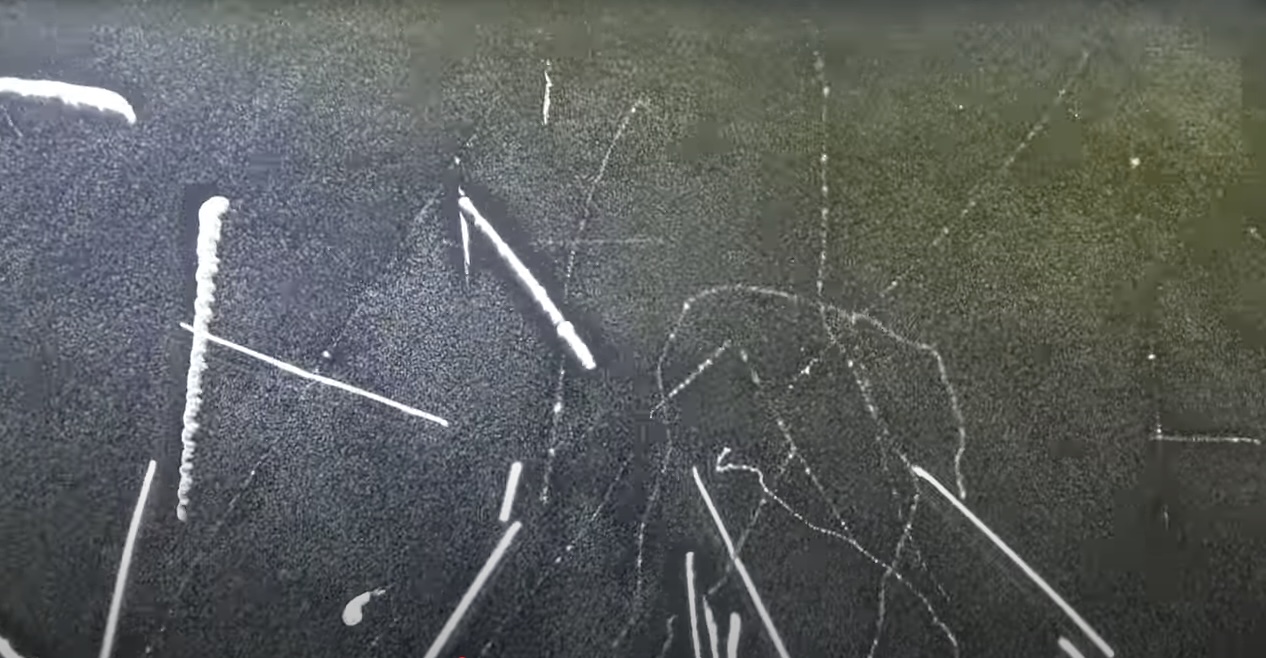
After watching my short video below, you may want to see what is possible under the right conditions. Here is a demonstration of a spectacular cloud chamber. You can skip past the setup intro to see what it captures.
At least I have now been able to see subatomic particle tracks. I know they are there!
Update: I have made a few improvements and seen a wonderful display of contrails. See my update post: https://thorolson.com/cloud-chamber-update/

Good luck with this, Thor. You have seen some traces that indicate subatomic particles already!