Modern photographers use methods that were unavailable or extremely difficult before the advent of digital cameras. Among them is the ability to seamlessly combine multiple images into a single photograph. The term composite is used to describe the picture that results from combining any two or more images in some creative way. There are no rules; it can be any mashup of scenes to meet any artistic goal.
Cutting and pasting a subject into a lunar landscape is an example of a composite. An early tool to do this was Adobe Photoshop. With our common linguistic practice of verbizing nouns, we now have the term “Photoshopping” to describe the making of fictitious or synthetic scenes.
Because digital compositing can easily create any such pictures, it is often used to deceive the viewer. But there is a special case of compositing that has a different goal. When the individual images are taken by the same camera through the same lens, looking at the same subject, it is called a “blend”. The purpose is not to deceive, but to better represent the appearance and feeling of the scene by combining pictures taken at different moments.
One such blend technique is to simply average multiple images together. Pictures taken in the dark need long exposures with sensitive detectors, which result in a background noise or graininess in the image. Averaging several exposures results in the noise being smoothed, but the signal (subject) remaining intact. A less grainy image results.
Another technique is to use masks to retain a portion of one image to place over another. Commonly, the foreground is masked and placed over a second image that has the background. One use of this is to provide a sharply focused foreground for a picture that has only a sharply focused background.
Another use of the masked blend is to provide better illumination for the foreground. And this is the approach and technique that was taught to us in a workshop I attended recently. The general idea is that a properly exposed photograph of a night sky, showing the stars and Milky Way at their best, will generally not have a properly exposed foreground; it will not show the landscape features at their best. It’s not so much that the foreground needs to be showcased, but we want to have it “feel” right in the scene, so the overall result looks natural or inspiring in the way the photographer intends. In my case, I want the result to cause a similar emotion in the viewer as I felt when I was physically in the scene, witnessing it in person, and making the exposure.
We learned three types of blends: the “blue hour” blend (the period of twilight after the sun sets), the moonlight blend, and the starlight blend. Each starts by selecting the desired sky photograph where the stars show their best colors, and any standout features (planets, Milky Way, aurora, nebula etc) are positioned at their most photogenic with respect to the overall scene.
The next step is to identify the foreground and create a mask for it. The foreground will be replaced by one from a different image, taken at a different time. Because the camera has not moved in the interim, the substitution should be simple. And it mostly is, but there are some details that complicate things, and learning how to get an exact foreground mask with no artifacts was the purpose of the workshop.
As you can now guess, the replacement foreground comes from pictures taken during other times when the foreground is illuminated differently. Twilight, moonlight, and starlight each offer different casts and shadows, requiring different exposures.
I have now had a chance to try these methods. On the one clear night of the workshop, I was able to take exposures over the course of five hours, capturing the scene in twilight, moonlight, and starlight. In the process, I discovered a fourth type of blend: the “carlight blend”. Here are my results.
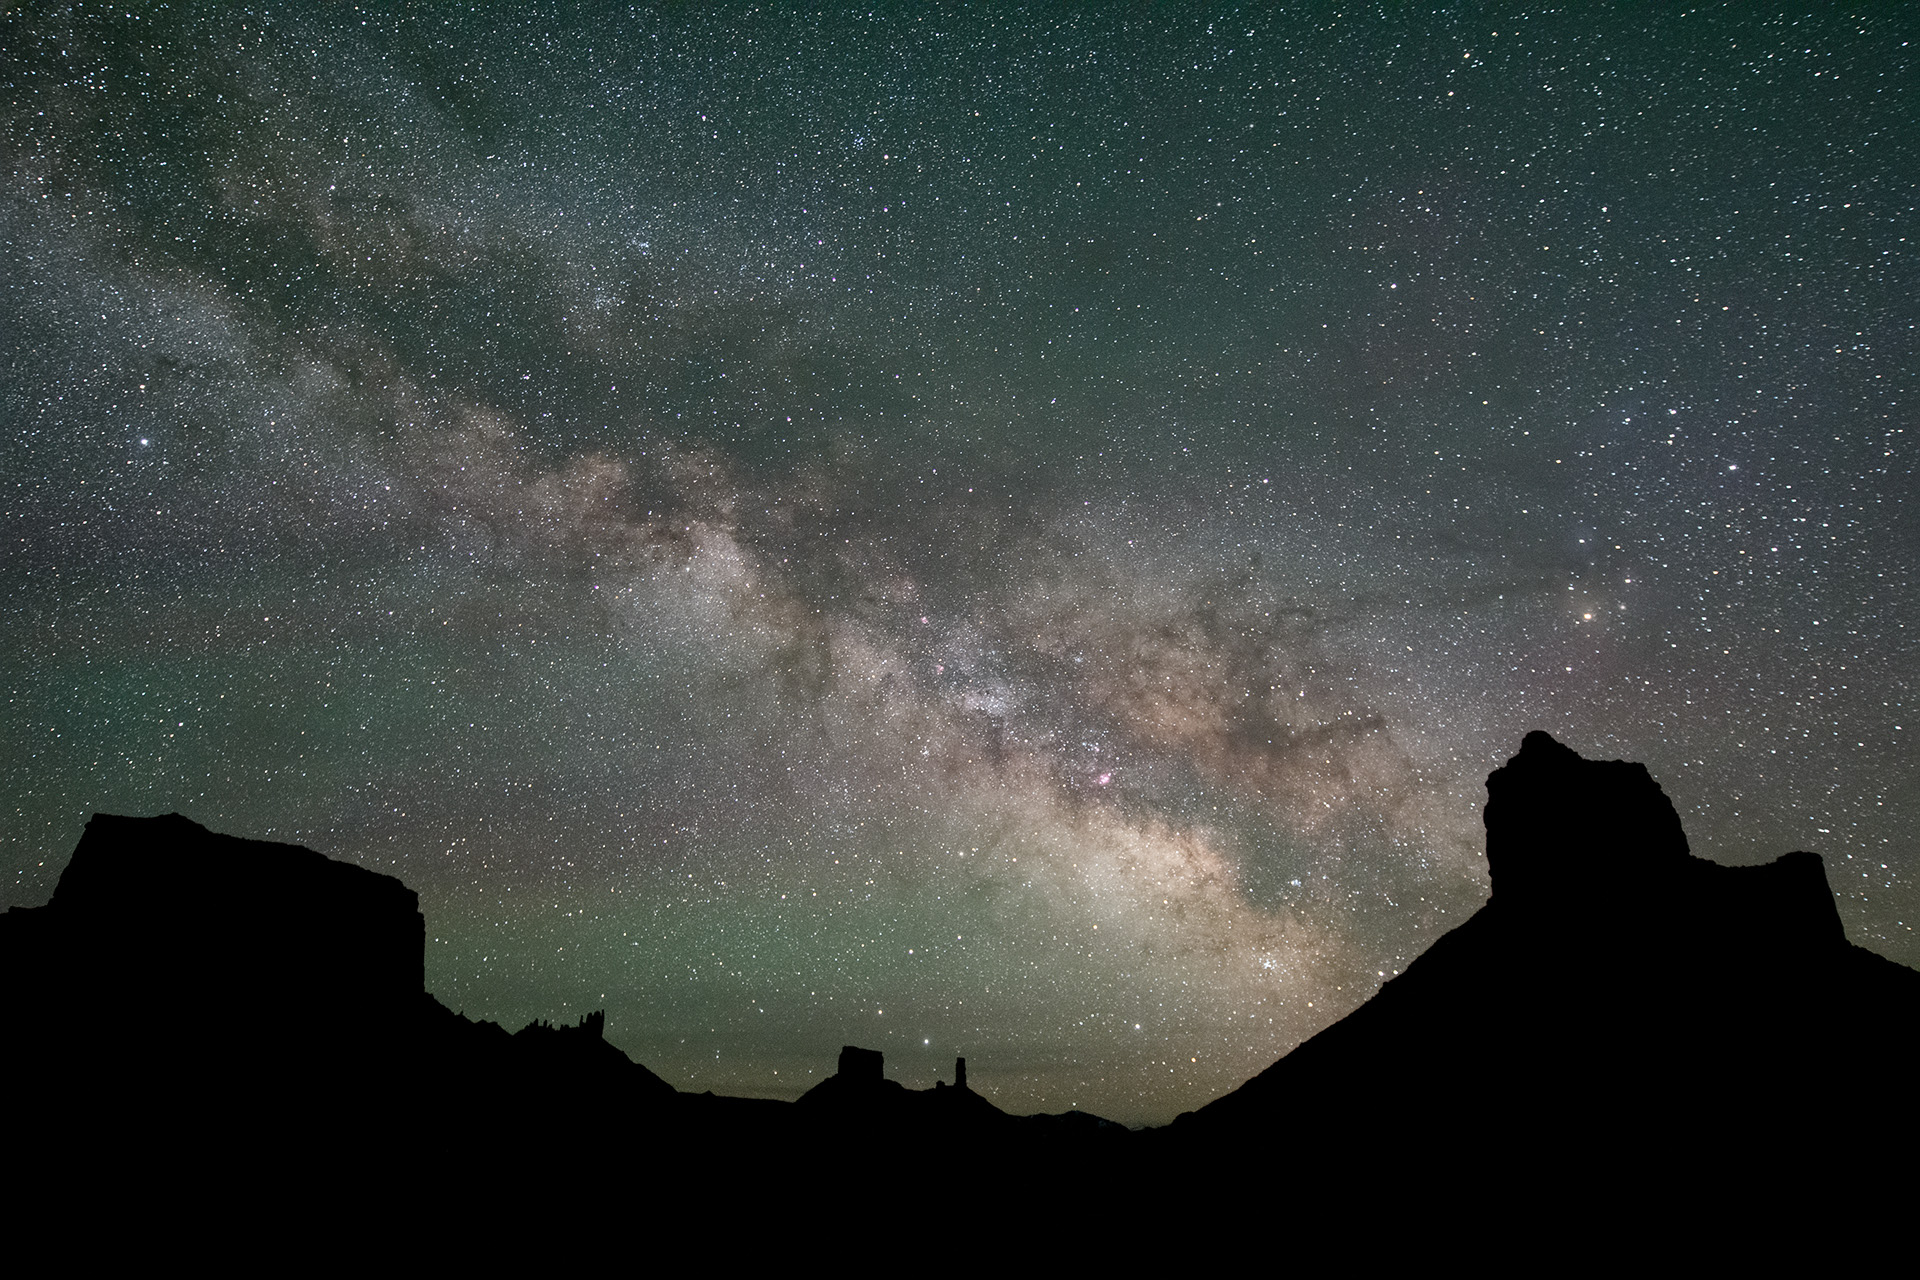
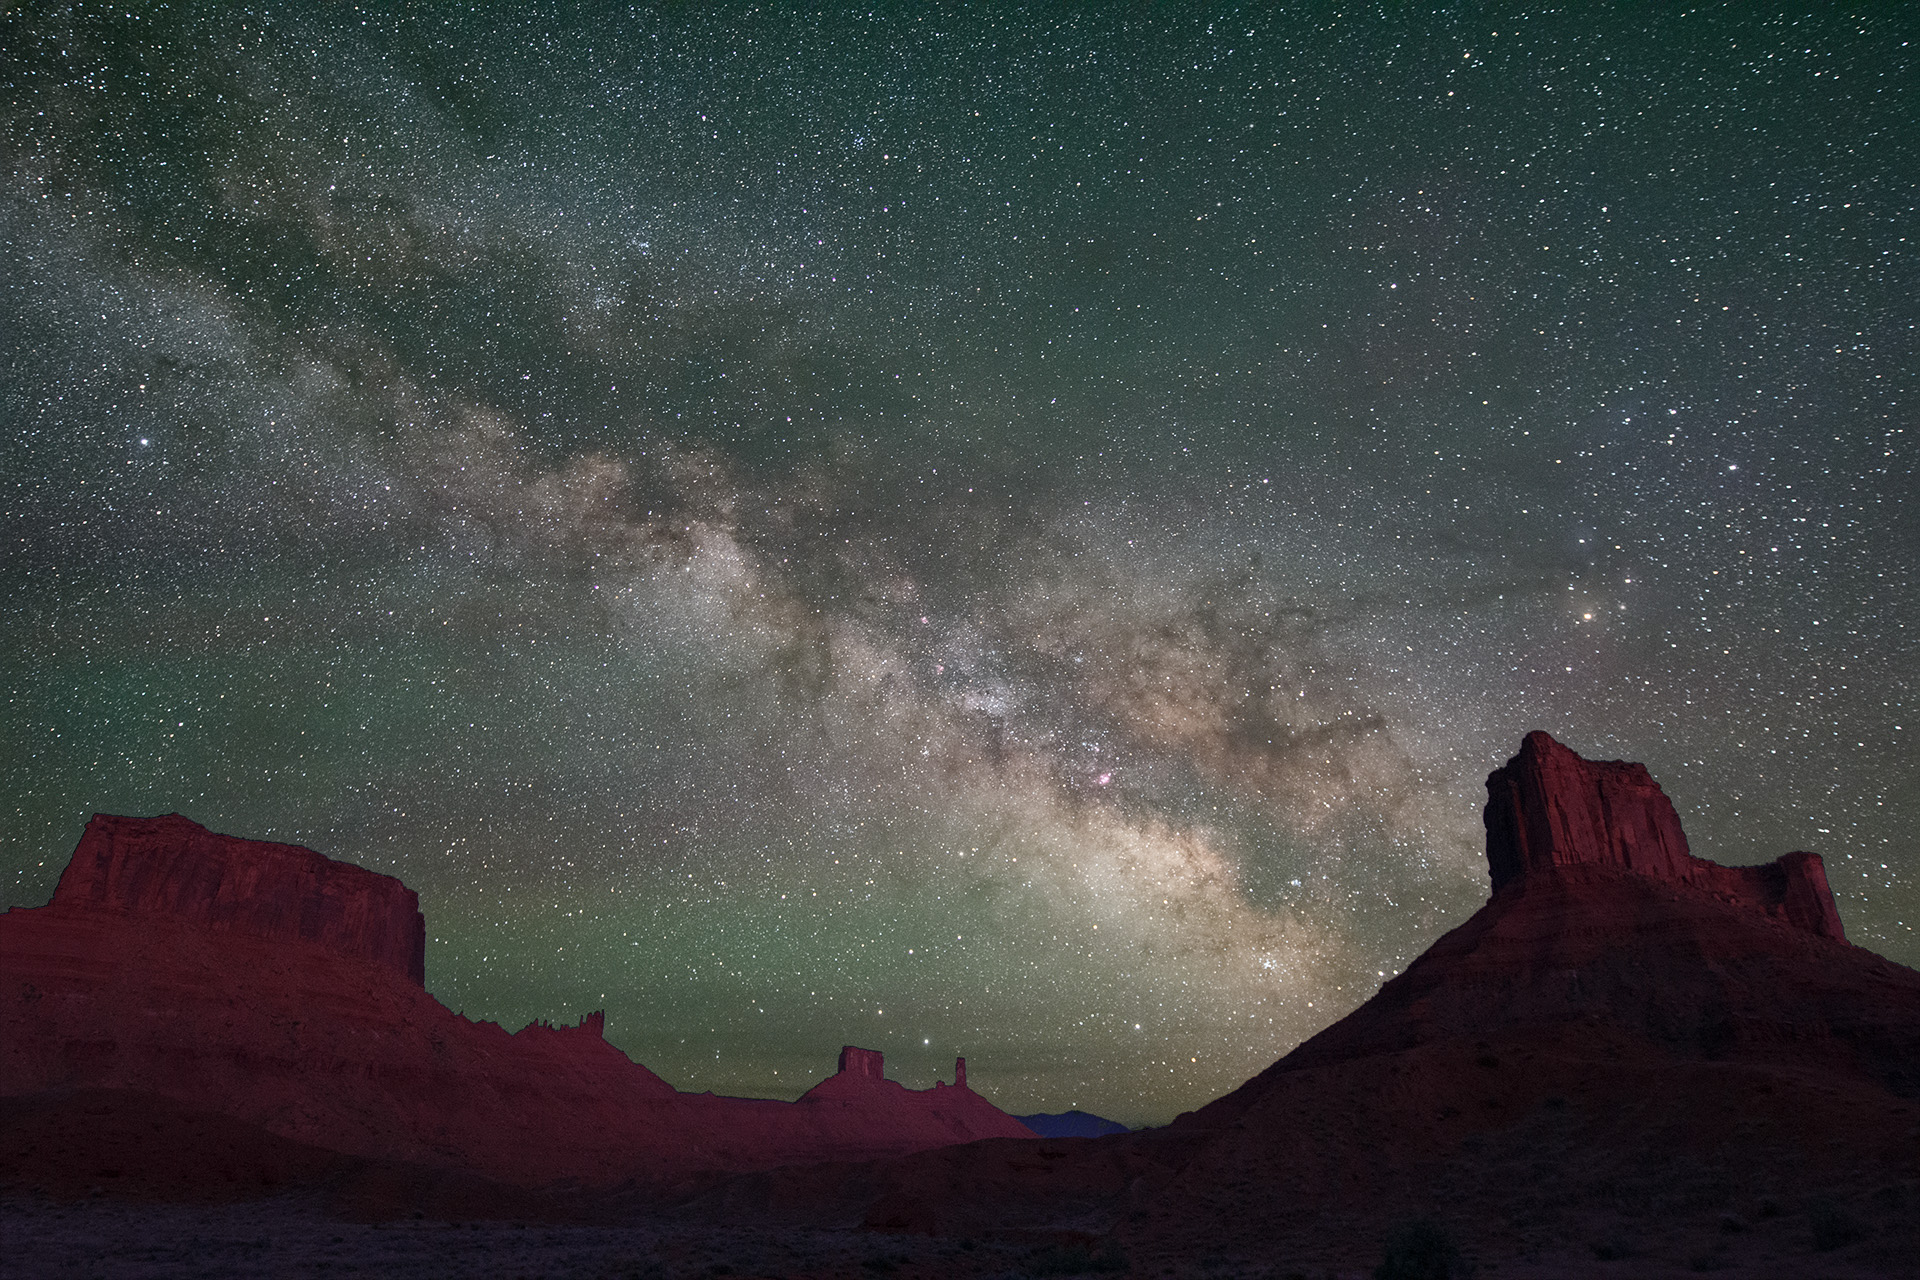
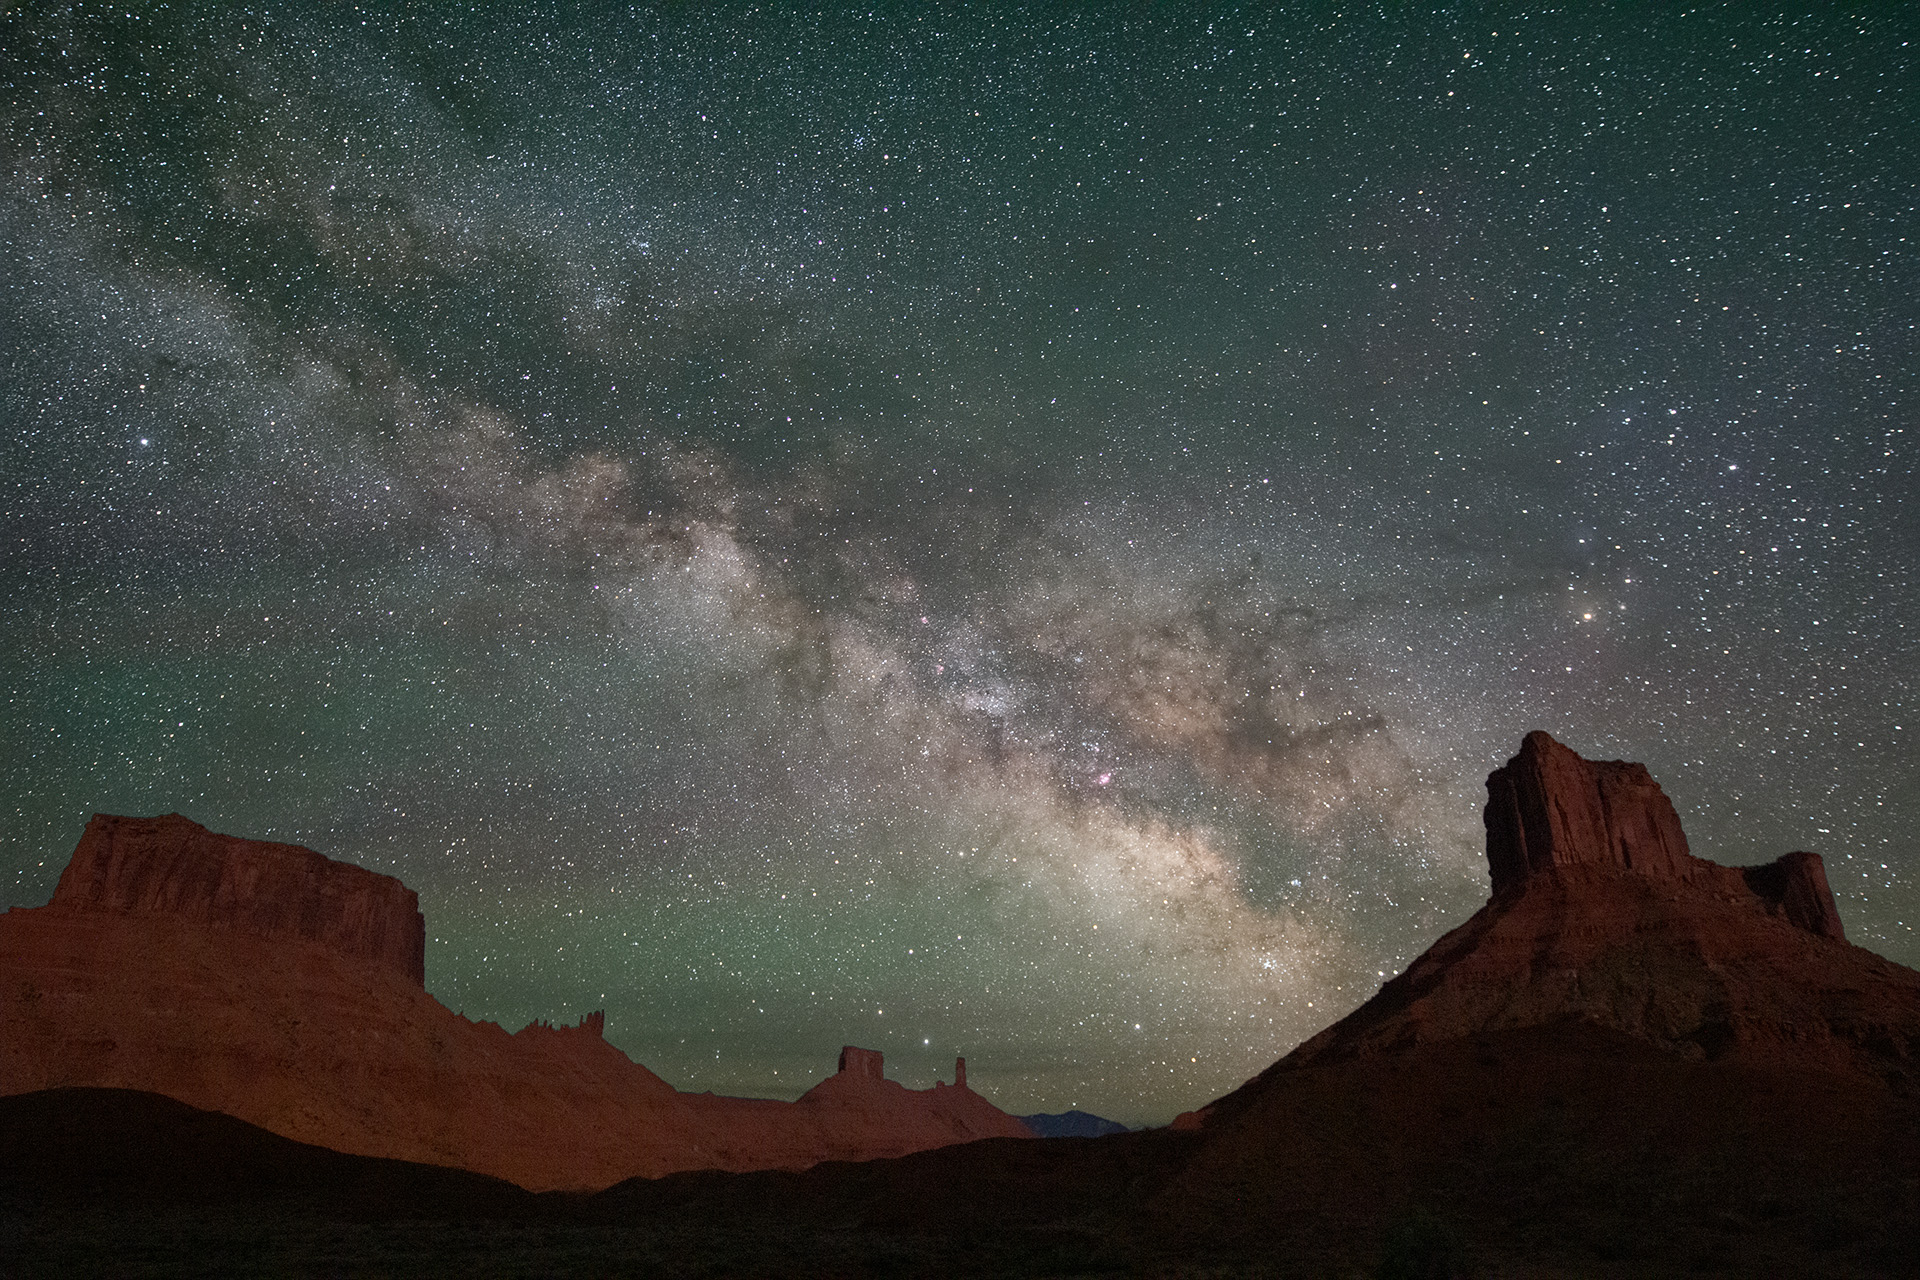
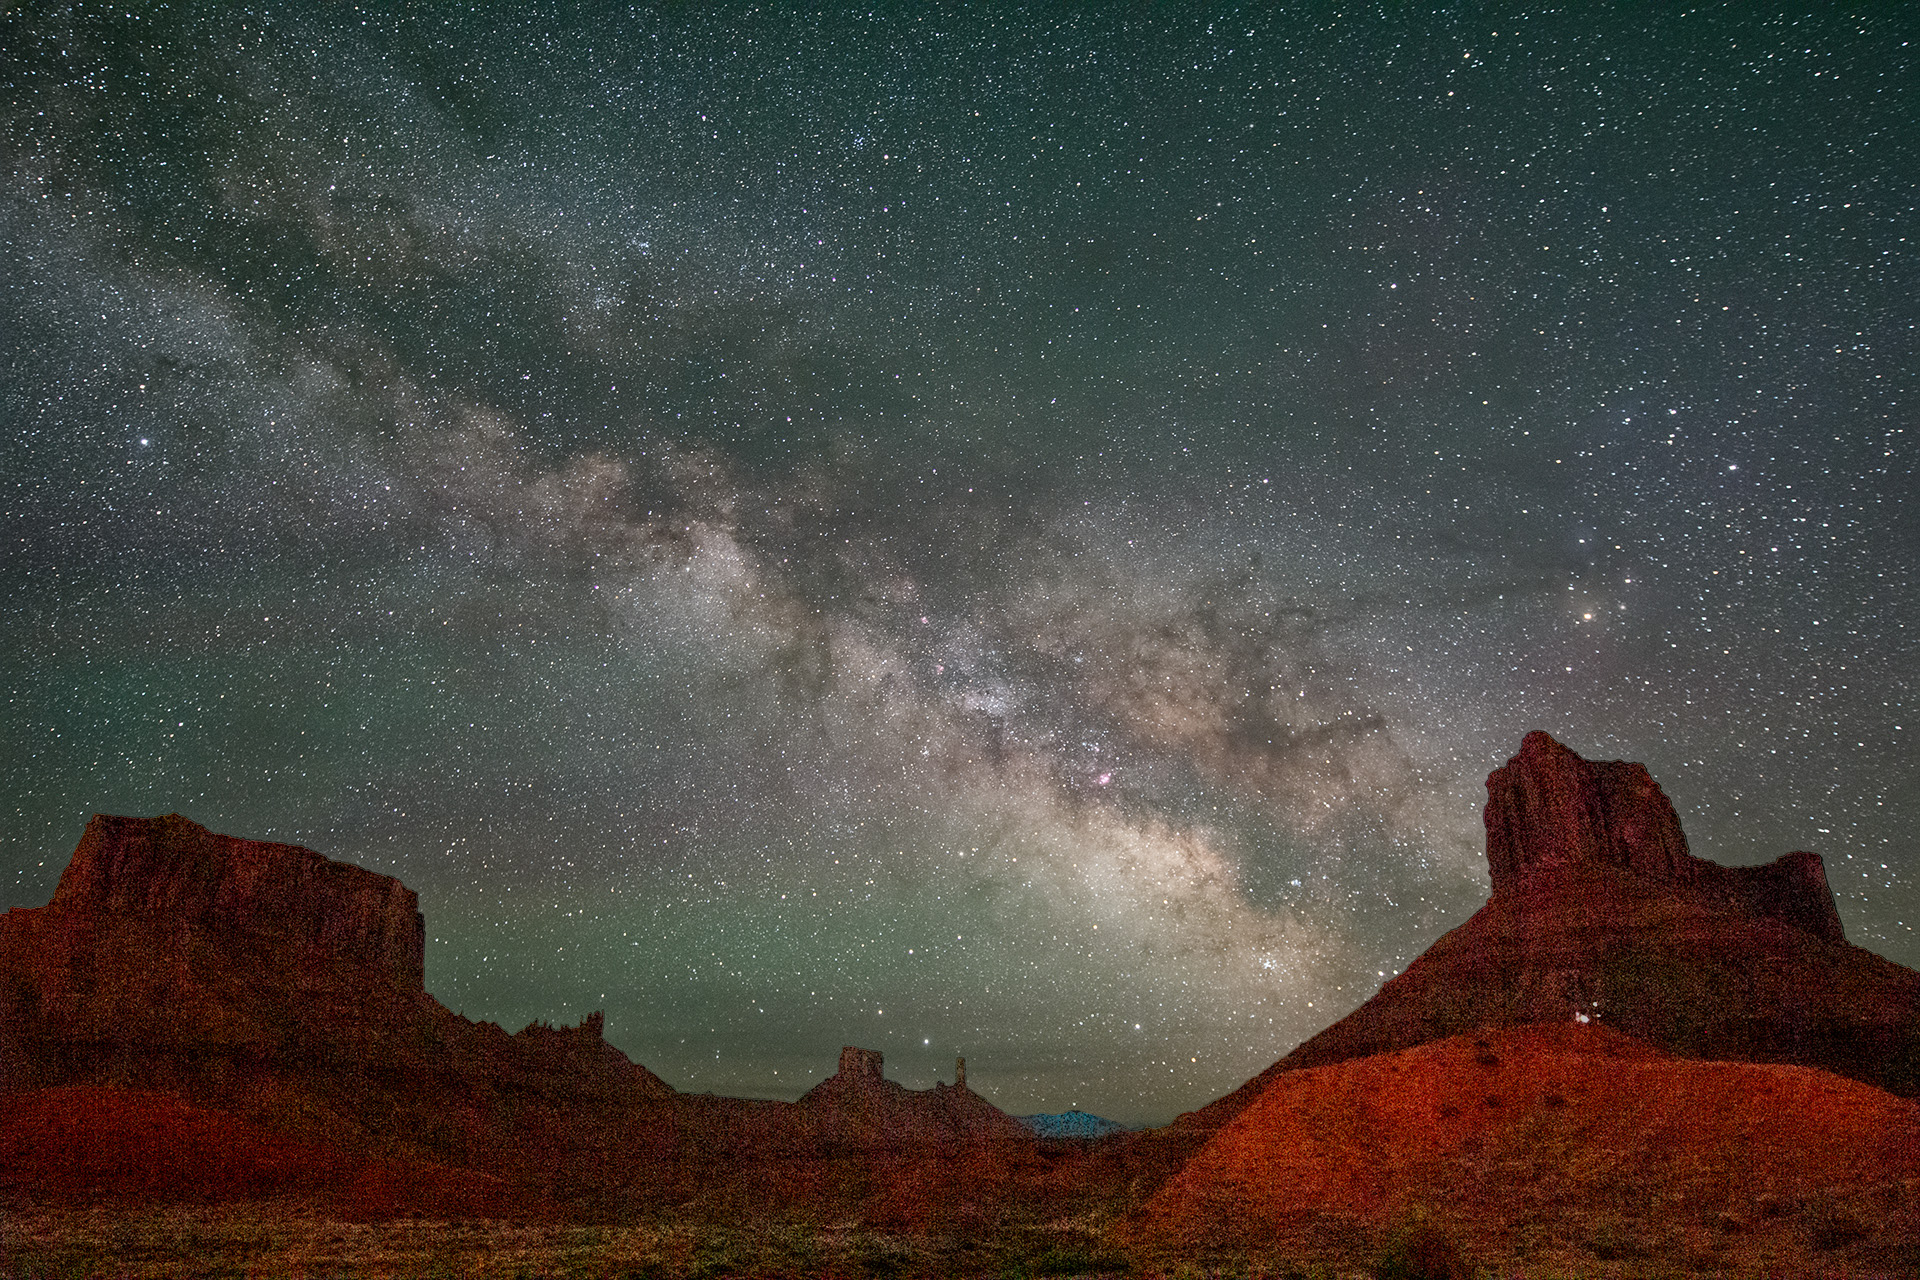
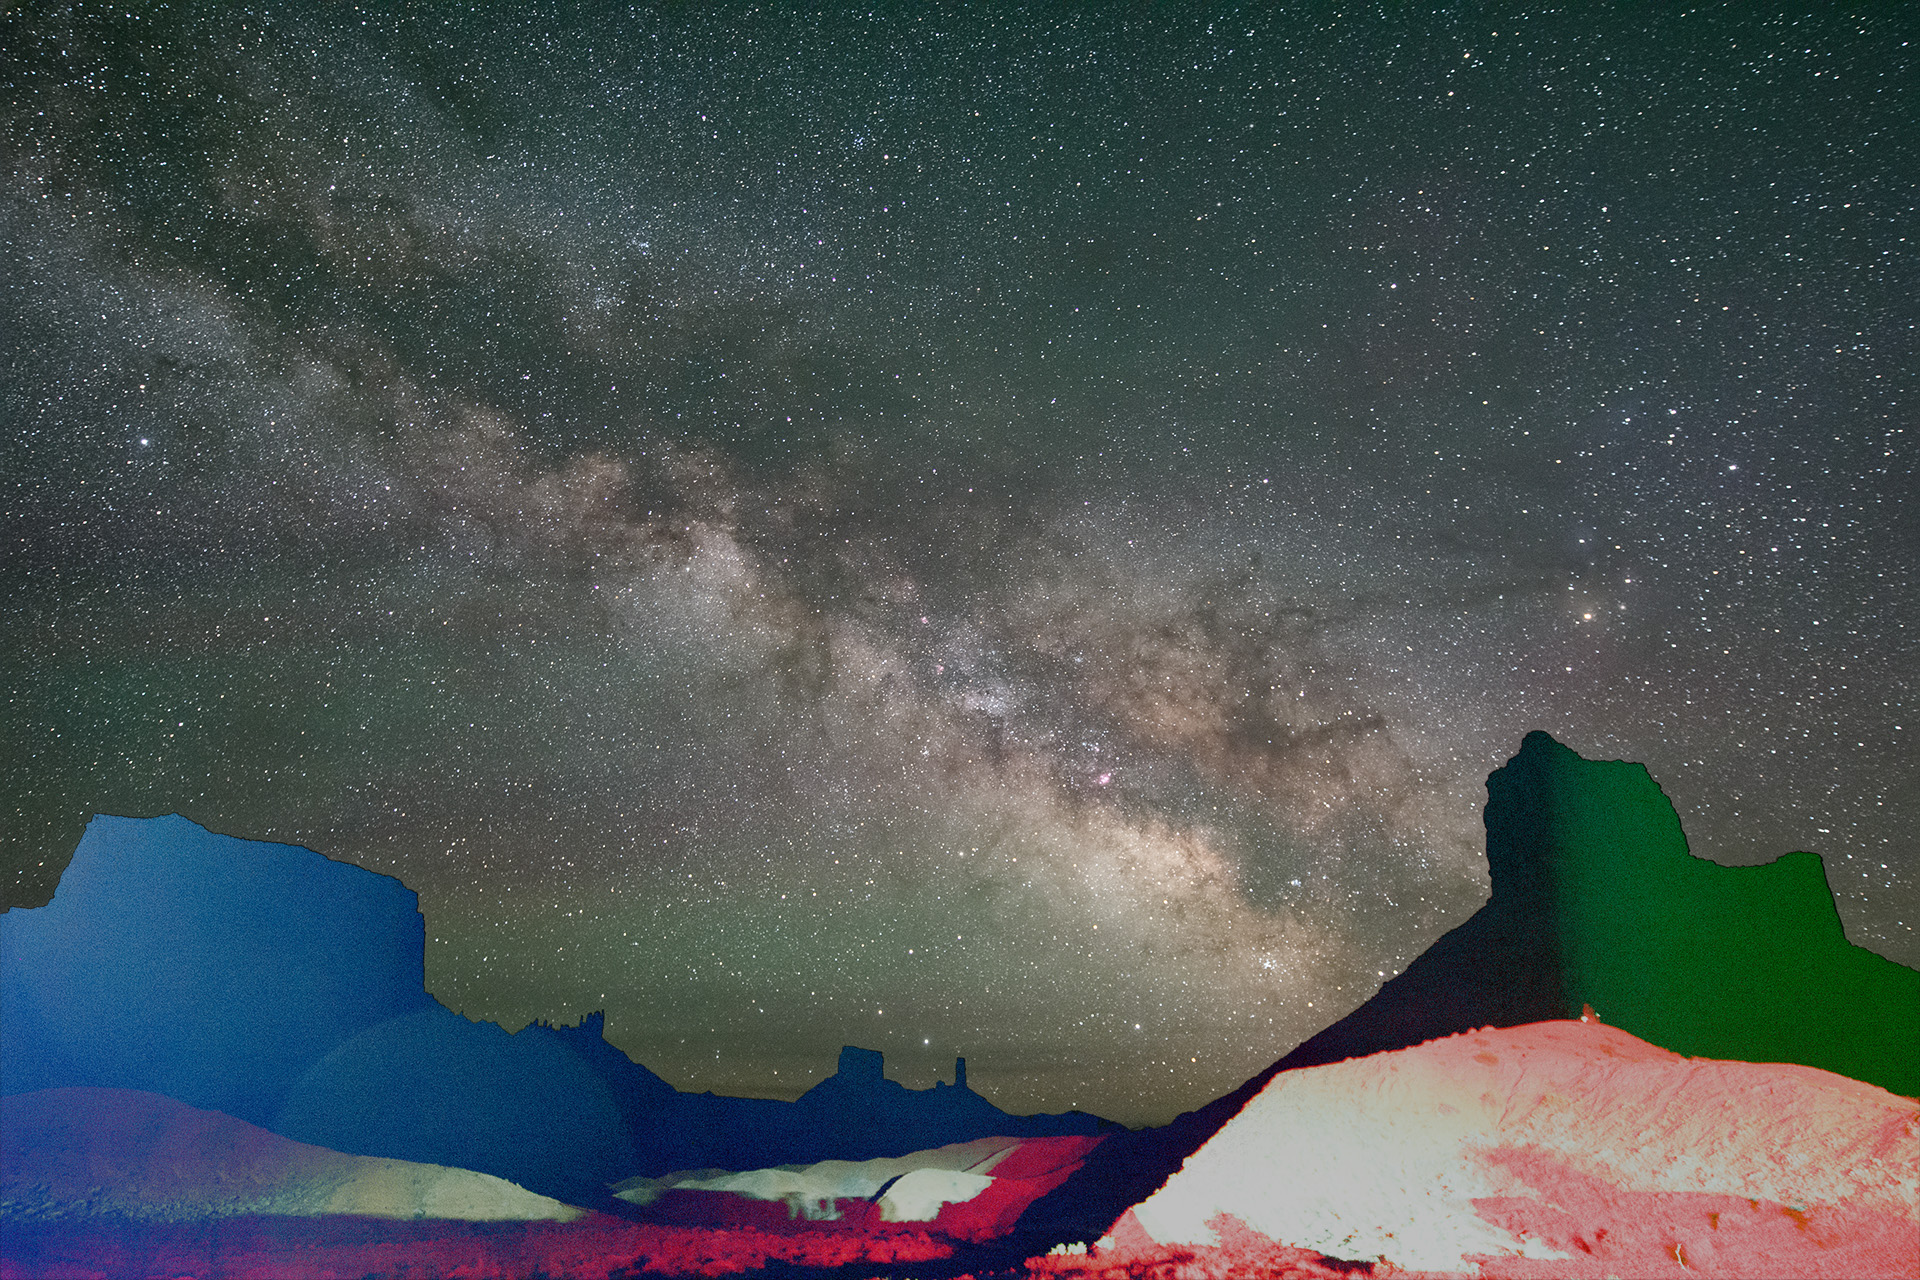
The differences are subtle (except for that last one), but they all provide a glimpse into the nature of the foreground that the original silhouette does not. You may prefer one over the others (I’m most fond of the moonlight).
The selected frames were from a sequence I shot to make a timelapse. You can watch the lighting change over the course of the night, starting from shortly after sunset through moonset and beyond astronomical twilight. Click the full-screen button for best effect.

I learned a lot and that’s a beautiful video from Castle Valley.